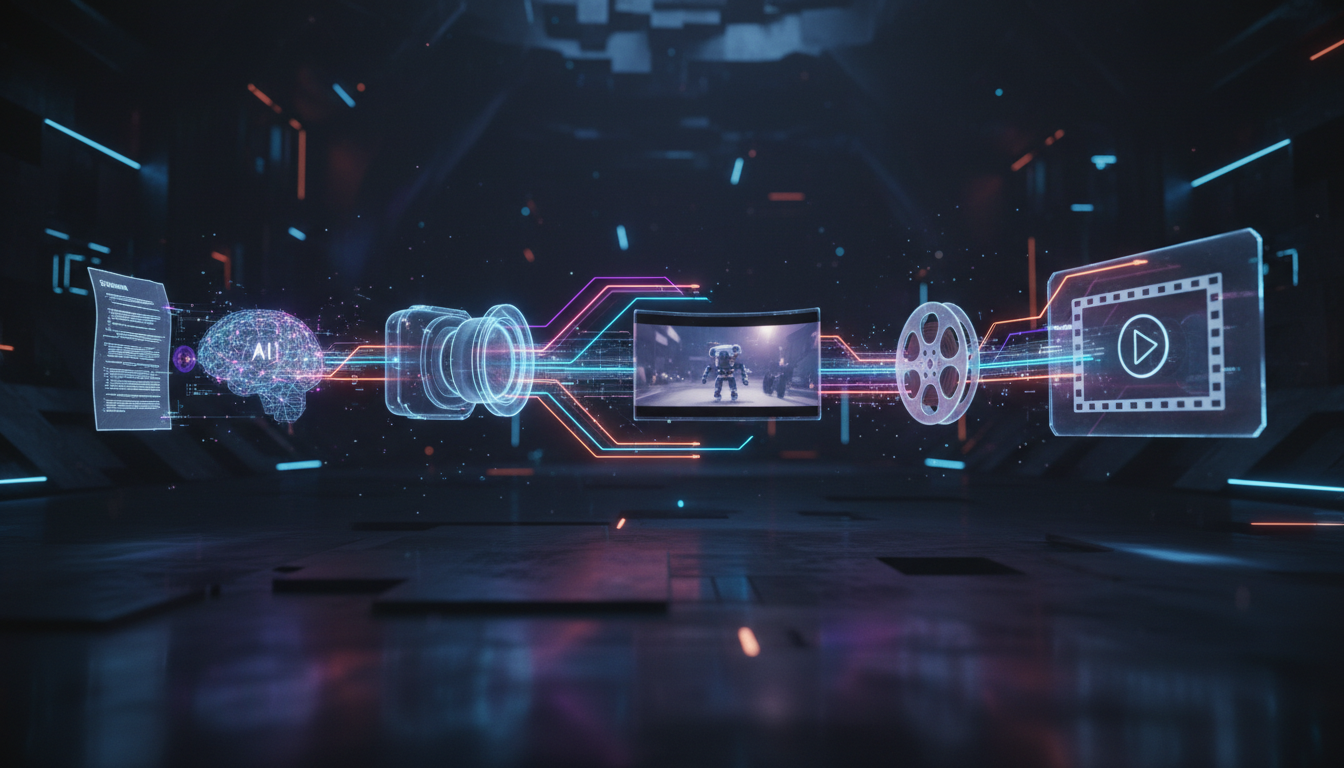
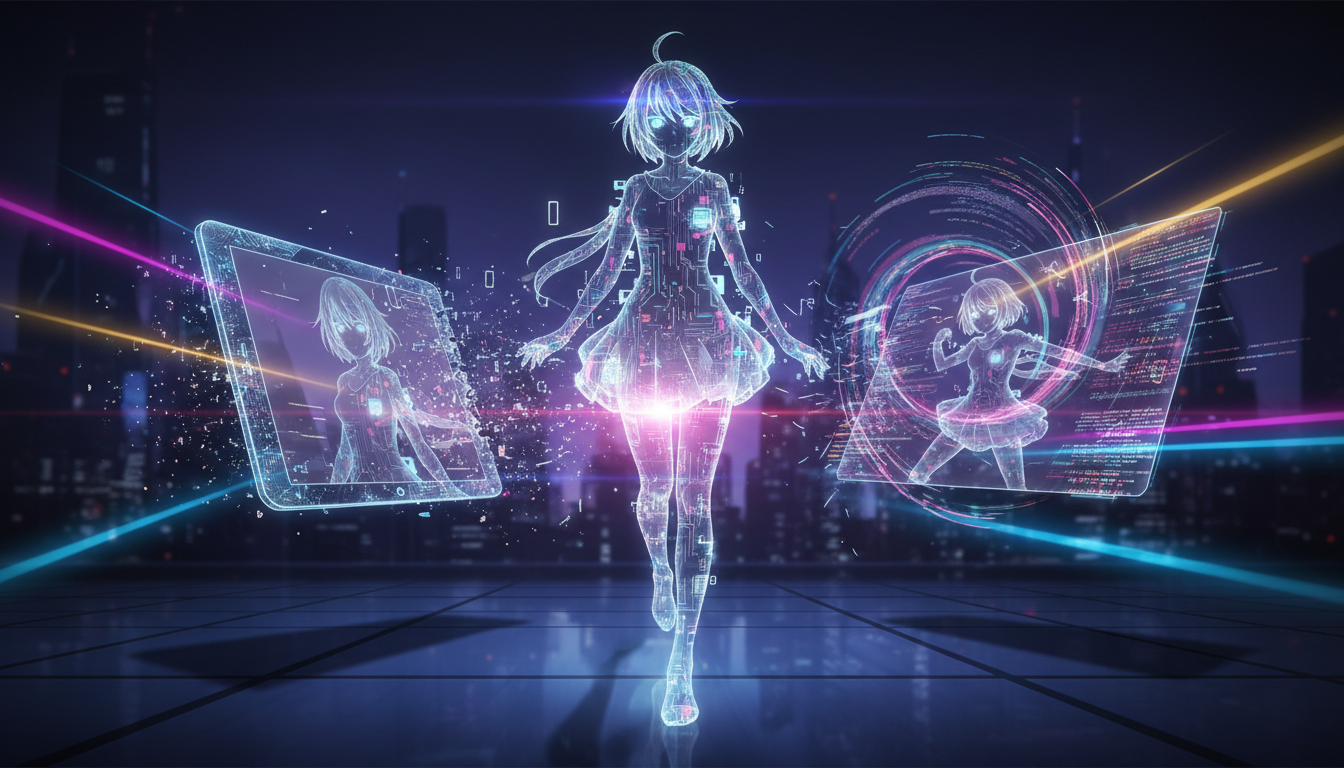
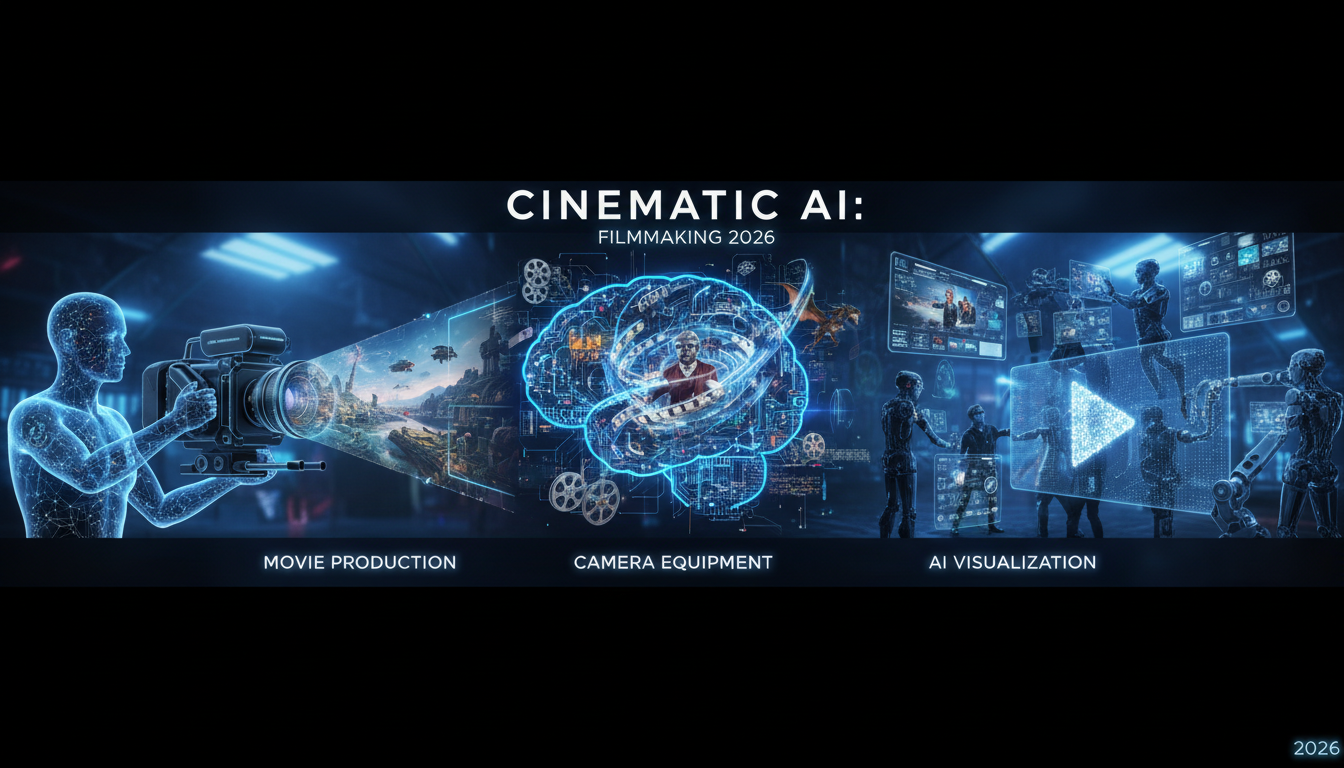
AI Short Film Creation: Complete Production Pipeline from Script to Screen
Step-by-step guide to producing an AI short film in 2026. Covers scriptwriting with LLMs, storyboarding, scene generation, character consistency, voice acting, sound design, and final edit.
I made my first AI short film in early 2025. It was eight minutes long, looked like a fever dream, and my main character changed facial structure between every other shot. By mid-2025, I had figured out how to get consistency for maybe 60% of shots. In early 2026, I finished a five-minute film that I would actually show to someone without warning them first. The pipeline that got me there is what I want to share here.
This is not a "here are the tools, good luck" post. I want to walk through the full production pipeline from the moment you have an idea to the moment you have a rendered, edited file with music and voice acting. Every stage matters, and the mistakes you make in stage two create compounding problems in stage five.
A complete AI short film pipeline in 2026 runs through six stages: scriptwriting with an LLM, storyboarding with AI image generation, scene-by-scene video generation, character voice acting with TTS/voice cloning, sound design, and editing with compositing. The biggest technical challenge is character consistency across shots. The biggest creative challenge is writing for what AI video can actually render well, not what live action can do. Budget 20-40 hours for a 3-5 minute film if you are new to the workflow.
- Write scripts specifically for AI video capabilities, with static or slow-moving scenes rather than complex action
- Storyboarding with AI images before generating video saves enormous amounts of wasted generation credits
- Character consistency requires a dedicated character sheet workflow before you touch any video tool
- AI voice cloning has reached the point where voice acting is the easiest part of the pipeline
- Sound design and music often matter more to the final feel than video quality does
- Plan on regenerating 30-50% of your shots before the edit feels usable
- Apatero.com covers the individual tools in this pipeline in depth if you want more detail on any single stage
How Do You Write a Script That AI Can Actually Film?
Most people approach AI filmmaking by taking a script they already wrote, or worse, adapting something from a movie they love, and then being shocked when none of it renders correctly. A chase scene through a crowded market. A battle sequence. Two characters having a conversation where both faces need to be visible and consistent. These are the hard problems in AI video, and a lot of them are hard for reasons that are not obvious until you have spent real money generating garbage.
Writing for AI video means writing for what the technology is genuinely good at. Slow, atmospheric scenes. Single-character close-ups. Establishing wide shots with minimal character interaction. Dialogue scenes where you can cut between reaction shots rather than showing both people in frame at once. Montage sequences. Voice-over narration over visual mood pieces. Once you accept these constraints, they become creative parameters rather than limitations.
I use Claude or GPT-4o for script generation. My prompt structure starts with genre, tone, and running time target, then specifies the constraint list explicitly. I tell the model: no scenes with more than one character in frame at once, no fast movement, no crowd scenes, no shots that require a character to pick up or interact with an object with both hands visible. Then I ask for a three-act structure with specific shot descriptions in parentheses after each dialogue line.
The shot descriptions are critical because they become your generation prompts later. If the script says "Elena sits by a window, rain streaking the glass behind her" you have your video prompt right there. If it says "they fought through the burning building" you have a problem. The script stage is where you decide what you are actually building.
What works well for AI scripts:
- Dialogue-driven drama with two characters who never share a frame
- Atmospheric horror or sci-fi with heavy use of environment shots
- Documentary-style voice-over with illustrative footage
- Character monologues with cutaway reaction shots
- Fairy tale or mythological stories with stylized, non-realistic aesthetics
- Training or educational content with talking head segments
What to avoid:
- Complex action sequences requiring continuous motion tracking
- Scenes requiring exact prop interaction (picking up glasses, opening doors)
- Large ensemble casts where faces need to be recognized across many scenes
- Humor that depends on precise physical timing
Once I have a script, I run it through a scene breakdown spreadsheet. Each scene gets a row with: scene number, setting, characters present, time of day, mood keyword, approximate duration, and the video generation prompt I plan to use. This spreadsheet becomes your production bible for everything that follows.
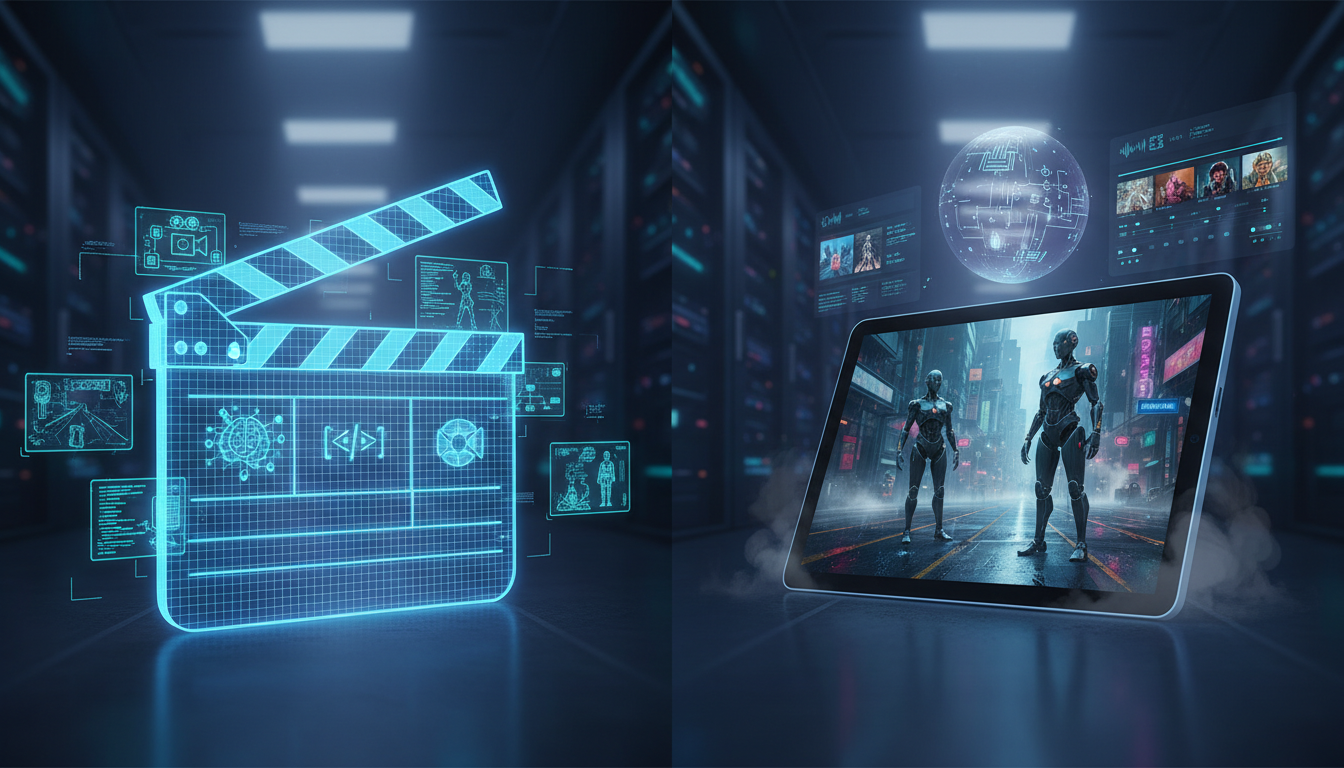
What Does the Storyboard and Pre-Production Stage Actually Look Like?
This is the stage most people skip. They get excited, they have a script, they want to start generating video immediately. I did this for my first three attempts and it cost me probably $80 in wasted generation credits. Storyboarding with AI images before you generate a single second of video is one of the highest-leverage decisions you can make in this pipeline.
The logic is straightforward. A still image generation costs a fraction of what a five-second video clip costs. If you generate a still image and realize the composition is wrong, the lighting does not read, or the style does not match what you imagined, you can iterate on it for cents. The same discovery made during video generation costs significantly more and takes longer.
I generate my storyboard frames in Midjourney or with a locally-run Flux model through ComfyUI. The important thing is to generate every distinct scene type in your film before you start video generation. Not every single shot, but one representative frame for each environment, each character design, and each mood variation you plan to use. This process forces you to resolve visual questions that the script left open.
Character design is the most important output of this stage. For each character in your film, you need to produce what I call a character sheet: a minimum of four images of the same character from different angles and in different lighting conditions, all generated from the same base prompt with the same style reference. This character sheet becomes the seed image for your video generation. Maintaining visual consistency across multiple images and scenes is a documented problem in AI filmmaking, and the character sheet approach is the most reliable solution I have found.
The specific parameters I lock down for each character:
- Hair color, length, and specific style descriptors (not "brown hair" but "shoulder-length auburn hair with slight wave, no highlights")
- Face shape descriptor (oval, square jaw, high cheekbones, etc.)
- Eye color and notable features
- Skin tone in neutral lighting
- Signature clothing in exact detail
- One or two distinctive physical features used as anchors
I also use this stage to define the film's visual vocabulary. Is this naturalistic? Stylized? What color grading am I targeting? What lens type should the shots reference (wide angle, 50mm equivalent, telephoto compression)? Defining this in writing before you start generating means every shot has a coherent visual target.
How Do You Generate Scenes While Keeping Characters Consistent?
This is the hardest technical problem in AI short film production and the one that separates watchable films from visual chaos. The core issue is that most text-to-video models treat each generation as an independent event. They do not remember that Elena has auburn hair and a defined jaw structure. Every generation is a fresh roll of the dice.
The solutions are imperfect but they are much better than they were a year ago. The primary approach is image-to-video generation rather than text-to-video. You take your character sheet still image, use it as the first frame anchor, and then generate motion from that fixed starting point. This gives you much better facial consistency than pure text prompts because the model has a concrete visual to work from.
For the video generation itself, I have been using a combination of tools depending on what the shot requires. The open source text-to-video models available in 2026 have made serious progress, and running generation locally means you can iterate without per-generation costs. For shots where I need specific motion quality, I use Kling or Runway's latest models through their APIs.
The workflow I use for character shots:
Free ComfyUI Workflows
Find free, open-source ComfyUI workflows for techniques in this article. Open source is strong.
- Start with the best character sheet image that matches the scene's lighting and angle
- Write a motion prompt that describes movement at the macro level (slow turn to face camera, sits down slowly, looks toward window) rather than at the micro level
- Generate four to six variations of the same shot
- Select the best one for character fidelity, not motion quality
- If the motion is wrong but the face is right, use Runway's motion brush or equivalent to adjust just the motion
- If neither face nor motion are acceptable, revise the seed image and regenerate
The regeneration rate is real. On a recent project, I generated 118 clips to assemble 38 usable ones for a four-minute film. That is not waste, that is the production process. Factor it into your time and cost planning.
For dialogue scenes specifically, lip sync is now a separate step in the pipeline rather than something you hope the video model handles. I generate my talking head shots with a neutral, mouth-closed or slightly open expression, then apply lip sync from the audio track as a post-processing step. AI lip sync tools have become accurate enough that this two-step approach produces much more consistent results than trying to generate speech-synchronized video directly.
One technique that helps enormously with cross-shot consistency is maintaining a generation log. For each character, I track which tool, which model version, which seed image, and which style parameters produced shots I was happy with. When I need a new shot of the same character three weeks later, I can reproduce the same conditions rather than starting from scratch.
The consistency toolkit in 2026:
- Image-to-video for character close-ups (ComfyUI with AnimateDiff or Kling image-to-video)
- Face swap as a consistency correction tool on problem shots (not as a primary workflow)
- Lip sync as a post-processing step separate from video generation
- Consistent prompt templates for the same character in different scenes
- Style reference images applied to every generation to maintain visual vocabulary
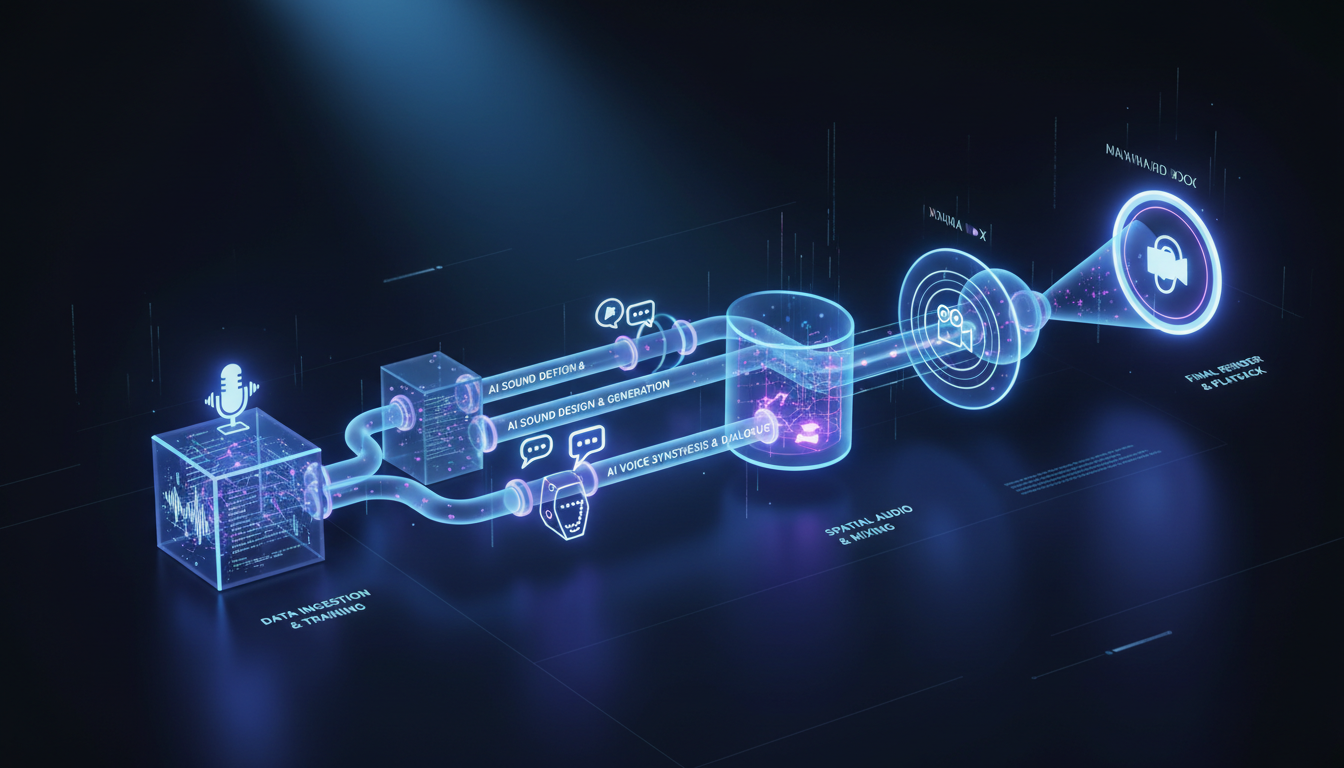
What Does the Audio Pipeline Look Like for an AI Film?
Audio is where a lot of independent AI filmmakers give up creative control and settle for free stock music and robotic narration. That is a mistake. The audio quality ceiling in 2026 is genuinely high, and good audio will make mediocre video look better. Bad audio makes excellent video feel cheap.
Voice acting with AI TTS has reached a quality level that I would not have predicted two years ago. For most dialogue in short films, the gap between AI voice acting and human voice acting is now a style gap rather than a quality gap. The AI voices are clear and intelligible; what they sometimes lack is the spontaneous emotional variation that makes a performance feel inhabited rather than performed. You can close most of that gap with careful prompt engineering and by choosing voices with enough natural variation baked in.
My current preference for voice generation is ElevenLabs for characters where emotional nuance matters, and a locally-run Kokoro or Dia model for narration and secondary characters where cost control matters more than subtlety. For main characters in a film I care about, voice cloning and character voice development is worth the extra effort. When a voice is specifically designed for a character rather than selected from a catalog, it reads differently on screen.
The voice production workflow I use:
- Cast voices before you finish the script. Run candidate voice samples through a few lines of your dialogue to hear how they interpret emotional beats.
- Write line-by-line delivery notes in the script. Not just "angrily" but "controlled anger, words clipped, not shouting."
- Generate each line of dialogue with two to three delivery variations.
- Select by ear, not by technical quality. The take that sounds right in context matters more than the one with the cleanest audio.
- Run all dialogue through a vocal EQ pass to match tonal quality across different sessions and models.
Sound design is the invisible backbone of cinematic feel. Footsteps, ambient room tone, weather, off-screen sounds, the subtle creak of a chair. None of these appear in AI-generated video automatically. You build them yourself in your audio editing software.
Want to skip the complexity? Apatero gives you professional AI results instantly with no technical setup required.
I use a combination of Freesound.org for environmental samples, ElevenLabs Sound Effects for specific synthesis, and Logic Pro for mixing. The sound design phase adds roughly four to six hours to a five-minute film, but the difference between a film with and without proper sound design is immediately audible to anyone who watches it.
Music composition has become accessible through tools like Suno, Udio, and Udio's API integration. I generate stems rather than full tracks where possible, because editing AI music to picture is much easier when you can adjust individual instrument layers. The key discipline is to score to emotion, not to action. AI-generated video does not have the dynamic rhythm of live-action footage, so your music needs to carry the emotional arc that the visuals can suggest but not drive.
Audio stage checklist:
- Cast and generate all dialogue before picture lock
- Layer at least three ambient sound tracks under every scene (room tone, exterior, and one scene-specific detail)
- Use music to establish emotional pace, not to fill silence
- Mix dialogue at -12 to -18 LUFS with music ducking under spoken lines
- Check final mix on earbuds and laptop speakers, not just studio monitors
Editing, Compositing, and the Final Assembly
The editing stage is where your film actually becomes a film. Before this point, you have a collection of materials. The edit is where you find the story in what you have, which is often different from the story you planned.
I use DaVinci Resolve for editing and compositing. It handles the non-linear timeline, the color grade, and basic compositing needs in one application. For more complex compositing work, I use After Effects, though most AI short films do not require it.
Rough cut assembly comes first. I place every clip in order, no trimming, no transitions, and watch it end to end. This is the most honest assessment you can make of whether your material is working. Shots that looked fine in isolation often feel disconnected in sequence. Pacing that seemed reasonable in planning feels slow or rushed in playback.
The specific editing problems unique to AI video:
Color consistency across shots is rarely automatic. Different generation sessions produce different base color profiles even when you use the same model and style prompts. I spend significant time in the color grade matching shots within scenes before I apply any creative grading. DaVinci Resolve's color match feature is useful but requires manual adjustment as a follow-up.
Motion quality variation is common. Some shots will have beautiful, natural motion. Others will have the subtle jitter or morphing artifacts that announce themselves as AI-generated. You have a few options: regenerate the problem shot, cut around it with a tighter edit, use it briefly enough that the artifact does not register consciously, or apply stabilization and slight blur in post to soften it.
Earn Up To $1,250+/Month Creating Content
Join our exclusive creator affiliate program. Get paid per viral video based on performance. Create content in your style with full creative freedom.
Transitions require more consideration than in live-action editing because cutting between AI shots does not have the natural visual continuity that comes from shooting on a real set with consistent lighting and the same camera. I use dissolves and matched cuts more than I would in a traditional edit, and I lean on sound design to smooth transitions where the visual cut is jarring.
The color grade is where I establish the final visual identity of the film. I use LUTs as a starting point and adjust from there. For AI video specifically, I find that a slightly desaturated look with lifted shadows works better than high-contrast, saturated grades. High contrast tends to emphasize AI artifacts. A flatter, filmic look makes the footage read as intentional aesthetic rather than technical limitation.
Titles and graphics are straightforward. I design title cards in Figma and export them as PNG sequences or transparent video layers. Text overlays, lower thirds, and credits are handled in DaVinci's title tools or a Fusion composition for anything animated.
The final export should target the platform you are delivering to. For YouTube, H.264 at a high bitrate (at least 20 Mbps for 1080p) is the standard. For film festival submission, ProRes or a high-bitrate H.265 is more appropriate. Sound should be exported at 48kHz, and if you are doing stereo rather than 5.1, a final loudness check to -14 LUFS integrated is the YouTube target.
Post-production sequence:
- Rough cut assembly and pacing assessment
- Dialogue replacement or refinement (resync lip sync if needed)
- Sound design layering
- Music placement and ducking
- Color matching within scenes
- Creative color grade
- Title cards and graphics
- Final audio mix and loudness normalization
- Export at target spec
The Full Pipeline at a Glance
Building a mental map of the whole process before you start saves confusion about what tool to use when and what order decisions need to happen. The pipeline I have described is not the only valid approach, but it is one that produces consistent, predictable results.
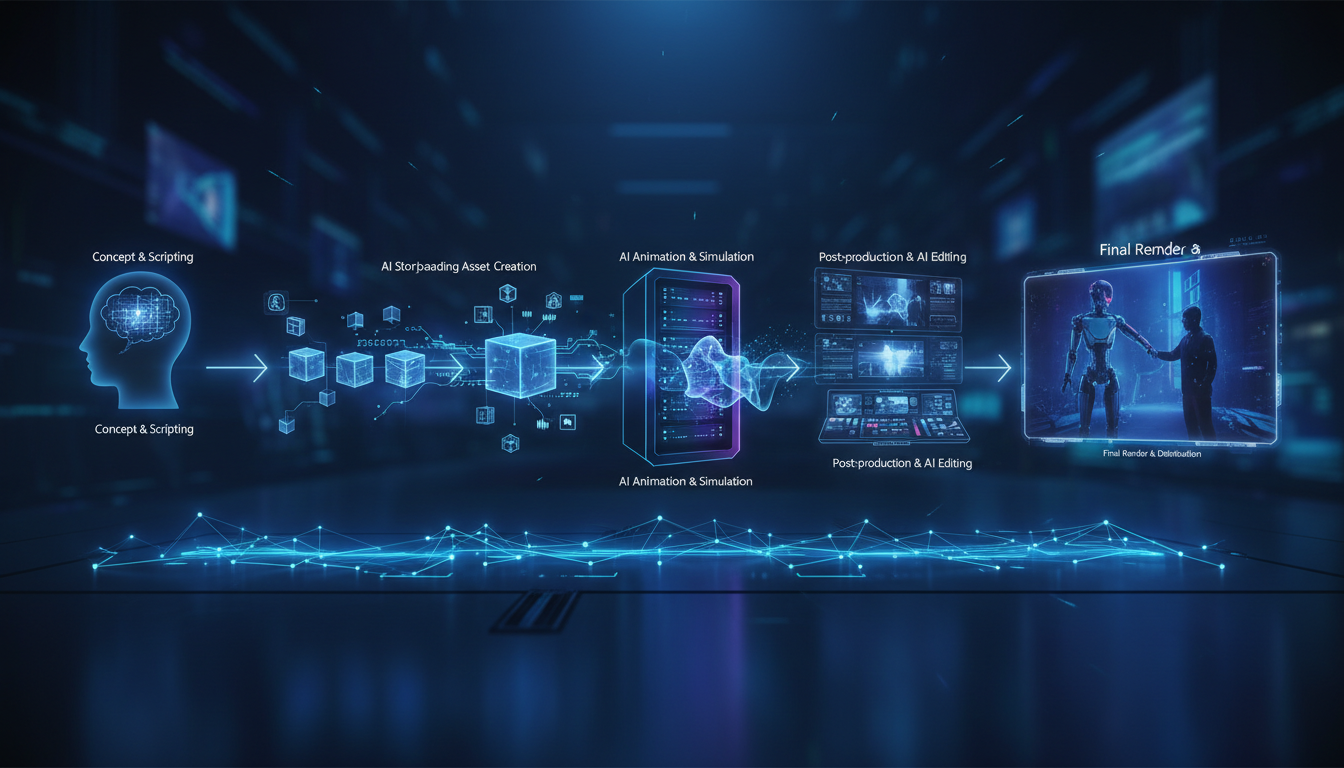
Stage one is development, covering script, scene breakdown, and shot list. This is entirely LLM-assisted and takes two to four hours for a five-minute script. Stage two is pre-production, covering character design, style definition, and environment key frames. This takes four to eight hours depending on how complex your character roster is. Stage three is production, covering video generation, regeneration, and selection. This is the longest stage and the most variable, typically twelve to twenty hours for a five-minute film. Stage four is audio production, covering voice acting, sound design, and music. Budget six to ten hours. Stage five is post-production, covering editing, color, titles, and final mix. Another six to ten hours.
The full pipeline for a five-minute film ranges from thirty to fifty hours of active work. That sounds like a lot, but it compares very favorably with what it would take to produce the same film with traditional methods. The quality ceiling is also rising fast. A film made with this pipeline in March 2026 looks substantially better than the same pipeline would have produced in March 2025.
The resources and tool breakdowns I reference throughout this article are covered in more detail across Apatero.com if you want to go deep on any individual stage. The current state of AI filmmaking gives useful context for where the technology stands relative to professional production.
The thing I keep coming back to is that the constraint forces creativity. You cannot write a car chase. You have to write something else. And what you end up writing, within those constraints, is often more interesting than the car chase would have been.
Frequently Asked Questions
How Much Does It Cost to Make a 5-Minute AI Short Film in 2026?
Cost varies significantly based on which tools you use. For a fully cloud-based pipeline using Kling, ElevenLabs, and Midjourney, budget $50 to $150 for a five-minute film including the cost of regenerated clips. Running video generation locally with an RTX 4090 or equivalent drops the per-shot cost to near zero, though the hardware investment is substantial. Music from Suno or Udio adds another $10 to $30 if you are on a paid tier. The cheapest complete pipeline I have run for a five-minute film cost around $35. A high-quality run with cloud generation for everything came to about $120.
What Is the Best Text-to-Video Model for Character Consistency?
In early 2026, Kling 1.6 and Wan 2.1 are leading for character consistency when using image-to-video workflows. Neither is perfect, but both show significantly better facial preservation than earlier models. Running Wan 2.1 locally through ComfyUI with a strong seed image gives results competitive with cloud services at a fraction of the cost per clip.
Do I Need a Powerful Computer to Make an AI Short Film?
You can run the entire pipeline on cloud services without any specialized hardware. The trade-off is cost per generation. If you have a GPU with at least 16GB VRAM (RTX 3090 or better), you can run most open-source models locally and eliminate per-clip costs. For storyboarding with Flux Schnell locally, 12GB VRAM is sufficient. Editing in DaVinci Resolve runs fine on any modern computer; you do not need a GPU for that step.
How Do I Handle Scenes Where Two Characters Need to Interact Directly?
This is genuinely one of the hardest problems in AI filmmaking right now. The most reliable approach is to avoid showing both characters in the same frame. Use shot-reverse-shot cutting for conversations, where you show character A speaking, then cut to character B reacting, never both at once. For scenes that truly require both characters in frame, generate the shot with one character and composite the second in post using After Effects or DaVinci Resolve's Fusion, using separately generated matching footage.
What File Format Should I Generate Images and Videos in for Best Quality?
For storyboard images, PNG at maximum resolution preserves the most detail for use as seed images later. For video clips, download or export at the highest available quality, typically H.264 or H.265 at the platform's maximum bitrate. Do not apply any compression until the final export step. Work with lossless or near-lossless files throughout the editing pipeline and compress only at output.
Can I Use AI Voice Acting for Characters With Accents or Non-English Dialogue?
Yes, though quality varies by language and accent. ElevenLabs has strong multilingual models that handle most European languages well. Japanese, Korean, and Mandarin synthesis has also improved significantly. Regional accents within English are inconsistent. The strongest accents (American general, British RP) produce the most natural results. Unusual regional accents are hit-or-miss and may require multiple takes to get something usable.
How Do I Avoid the Uncanny Valley Problem in AI Character Faces?
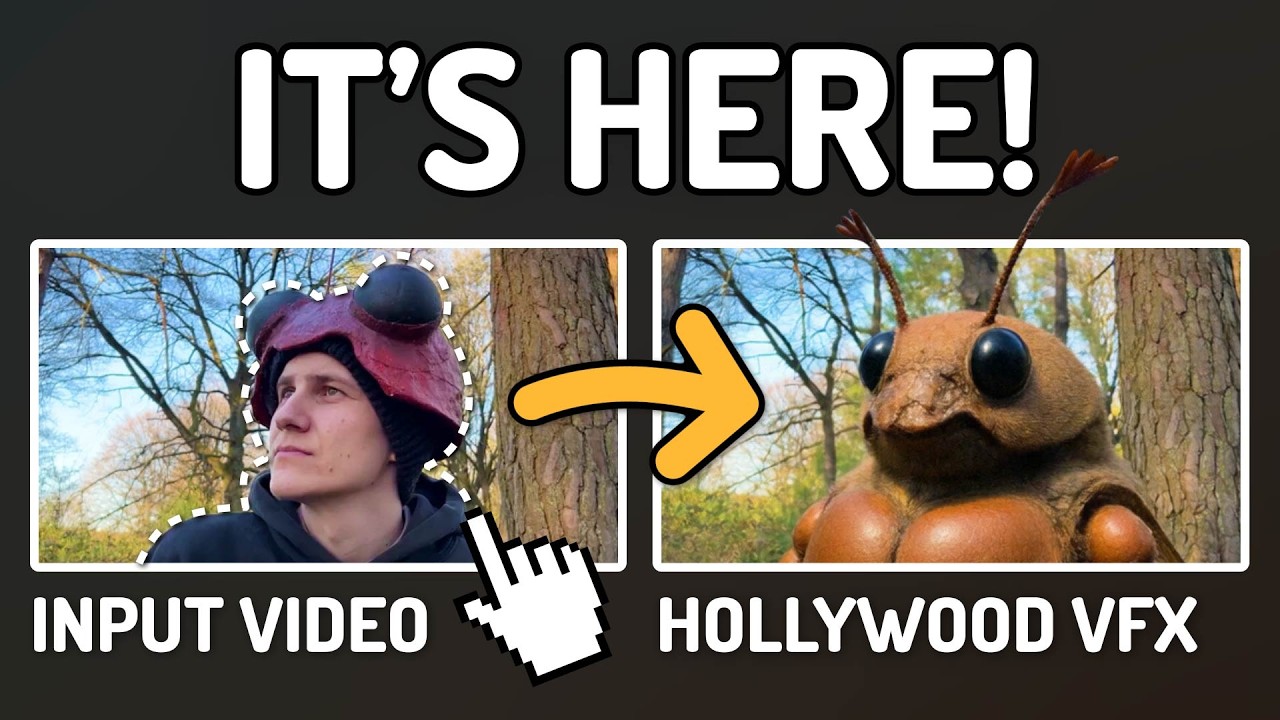
Using slightly stylized character designs rather than attempting photorealism gives you more margin for AI inconsistencies. A character designed to look slightly illustrated or cinematic, rather than photographically real, reads better when AI generation introduces slight variations. The most photorealistic attempts tend to hit uncanny valley hardest when anything is even slightly off. If you want photorealistic, use face swap as a consistency correction layer after generation rather than relying on raw generation quality.
What Storytelling Genres Work Best for AI Short Films?
Atmospheric drama, science fiction, horror, and fantasy all work well because stylized visuals are expected and consistent lighting or color is achievable through art direction. Slice-of-life realism is harder because the audience has high familiarity with what natural human interaction looks like, and AI artifacts stand out more. Comedy that relies on physical timing is extremely difficult. Dialogue-heavy drama with strong performance in the voice acting and minimal on-screen action is probably the highest-probability path to a compelling film in 2026.
How Many Shots Does a 5-Minute AI Short Film Typically Require?
A five-minute film at a modest one to two shots per thirty seconds runs about ten to twenty shots minimum, but realistic pacing with reaction shots, cutaways, and environmental context shots usually means forty to sixty distinct clips. Add in regeneration rate and you are generating eighty to one hundred twenty clips to select the final forty to sixty. Plan accordingly when budgeting time and generation costs.
Is It Worth Entering AI Short Films in Film Festivals?
Some festivals actively program AI film categories now, and that number is growing. Traditional narrative categories at mainstream festivals remain resistant, and I think that is fair given where the technology is. The AI-specific festivals and categories are worth pursuing for the community contact and feedback more than for prestige at this stage. The work being shown in these venues has improved dramatically in the past year, and the audience understanding of what AI production involves is also maturing.
Ready to Create Your AI Influencer?
Join 115 students mastering ComfyUI and AI influencer marketing in our complete 51-lesson course.
Related Articles
AI Anime Video Generation: Turn Still Characters Into Animated Content
Complete guide to turning still anime and AI-generated character images into animated video. Covers WAN 2.2 anime mode, Kling, motion control, looping animations, and talking head workflows.
AI Documentary Creation: Generate B-Roll from Script Automatically
Transform documentary production with AI-powered B-roll generation. From script to finished film with Runway Gen-4, Google Veo 3, and automated...
AI Making Movies in 2026: The Current State and What's Actually Possible
Realistic assessment of AI filmmaking in 2026. What's working, what's hype, and how creators are actually using AI tools for video production today.