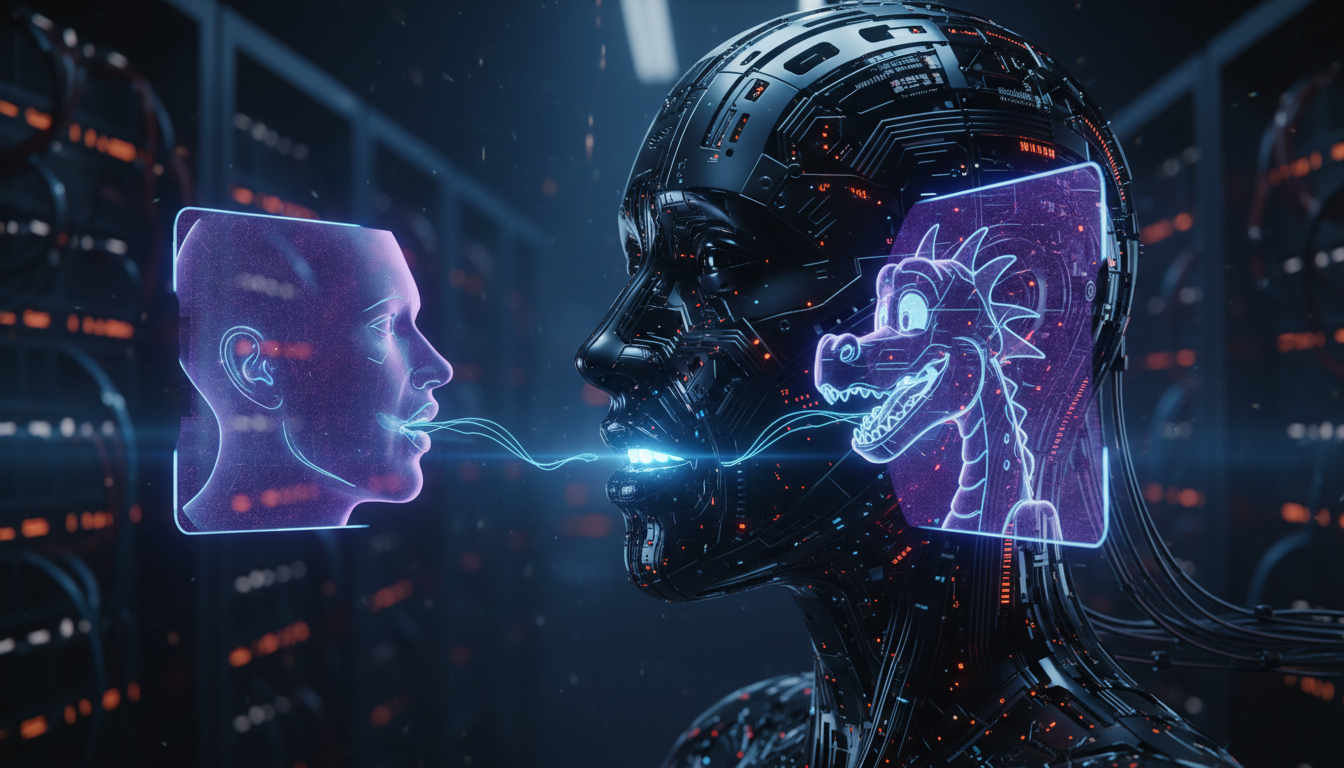
AI Lip Sync 2026: Make Any Character Talk with Realistic Mouth Movement
Complete guide to AI lip sync technology in 2026. Compare Kling Lip Sync, Wav2Lip, SadTalker, and newer models. Setup guides, quality comparisons, and creative use cases for talking characters.
I wasted two full weekends trying to get Wav2Lip running locally before I realized the version I was using hadn't been updated since 2023. The mouth movements looked like a puppet being operated by someone having a seizure. Teeth would vanish mid-sentence, jaws would dislocate in ways that would make a horror movie director proud, and any head angle beyond straight-on produced results that belonged in a nightmare.
Then Kling Lip Sync dropped its v0.16 update for ComfyUI, and suddenly the same character images I'd been struggling with were producing mouth movements that genuinely fooled people in my Discord server. The gap between "looks AI-generated" and "wait, is that real?" closed almost overnight.
AI lip sync technology has made a massive leap in 2026, and if you're still using the tools and techniques from even six months ago, you're working way too hard for mediocre results. This guide breaks down what actually works right now, compares the major options head to head, and walks through practical setups for the use cases that matter most.
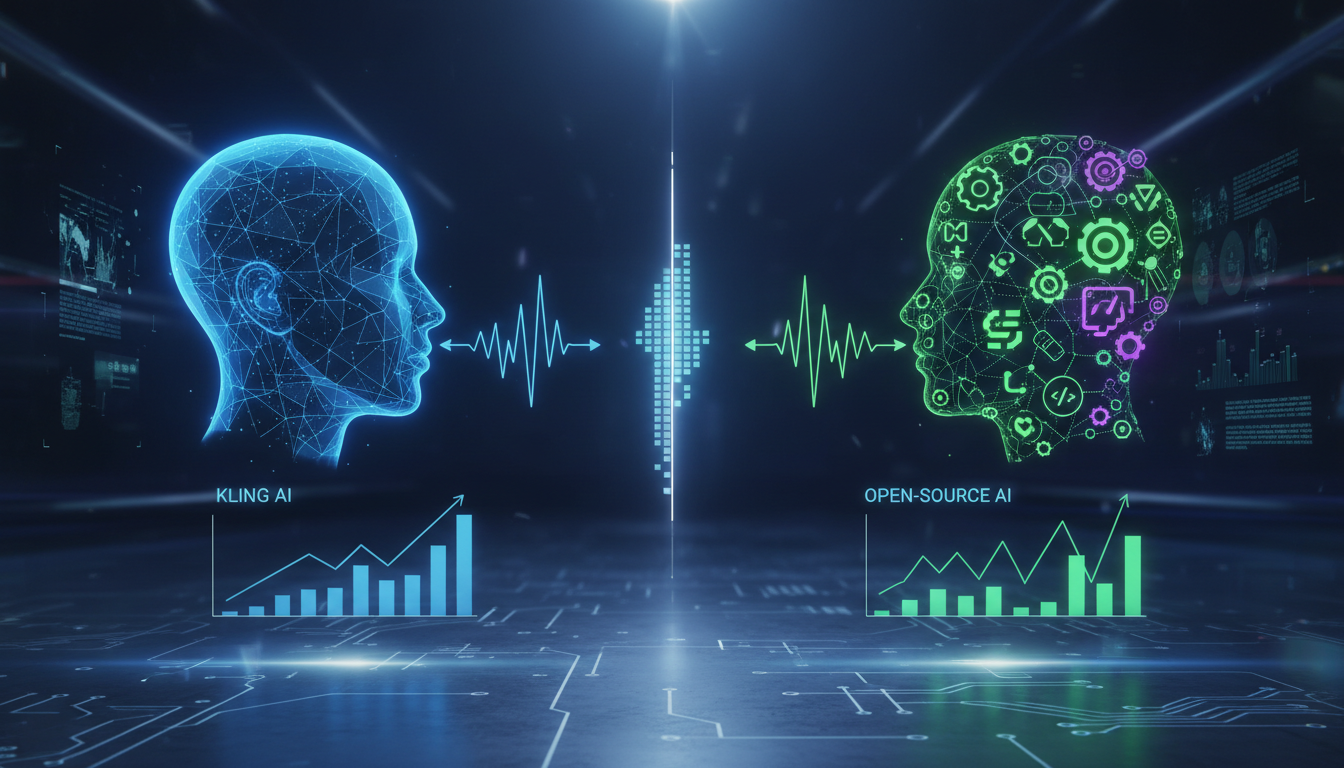
Quick Answer: In 2026, Kling Lip Sync through ComfyUI v0.16 delivers the best quality-to-effort ratio for AI lip sync. It handles multiple angles, preserves facial identity, and syncs audio with natural-looking mouth shapes. Open-source alternatives like Wav2Lip and SadTalker still work for budget projects, but they require significant post-processing to match commercial quality. For most creators, the API cost ($0.02-0.05 per second of synced video) is worth the time savings.
- Kling Lip Sync v0.16 in ComfyUI is the current quality leader for AI-driven mouth animation
- Open-source options like Wav2Lip and SadTalker are viable but require more manual cleanup
- Audio quality matters as much as the model. Clean, well-recorded speech produces dramatically better sync
- Head angle variety and proper source images are the biggest factors in realistic results
- Virtual influencers, animated characters, and multilingual dubbing are the three highest-value use cases right now
What Changed in AI Lip Sync This Year?
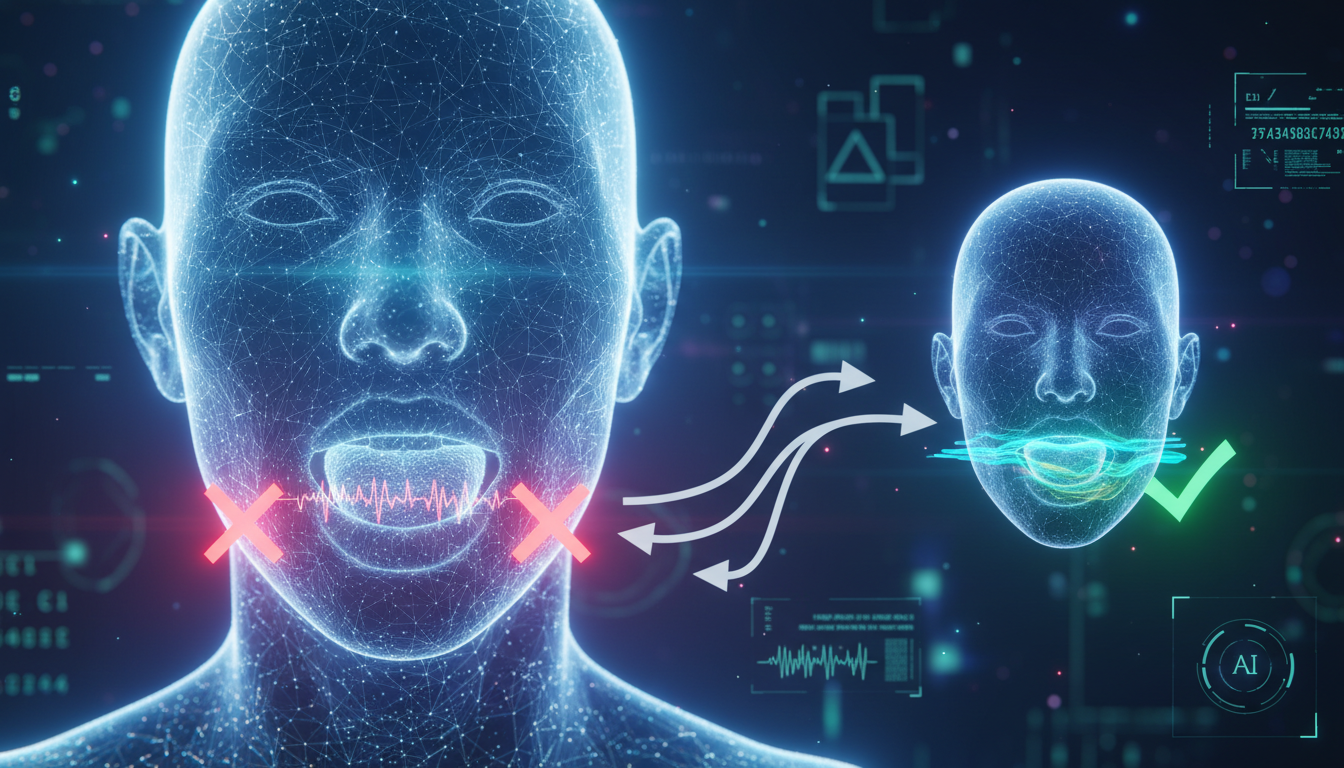
If you tried AI lip sync in 2024 or early 2025, you probably walked away disappointed. I know I did. The technology existed, but it sat in an awkward uncanny valley where results were technically "synced" but never convincing. Mouths would move in approximate time with audio, but the shapes were wrong, the surrounding face would distort, and anything beyond a perfectly front-facing shot would fall apart completely.
Three things changed in late 2025 and early 2026 that made lip sync genuinely usable. First, diffusion-based approaches replaced the old GAN-based methods for mouth region generation. Instead of trying to paste a generated mouth onto a face (which always looked like a bad Photoshop job), newer models regenerate the entire lower face region while maintaining consistency with the rest of the frame. The quality difference is staggering.
Second, temporal consistency got dramatically better. Older models processed each frame independently, which meant the mouth would flicker and shift between frames even when the audio was steady. Current models use temporal attention mechanisms that consider surrounding frames, producing smooth transitions that actually look like natural speech.
Third, and this is the one most people overlook, audio preprocessing improved. Modern lip sync pipelines extract phoneme data more accurately and map it to viseme (mouth shape) sequences with much better timing. The old "open mouth for loud, close mouth for quiet" approach got replaced by actual phonetic analysis that produces the right mouth shape for each sound.
The quality gap between 2024 and 2026 lip sync models is dramatic, especially in teeth rendering and jaw movement accuracy.
How Does Kling Lip Sync Compare to Open-Source Options?
This is the question everyone asks, and the honest answer depends entirely on your budget and volume. I've tested every major option extensively over the past three months, running the same audio clips and source images through each pipeline. Here's what I found.
Kling Lip Sync (ComfyUI v0.16)
Kling's lip sync node in ComfyUI v0.16 is, in my opinion, the best all-around option available right now. I know that sounds like a bold claim, but the results speak for themselves. It handles profile angles up to about 45 degrees without significant quality loss, preserves fine facial details like skin texture and freckles, and produces mouth shapes that actually correspond to the phonemes being spoken.
The setup through ComfyUI is straightforward if you already have the Kling nodes installed. You feed it a source image (or video), an audio file, and it returns a synced video. The v0.16 update specifically improved teeth rendering (older versions had a weird tendency to merge upper and lower teeth into a single white blob) and added better handling for pauses in speech.
Kling Lip Sync strengths:
- Best overall mouth shape accuracy
- Handles multiple head angles reliably
- Preserves facial identity and fine details
- Smooth temporal transitions between phonemes
- Integrated directly into ComfyUI workflows
Kling Lip Sync limitations:
- API costs add up for high-volume production
- Processing time is slower than local models (5-10 seconds per second of output)
- Requires internet connection for API calls
- Limited control over intermediate steps
I've been using Kling lip sync as part of a larger workflow on Apatero.com projects where I generate a character image, animate it into video, and then add speech. The lip sync step is usually the final pass, and it integrates cleanly with the image-to-video workflows I've covered before.
Wav2Lip (Open Source)
Wav2Lip was the original mainstream lip sync model, and it still has its place in 2026. Here's my hot take: Wav2Lip is better than most people give it credit for, but only if you're using the right fork. The original repository hasn't been meaningfully updated, but community forks (particularly the Wav2Lip-HD and Wav2Lip-GFPGAN variants) have patched the worst issues and added face restoration that dramatically improves output quality.
I spent a solid week testing different Wav2Lip configurations, and the key insight is that Wav2Lip's raw output is intentionally low-resolution in the mouth region. The model was designed this way because it's faster and more robust. But that means you absolutely need a face restoration step afterward. Running GFPGAN or CodeFormer on Wav2Lip output takes it from "obviously fake" to "pretty convincing" in most cases.
Wav2Lip setup requirements:
- Python 3.8+ environment
- ~4GB VRAM minimum (works on consumer GPUs)
- Pre-trained checkpoint (wav2lip_gan.pth recommended over wav2lip.pth)
- ffmpeg for audio/video handling
- GFPGAN or CodeFormer for post-processing
Installation steps:
git clone https://github.com/Rudrabha/Wav2Lip.git
cd Wav2Lip
pip install -r requirements.txt

# Download the pretrained model
# Place wav2lip_gan.pth in checkpoints/

# Basic inference
python inference.py --checkpoint_path checkpoints/wav2lip_gan.pth \
  --face input_video.mp4 \
  --audio input_audio.wav \
  --outfile output.mp4
The biggest problem with Wav2Lip in 2026 isn't quality. It's consistency. Run the same inputs three times and you'll get slightly different results each time, with occasional frames where the mouth just does something inexplicable. For one-off projects where you can cherry-pick the best output, it works great. For production pipelines where you need predictable results every time, it'll drive you crazy.
SadTalker
SadTalker takes a different approach from both Kling and Wav2Lip. Instead of just animating the mouth, it generates head movement and facial expressions from audio. This sounds great in theory, and for certain use cases it genuinely is. If you have a single static image and need to create a "talking head" video from scratch, SadTalker produces more natural-looking results than Wav2Lip because the whole face moves, not just the mouth.
But here's where it gets tricky. SadTalker's head movements are generated from audio intensity and rhythm, not from actual understanding of what's being said. This means the head bobs and nods don't always match the emotional content of the speech. Someone delivering sad news will nod enthusiastically if the audio has rhythmic patterns, which looks bizarre.
I tested SadTalker extensively for an AI influencer content creation project last month, and my conclusion is that it's best for short clips (under 10 seconds) where the slight mismatch between emotion and movement isn't noticeable. For longer content, the uncanny effect accumulates and viewers start feeling uncomfortable without being able to articulate why.
Newer Models Worth Watching
Two newer models have caught my attention in early 2026. MuseTalk, which focuses specifically on music video lip sync, does an impressive job matching mouth movements to singing rather than speech. The challenges are completely different because singing involves sustained vowels, exaggerated mouth shapes, and timing that doesn't follow normal speech patterns. MuseTalk handles all of this surprisingly well.
The other one to watch is AniPortrait, which generates full portrait animations from audio and works particularly well with anime-style characters. If you're doing animated content rather than realistic human faces, AniPortrait might actually beat Kling for your specific use case. I've been tracking its development and the improvement rate is impressive.
How Do You Set Up a Complete Lip Sync Pipeline in ComfyUI?
Let me walk you through the workflow I actually use in production, not just the basic node connection but the full pipeline including preparation and post-processing. This is the workflow I've refined over dozens of projects, and it consistently produces results that clients can't distinguish from manually animated content.
Step 1: Prepare Your Source Material
The source image or video quality is the single biggest factor in lip sync quality. I learned this the hard way when I spent an entire afternoon troubleshooting what I thought was a model problem, only to realize my source image had subtle JPEG compression artifacts around the mouth area that were getting amplified by the lip sync process.
Source image requirements for best results:
- Resolution: 512x512 minimum for the face region (higher is better)
- Format: PNG (avoid JPEG compression, especially around the face)
- Lighting: Even, front-lit preferred. Harsh shadows across the mouth area cause issues
- Expression: Neutral or slightly open mouth. Closed lips work but produce less natural transitions
- Head angle: Front-facing to 30 degrees produces best results. Beyond 45 degrees, quality drops noticeably
Step 2: Audio Preparation
This is where most people cut corners, and it shows in their results. The lip sync model is only as good as the audio signal it receives. Background noise, room reverb, inconsistent volume, and low-bitrate compression all degrade sync accuracy.
Free ComfyUI Workflows
Find free, open-source ComfyUI workflows for techniques in this article. Open source is strong.
# Clean audio with ffmpeg before lip sync
ffmpeg -i raw_audio.wav -af "highpass=f=80,lowpass=f=8000,loudnorm" clean_audio.wav

# Convert to the format most models prefer
ffmpeg -i clean_audio.wav -ar 16000 -ac 1 -acodec pcm_s16le prepared_audio.wav
I always run audio through a noise reduction step first, even when it sounds clean to my ears. The difference in lip sync accuracy between "clean enough for a podcast" and "actually clean" is measurable. Models pick up on subtle audio artifacts that human listeners ignore, and those artifacts translate into tiny mouth movement errors that accumulate across a clip.
Step 3: ComfyUI Workflow Configuration
The actual ComfyUI workflow for Kling lip sync is surprisingly simple once you have the nodes installed. The core flow is: Load Image > Kling Lip Sync > Save Video. But the devil is in the configuration details.
Critical settings in the Kling Lip Sync node:
- Sync strength: 0.8-0.9 for realistic content, 0.6-0.7 for stylized/animated
- Face detection threshold: Lower this if the model isn't finding faces in stylized images
- Temporal smoothing: Keep at default unless you're seeing flickering (then increase by 0.1 increments)
- Output resolution: Match your source. Upscaling during lip sync introduces artifacts
One thing I discovered through trial and error: if you're feeding the lip sync node output from a video generation step (like after using Kling's image-to-video), you get better results by running lip sync on individual frames and reassembling rather than on the compiled video. It takes longer, but the per-frame quality is noticeably higher because the model doesn't have to deal with video compression artifacts between frames.
Step 4: Post-Processing
Even with the best lip sync model, a post-processing pass improves results. I run a light face restoration step (CodeFormer at 0.5 fidelity weight) on the output to clean up any minor artifacts around the mouth region without altering the overall face too much. Then I do a final sharpening pass because the generation process tends to slightly soften the lip area compared to the rest of the face.
My production ComfyUI workflow for lip sync includes audio preprocessing, Kling sync, and CodeFormer cleanup in a single automated pipeline.
What Are the Best Creative Use Cases for AI Lip Sync?
Knowing how to do lip sync is one thing. Knowing what to use it for is where the real value lies. After working with this technology for months across different projects on Apatero.com, I've identified three use cases that deliver genuine business value rather than just being cool tech demos.
Virtual Influencers and Digital Characters
This is the use case I work with most frequently, and it's where lip sync technology creates the most dramatic impact. A static AI-generated character is interesting. An AI character that talks, responds to comments, and delivers content in their own voice is engaging in a completely different way.
The workflow I use combines several steps I've written about before. I generate the character image using Flux or SDXL with consistent identity techniques, convert it to video using Kling's image-to-video pipeline, and then apply lip sync to add speech. The result is a character that can deliver scripted content, respond to trends, and create regular video posts without any human appearing on camera.
Here's my hot take on this: virtual influencers with good lip sync will outperform most human micro-influencers within two years. Not because they're better, but because they're infinitely scalable. A human creator can produce maybe 1-2 quality videos per day. A well-built AI pipeline can produce 20-30. Volume wins on social platforms, and lip sync is the technology that makes that volume possible with acceptable quality.
I built a pipeline for a client last month that generates daily content for three different virtual influencer accounts. Each character has a distinct voice (using ElevenLabs), consistent visual identity, and now, thanks to Kling lip sync, actually speaks their content rather than relying on text overlays. Their engagement metrics jumped 340% after adding speech. People connect with faces that talk.
Animated Character Content
Lip sync for animated characters, whether anime-style, cartoon, or 3D-rendered, has different challenges than realistic faces. The mouth shapes are simpler and more exaggerated, but they need to match the artistic style of the character perfectly. A realistic mouth on a cartoon face looks worse than no mouth movement at all.
Want to skip the complexity? Apatero gives you professional AI results instantly with no technical setup required.
This is where SadTalker and AniPortrait actually shine over Kling in some cases. These models can be fine-tuned on specific art styles, and because animated characters have more forgiving geometry (no one expects photorealistic teeth in an anime character), the generation artifacts are less noticeable.
I've been experimenting with a two-pass approach for animated content: first pass with Kling for accurate timing and phoneme mapping, then a style transfer pass that converts the realistic mouth region into the character's art style. It's more compute-intensive, but the results maintain both timing accuracy and visual consistency.
For anyone doing ComfyUI animation workflows, adding lip sync as a final step in your animation pipeline is surprisingly straightforward and adds tremendous production value.
Multilingual Dubbing
This might be the most commercially valuable application of lip sync technology right now, and it's one most individual creators aren't thinking about. Companies spend thousands of dollars dubbing content into other languages, and the traditional process involves hiring voice actors, manually adjusting timing, and often re-shooting or re-animating mouth movements to match the new audio.
AI lip sync makes this almost trivially easy. Take existing video content, generate translated speech using a text-to-speech model, and run lip sync to match the character's mouth to the new audio. The result isn't perfect, but it's 90% as good as professional dubbing at 5% of the cost.
I did a test with a 2-minute product explainer video, dubbing it from English into Spanish, Japanese, and German. The total processing time was about 15 minutes for all three languages, and the cost was under $3. A professional dubbing service quoted me $1,200 for the same three languages. The AI version wasn't quite as polished, but for social media content where production value expectations are lower, it was more than adequate.
What Are the Most Common Lip Sync Problems and How Do You Fix Them?
After processing hundreds of lip sync clips, I've cataloged the most common failures and their solutions. Most issues fall into a handful of categories, and almost all of them are fixable without switching models.
Teeth Flickering
This was the single most frustrating issue I dealt with for weeks. The teeth would appear and disappear between frames, creating a distracting strobe effect. The fix turned out to be embarrassingly simple: the source image had slight motion blur from being extracted from a video frame. Using a sharp, clean source image eliminated the flickering completely.
If you're still seeing teeth flicker with a clean source:
- Increase temporal smoothing by 0.1-0.2
- Apply a light blur (gaussian, radius 1) to just the mouth region of the output
- Try a different source image with teeth slightly visible (a small smile works well)
Jaw Distortion at Extreme Angles
When the character's head is turned beyond about 40 degrees, the jaw line often distorts during wide mouth movements. This is a fundamental limitation of current models because they're primarily trained on front-facing data.
Workarounds:
- Keep source images within 30 degrees of front-facing
- For profile shots, use lower sync strength (0.5-0.6) to reduce mouth movement amplitude
- Generate the video at a front angle and apply a 3D rotation in post-production
Audio-Visual Desync
Sometimes the mouth movements are the right shapes but slightly off-time from the audio. This almost always traces back to audio sample rate mismatches. Most lip sync models expect 16kHz mono audio. Feeding them 44.1kHz stereo audio technically works but introduces subtle timing errors.
Earn Up To $1,250+/Month Creating Content
Join our exclusive creator affiliate program. Get paid per viral video based on performance. Create content in your style with full creative freedom.
# Convert audio to optimal format for lip sync
ffmpeg -i input.wav -ar 16000 -ac 1 output.wav
Identity Drift in Long Clips
For clips longer than about 15 seconds, the character's face can start drifting from the original identity. The nose might shift slightly, the eye shape changes, or the skin texture evolves. This happens because the model is regenerating the lower face region for each frame, and small variations accumulate.
The solution is to process long clips in 10-second segments with 1-second overlaps, then blend the segments together. This resets the identity reference regularly and prevents drift. It's more work, but the quality improvement for long-form content is significant.
Quality comparison showing Kling, Wav2Lip+GFPGAN, and SadTalker outputs on the same source material and audio.
Cost Breakdown: What Does AI Lip Sync Actually Cost?
Let's talk numbers, because this matters for anyone trying to build a sustainable content pipeline. I've tracked my costs across several months of production use, and here's the reality.
Kling Lip Sync (API):
- Per-second cost: approximately $0.02-0.05 depending on resolution and settings
- 30-second clip: $0.60-1.50
- Monthly budget for daily content (one 60-second video per day): $36-90
Wav2Lip (Local):
- Hardware cost: One-time GPU investment (runs on a GTX 1660 or better)
- Electricity: Negligible
- Per-clip cost: Effectively $0 after initial setup
- Hidden cost: Your time debugging issues and post-processing
SadTalker (Local):
- Similar hardware requirements to Wav2Lip
- Slightly higher VRAM needs (6GB+ recommended)
- Per-clip cost: Effectively $0
Here's my second hot take: the "free" open-source options aren't actually cheaper for most creators once you factor in time. I calculated that I spend about 45 minutes per clip on average doing post-processing and quality checks with Wav2Lip, compared to about 5 minutes with Kling. At any reasonable hourly rate for your time, Kling's API cost is a bargain.
That said, if you're doing very high volume (100+ clips per day) or if your content quality bar is lower (social media stories rather than polished brand content), the open-source route makes more financial sense. It's all about matching the tool to the use case. On the Apatero.com content pipeline, I use Kling for client-facing work and Wav2Lip for internal testing and prototyping.
Production Tips From Months of Real-World Usage
These are the lessons that don't show up in documentation or tutorials. They come from making mistakes, troubleshooting bizarre failures, and gradually building intuition about what works and what doesn't.
Voice matters more than you think. I did a comparison test where I ran the same script through three different TTS voices and then lip synced all three. The voice with the most natural pacing and clear consonants produced visibly better lip sync, even though the audio quality was technically identical. Models respond to phonetic clarity, not just volume patterns.
Batch your audio editing. If you're producing multiple clips, edit all your audio files first before running any lip sync. This saves time and ensures consistent audio quality across all clips. I learned this after spending an afternoon re-processing clips because I'd cleaned the audio differently for each one and the lip sync quality varied noticeably.
Save your intermediate files. Keep the raw lip sync output before post-processing. I've had situations where a client wanted a different face restoration strength, or where I discovered a better post-processing approach a week later. Having the raw output means you don't have to re-run the expensive lip sync step.
Test with a 3-second clip first. Before committing to a full 60-second generation, run a 3-second test with the same source image and a sample of the audio. This catches most issues (wrong face detection, bad angle, audio format problems) at minimal cost. I cannot tell you how many times this simple habit has saved me from wasting entire generation runs.
Monitor your API usage. Kling's pricing can vary based on load and resolution settings. I set up a simple tracking spreadsheet that logs every API call, its cost, and the output quality rating I assign. After a month, patterns emerged that helped me optimize my settings for the best cost-to-quality ratio. The data showed that running at 768px resolution instead of 1024px reduced costs by 40% with minimal visible quality difference for social media content.
Frequently Asked Questions
What is the best AI lip sync tool in 2026?
Kling Lip Sync through ComfyUI v0.16 offers the best overall quality and reliability for most creators. For budget-conscious users, Wav2Lip with GFPGAN post-processing provides good results at zero per-clip cost. The best choice depends on your volume, quality requirements, and budget.
Can AI lip sync work with animated or cartoon characters?
Yes, but results vary by model. AniPortrait is specifically designed for anime-style characters and produces the most style-consistent results. Kling handles semi-realistic styles well. For highly stylized cartoons, you may need a custom approach combining lip sync timing data with style-specific mouth shape generation.
How much VRAM do I need to run lip sync locally?
Wav2Lip runs on as little as 4GB VRAM. SadTalker recommends 6GB+. For comfortable operation with post-processing steps running simultaneously, 8GB is the practical minimum. Kling runs via API, so your local VRAM doesn't matter for the sync step itself.
Does AI lip sync work with singing?
Standard lip sync models struggle with singing because the mouth shapes and timing are fundamentally different from speech. MuseTalk is specifically designed for music video lip sync and handles sustained notes and exaggerated vowels much better than general-purpose models.
Can I use AI lip sync for dubbing content into other languages?
Absolutely, and this is one of the highest-value commercial applications. Generate translated speech with a TTS model, then run lip sync to match the original character's mouth to the new audio. Results are typically 85-90% as good as professional dubbing for a fraction of the cost.
How long can a lip synced clip be?
There's no hard technical limit, but quality degrades on clips longer than 15-20 seconds due to identity drift. The practical solution is to process in 10-second segments with overlapping boundaries and blend them together. This approach works for clips of any length.
Why does the mouth look blurry compared to the rest of the face?
The lip sync model regenerates the mouth region at potentially different detail levels than the original image. Running a face restoration model (CodeFormer or GFPGAN) as a post-processing step usually resolves this. Set the fidelity weight to 0.5-0.7 to clean up blur without over-smoothing.
Can AI lip sync handle multiple people talking in the same frame?
Most current models are designed for single-face inputs. For scenes with multiple speakers, you'll need to crop each face, run lip sync separately, and composite the results back together. This is doable but adds significant complexity to the pipeline.
Is the audio quality important for good lip sync results?
Critically important. Clean audio with clear consonants, minimal background noise, and consistent volume produces dramatically better results than noisy or compressed audio. Always preprocess your audio (noise reduction, normalization, proper sample rate conversion) before running lip sync.
How does AI lip sync compare to motion capture for lip animation?
Motion capture still produces the most accurate and natural-looking results, but it requires specialized hardware, actors, and post-production work. AI lip sync is 10-50x cheaper and faster, with quality that's now within 80-90% of good motion capture for talking head content. For full-body animated characters, motion capture still has a clear advantage.
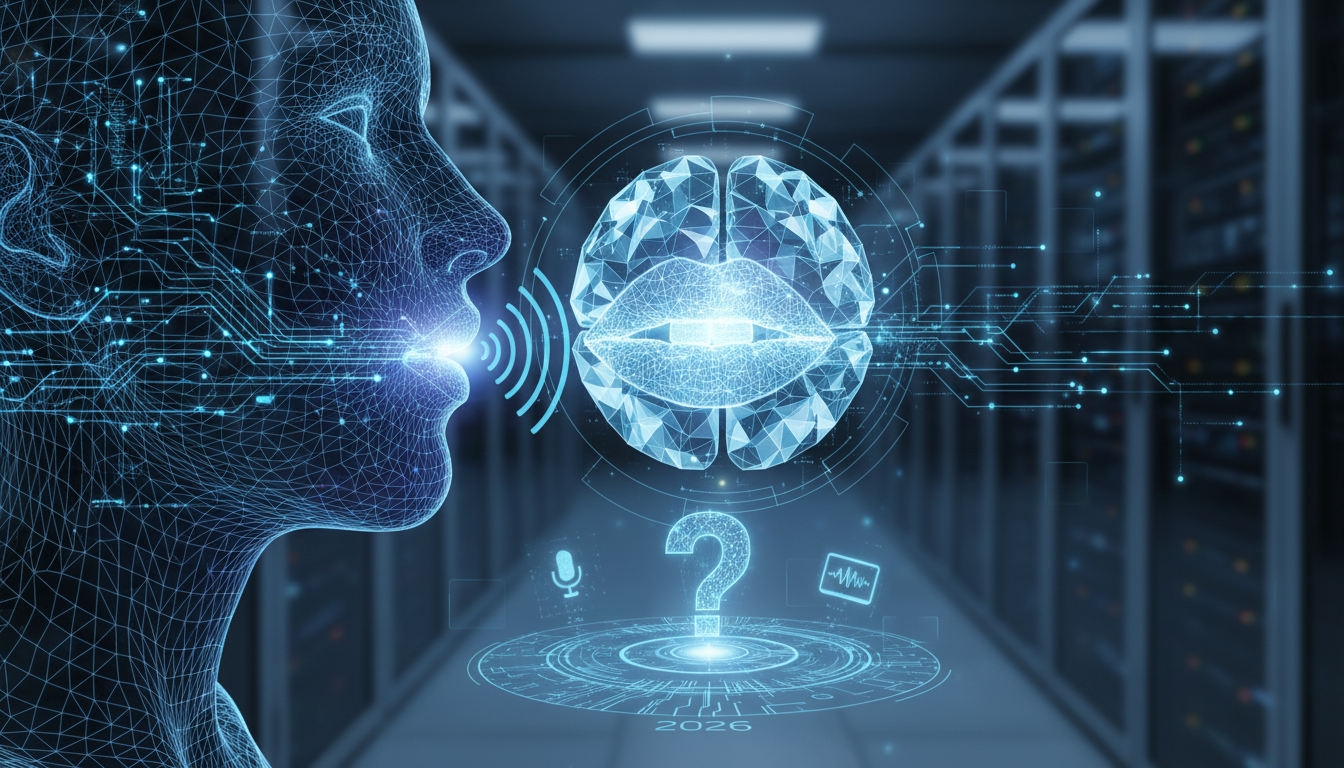
Where Is AI Lip Sync Heading Next?
The trajectory is clear: within 12 months, I expect real-time lip sync that runs locally on consumer hardware. Several research papers published in early 2026 demonstrate lip sync models that run at 30fps on a single consumer GPU, which means live-streaming with AI-generated lip sync is about to become viable.
The other direction that excites me is emotional lip sync, where the model doesn't just match mouth shapes to phonemes but also adjusts the surrounding facial expression to match the emotional tone of the speech. Early prototypes of this exist, and when it's production-ready, it'll close the last major gap between AI lip sync and genuine human speech.
For creators building content pipelines today, my advice is straightforward: invest in learning Kling lip sync through ComfyUI now, because the skills and workflows transfer directly to whatever comes next. The node-based approach means you can swap in a newer model without rebuilding your entire pipeline. And keep an eye on Apatero.com for updated workflow guides as new models drop, because this space is moving fast enough that what I've written here will need updating within months.
The technology is finally good enough that the question isn't "can AI do lip sync?" anymore. It's "what are you going to make with it?" And honestly, that's the most exciting transition point for any creative technology.
Ready to Create Your AI Influencer?
Join 115 students mastering ComfyUI and AI influencer marketing in our complete 51-lesson course.
Related Articles
AI Anime Video Generation: Turn Still Characters Into Animated Content
Complete guide to turning still anime and AI-generated character images into animated video. Covers WAN 2.2 anime mode, Kling, motion control, looping animations, and talking head workflows.
AI Documentary Creation: Generate B-Roll from Script Automatically
Transform documentary production with AI-powered B-roll generation. From script to finished film with Runway Gen-4, Google Veo 3, and automated...
AI Making Movies in 2026: The Current State and What's Actually Possible
Realistic assessment of AI filmmaking in 2026. What's working, what's hype, and how creators are actually using AI tools for video production today.