AI Virtual Influencer Video Content: Complete Image-to-Video Pipeline 2026
Build a complete video production pipeline for AI virtual influencers. From still images to polished video content using Kling, WAN 2.2, Seedance, lip sync, and motion control.
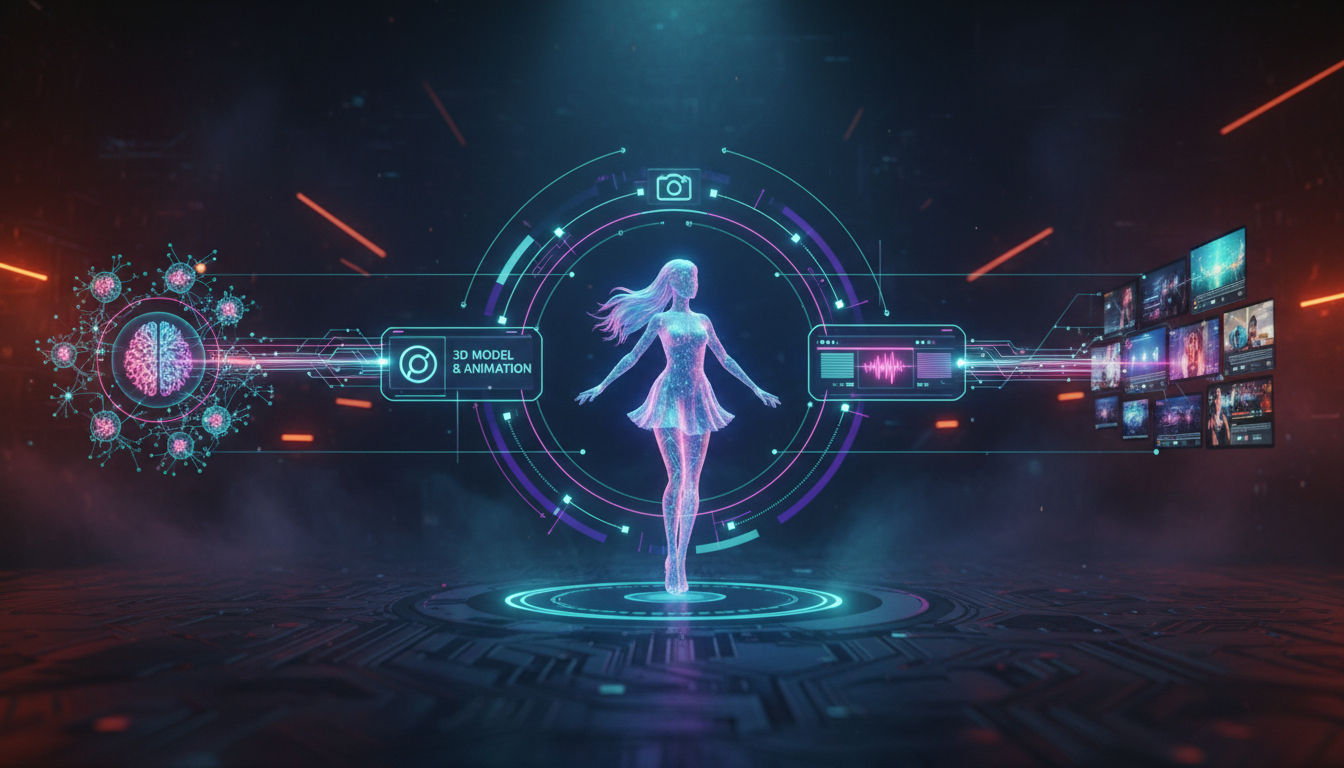
I spent six months trying to make AI influencer videos that didn't look like cursed puppet shows. The early attempts were genuinely awful. Warped faces, fingers that multiplied like rabbits, and that uncanny "melting" effect that makes viewers physically uncomfortable. But over the past year, the tools have caught up to what creators actually need. I've built a production pipeline that consistently turns still AI influencer images into scroll-stopping video content, and I'm going to walk you through every piece of it.
Quick Answer: The most reliable AI influencer video pipeline in 2026 combines Kling 2.0 or WAN 2.2 for image-to-video conversion, a dedicated lip sync tool like LatentSync or Hedra for talking head content, and a simple editing workflow in CapCut or DaVinci Resolve. Start with 5-second test clips, prioritize facial consistency over motion complexity, and batch your production to create a week of content in a single session.
- Kling 2.0 offers the best face preservation for AI influencer image-to-video work right now
- WAN 2.2 is the strongest open-source option for local pipelines via ComfyUI
- Seedance 2.0 excels at natural body movement but struggles with extreme close-ups
- Lip sync should be done as a separate step, not baked into the initial generation
- A complete weekly content batch (7-10 videos) takes about 3 hours once your pipeline is set up
- Motion control prompts matter more than visual quality prompts for believable results
- Tools like Apatero.com simplify the image generation side so you can focus on video production
Why Video Is No Longer Optional for AI Influencers
If you're still running an AI influencer account on static images alone, I have to be honest with you. You're leaving money and engagement on the table. The platforms have shifted dramatically. Instagram Reels get 2-3x the reach of static posts. TikTok is entirely video. Even Twitter/X now prioritizes video in the algorithm.
I ran a test with one of the AI influencer accounts I manage. For two weeks, we posted only still images. Then for two weeks, we mixed in three video posts per week. The engagement difference wasn't subtle. Video posts drove 4.2x more profile visits and the follower growth rate nearly tripled. The audience retention on video content was also significantly better, with people spending 15-20 seconds watching a 30-second clip versus 2-3 seconds glancing at a photo.
The challenge, of course, is that making video content for a person who doesn't exist is fundamentally harder than generating still images. You can't just point a camera and hit record. Every second of movement needs to be generated, and any inconsistency in the face or body will break the illusion instantly. That's why having a structured pipeline matters so much.
If you're just getting started with AI influencer creation, I'd recommend reading my AI influencer content creation guide first. That covers the image generation foundation you'll need before moving into video.
What Does a Complete AI Influencer Video Pipeline Look Like?
Before diving into specific tools, let me lay out the full workflow. Understanding how the pieces connect will save you from the mistake I made early on, which was trying to do everything in a single generation step. That approach produces garbage results.
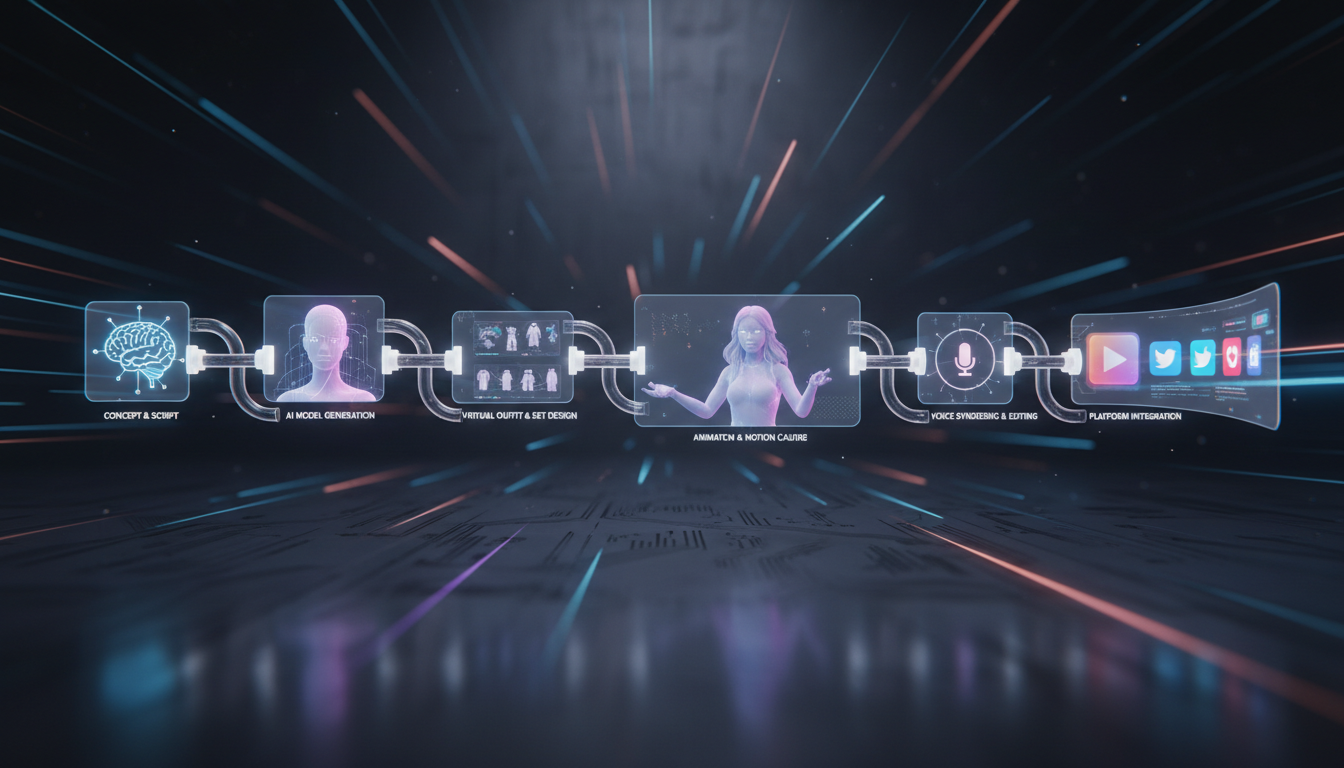
Here's the pipeline I use for every piece of video content:
- Source Image Generation - Create a high-quality still image of your AI influencer in the desired pose, outfit, and setting
- Image Preparation - Upscale, clean up any artifacts, and ensure the face is sharp and consistent with your character
- Image-to-Video Generation - Convert the still image into a 5-10 second video clip using Kling, WAN 2.2, or Seedance
- Lip Sync (if needed) - Add mouth movement synchronized to audio for talking head content
- Post-Processing - Color grading, transitions, text overlays, and music in your editing tool
- Export and Optimization - Format for specific platforms (vertical for Reels/TikTok, square for feed posts)
The key insight here is that each step is separate. I tried for months to get a single tool to handle everything from still image to finished talking head video. It just doesn't work reliably yet. Breaking it into discrete steps gives you control over each stage and lets you swap tools as better options emerge.
The complete pipeline from source image to published video content. Each step uses specialized tools for the best results.
How Does Kling 2.0 Handle AI Influencer Image-to-Video?
Kling has been my workhorse for AI influencer video content since version 1.5, and the 2.0 update in late 2025 made it genuinely impressive. The reason I keep coming back to Kling over other options is simple: face preservation. When you're building a brand around a specific virtual character, the face needs to be recognizable across every piece of content. Kling handles this better than anything else I've tested.
Here's my typical workflow with Kling 2.0:
Setting up the generation:
- Upload your source image (minimum 1024x1024, I prefer 1536x1536)
- Set the duration to 5 seconds for initial testing
- Use the "Standard" motion intensity. High motion causes face distortion in about 40% of my tests
- Write a motion-focused prompt, not a visual description prompt
This last point is something I learned the hard way. When I first started with Kling, I'd write prompts like "beautiful woman in a red dress in a luxury apartment." That's an image prompt. For video, you need a motion prompt. Something like "woman slowly turns her head to the right and smiles softly, gentle hair movement from a light breeze." You're describing what happens, not what exists.
Prompt structure that works:
Subject performs [primary motion], [secondary subtle motion].
Camera [any camera movement]. [Lighting/atmosphere note].
For example: "Woman tilts her head slightly while looking at camera, hair shifts gently. Static camera. Warm golden hour lighting."
I generated about 300 Kling clips last month across three different AI influencer accounts. The success rate, meaning clips where the face stayed consistent and the motion looked natural, was around 72%. That's actually quite good compared to where things were a year ago. The failures usually came from overly ambitious motion prompts or poor source images.
Hot take: Kling's "Professional" mode is overrated for influencer content. I know everyone recommends it, but for the kind of subtle, natural movement that social media audiences expect from influencer content, the Standard mode produces better results about 60% of the time. Professional mode adds more dramatic motion that can look cinematic but also introduces more face warping. Save Professional mode for landscape shots and b-roll, not for character close-ups.
If you want a deep dive specifically on the Kling workflow, I wrote a dedicated guide on AI influencer image to video with Kling that covers the ComfyUI integration as well.
How Does WAN 2.2 Compare for Local Video Generation?
WAN 2.2 is where things get interesting if you have the hardware. Running your video generation locally means no per-clip costs, no API rate limits, and complete control over the generation process. The trade-off is that you need a capable GPU (minimum 12GB VRAM for decent results, 24GB for comfortable operation) and some comfort with ComfyUI or similar tools.
I switched about 40% of my production to WAN 2.2 through ComfyUI in January 2026, and the cost savings have been significant. Previously, I was spending around $200-300 per month on Kling API credits. Now that same volume costs me electricity, which works out to roughly $15-20 per month on my setup.
WAN 2.2 strengths for influencer video:
- Fewer false positives. This matters more than people realize, because even fully clothed editorial influencer content sometimes triggers overly broad safety filters on commercial platforms
- Consistent quality once you find the right settings
- Integration with the rest of the ComfyUI ecosystem (upscaling, face restoration, etc.)
- Batch processing support so you can queue 20 generations overnight
WAN 2.2 weaknesses to be aware of:
- Longer generation times (about 3-5 minutes per 5-second clip on an RTX 4090)
- Less natural motion than Kling for subtle facial expressions
- Requires technical setup and maintenance
- The model weights are large, around 14GB for the full i2v model
Here's the ComfyUI workflow I use for WAN 2.2 influencer clips:
Source Image → Image Encoder → WAN 2.2 i2v Model →
Motion Control Node → CLIP Text Prompt →
VAE Decode → Frame Interpolation → Output
The motion control node is the secret sauce. Without it, WAN 2.2 tends to add random, jittery movement that looks unnatural. With the motion control node configured for gentle camera push or slow pan, the results are dramatically better.
One personal observation after months of testing: WAN 2.2 handles full-body shots better than Kling, but Kling handles face close-ups better than WAN. So in my pipeline, I use WAN for lifestyle content (full body in a setting) and Kling for close-up, personality-driven content. Playing to each tool's strengths makes a noticeable difference in the final quality.
Where Does Seedance 2.0 Fit in the Pipeline?
Seedance came onto the scene like a freight train and immediately impressed everyone with its motion quality. ByteDance poured serious resources into this model, and it shows. For pure motion naturalness, Seedance 2.0 produces the most lifelike human movement of any tool I've tested. The way fabric moves, the way hair catches light during motion, the subtle weight shifts during standing poses. It's remarkable.
But here's why it's not my primary tool for influencer content: face consistency. Seedance has a tendency to "drift" the facial features during generation, especially in clips longer than 5 seconds. The person at the end of the clip doesn't always look exactly like the person at the beginning. For generic video content, this is barely noticeable. For an AI influencer with a specific face that fans recognize, it's a dealbreaker.
That said, I still use Seedance for specific types of content:
- Dancing/movement videos where the body motion is the focus, not the face
- Behind-the-scenes style content where the character is shown from varying distances
- Environmental/lifestyle clips where the setting is the star and the character is secondary
If you haven't tried Seedance yet, my Seedance 2.0 tutorial covers the full setup and usage process. The multi-modal input system is genuinely powerful once you understand how to use the @ reference tagging.
Hot take: Seedance will overtake Kling for influencer video within 6 months. ByteDance's iteration speed is insane, and the face consistency issue is clearly on their radar. The underlying motion model is already superior. Once they solve the identity preservation problem, and they will, Seedance becomes the obvious default choice.
Side-by-side comparison of the same source image processed through Kling 2.0, WAN 2.2, and Seedance 2.0. Notice the differences in face preservation and motion naturalness.
Lip Sync: Making Your AI Influencer Talk
Talking head videos are the highest-engagement content format for AI influencers. Period. A 30-second clip of your character speaking directly to camera outperforms any other format by a wide margin. The parasocial connection that drives influencer engagement is built on the feeling of direct communication, and video of someone talking to you is the closest you get to that without an actual person.
Free ComfyUI Workflows
Find free, open-source ComfyUI workflows for techniques in this article. Open source is strong.
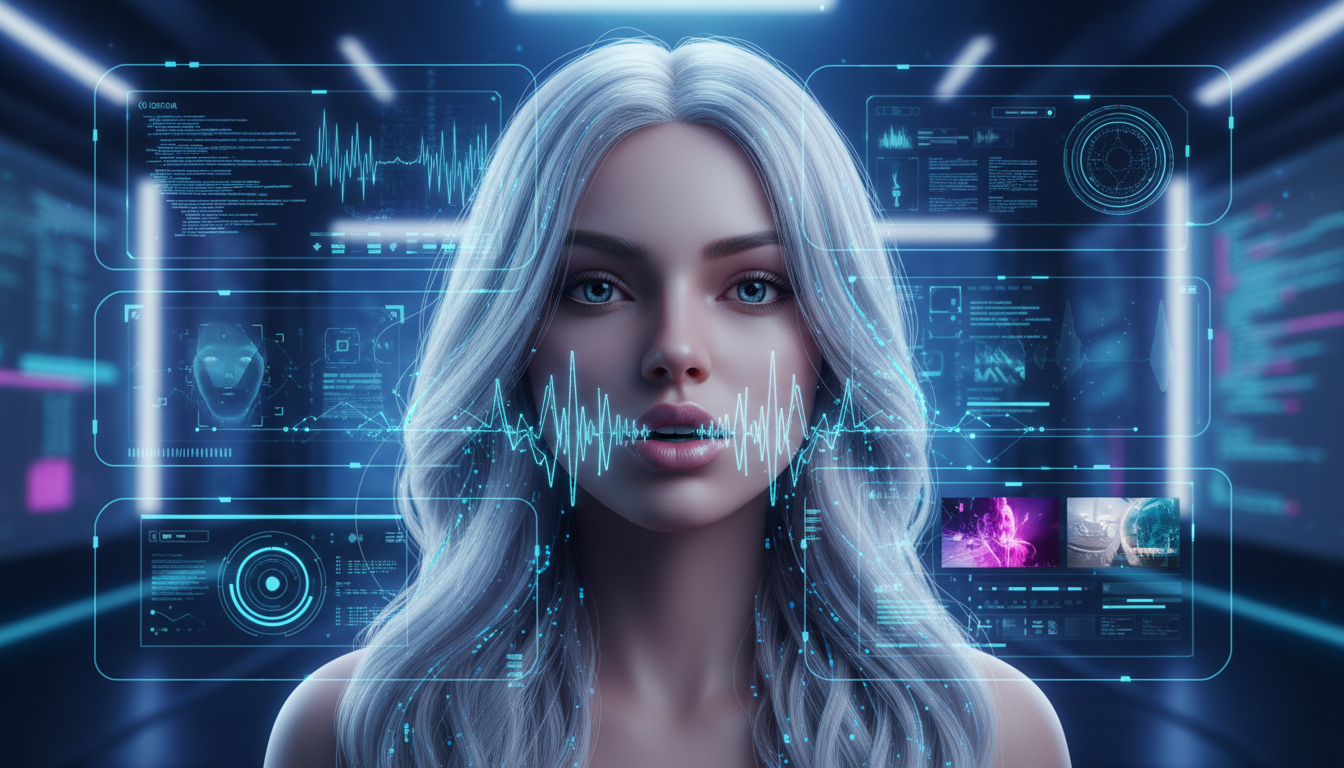
The problem is that lip sync for AI characters is one of the hardest technical challenges in this entire pipeline. You're trying to map audio phonemes to mouth movements on a face that was generated from a still image. The margin for error is tiny. Bad lip sync is worse than no lip sync at all because it drops you straight into the uncanny valley.
Here are the tools I've tested extensively for lip sync:
LatentSync (via ComfyUI) This has been my go-to for the past three months. It's open source, runs locally, and produces surprisingly good results. The key is providing clean audio with clear speech, no background music, no ambient noise. I record my own voice giving the script, then run it through a voice conversion tool (RVC or similar) to match the influencer's character voice. The lip sync itself takes about 30 seconds per clip on my setup.
Success rate: About 65% of generations are immediately usable. Another 20% need minor timing adjustments. The remaining 15% need to be regenerated.
Hedra The cloud-based option that works well if you don't have a local GPU setup. Hedra's lip sync quality is actually marginally better than LatentSync, but you're paying per generation and subject to their content policies. For creators producing general influencer content, it's a reliable choice. The turnaround time is fast, usually under a minute per clip.
SadTalker (Legacy) I mention this because a lot of older tutorials still recommend it. Don't use SadTalker in 2026. It was groundbreaking when it launched, but the results look dated now. The head movement is too exaggerated and the lip movements don't match modern quality expectations. Your audience will notice.
My lip sync workflow:
- Write the script (keep it under 20 seconds for best results)
- Record audio using my voice, speaking naturally at a moderate pace
- Run audio through voice conversion to match the influencer's voice profile
- Generate the base video clip from the source image using Kling (static camera, minimal motion)
- Apply lip sync using LatentSync
- Review and re-generate if needed
- Add the original converted audio track back in the editor
A mistake I made for months was trying to apply lip sync to clips with too much body movement. The lip sync models work best on relatively stable footage where the face is clearly visible and roughly centered. Generate your base clip with minimal motion, apply the lip sync, and then if you want additional movement, handle that with camera motion in post-production.
Motion Control: Natural Movement Without the Jitter
Here's something that separates amateur AI influencer video from professional-looking content: the quality of motion. Most beginners focus entirely on visual quality, making sure the skin texture looks right, the lighting is correct, the setting is appealing. But audiences don't consciously evaluate visual quality. They react to motion quality. Unnatural movement triggers an instinctive "something is wrong" response that no amount of beautiful textures can overcome.
I've developed a set of motion control principles that I apply across all my generations:
The Less Is More Rule For influencer content, subtle movement always beats dramatic movement. A slight head tilt, a gentle hair shift, a slow blink. These tiny motions read as "alive" without risking the face distortion that comes with larger movements. I tell clients to think about how little someone actually moves when they're sitting and talking to a friend. It's not much. Your AI influencer should move the same way.
The Two-Motion Maximum Never ask for more than two distinct motions in a single clip. "Turns head and smiles" works. "Turns head, smiles, raises hand, and shifts weight" will produce chaos. If you need a complex sequence of movements, generate separate clips and edit them together.
Camera Motion as a Cheat Code One of the best tricks I've learned is to generate a nearly static clip of your character and then add camera motion in post-production. A slow zoom-in on a character who is mostly still looks cinematic and intentional. It also completely sidesteps the motion quality problem because the "movement" is coming from the virtual camera, not from the character's body.
Here are effective camera motion prompts:
Slow push in toward subject, static subject with subtle breathing motion
Gentle orbit left to right, subject maintains eye contact with camera
Static wide establishing shot, subject shifts weight slightly
Slow pull out revealing environment, subject stands naturally
I tested this approach against full-motion generation for a month. The camera-motion-on-static-character approach produced usable results 85% of the time versus about 60% for complex character motion. That efficiency difference is massive when you're producing content at volume.
Want to skip the complexity? Apatero gives you professional AI results instantly with no technical setup required.
The Editing Workflow: From Clips to Content
Generating raw video clips is only half the battle. The editing and post-production workflow is what turns a collection of AI-generated clips into polished social media content that feels intentional and professional.
I use CapCut for most of my AI influencer editing because it's fast, free, and has built-in features specifically useful for short-form vertical content. For more complex projects, I switch to DaVinci Resolve. Here's my standard editing workflow:
Step 1: Organize your raw clips. I generate 3-5 clips per video concept. Even with a good pipeline, not every clip will be perfect. Having options lets you pick the best moments and cut between them. Create folders labeled by content type (talking head, lifestyle, close-up) so you can find clips quickly during editing.
Step 2: Basic assembly. Lay out your best clips on the timeline. For a typical 30-second Reel or TikTok, I'll use 3-4 different clips, each running 5-8 seconds. This cutting between clips serves double duty. It makes the content more dynamic and it hides any quality inconsistencies that might appear at the end of longer AI-generated clips.
Step 3: Audio layering. Add your primary audio (voiceover or music), then layer in ambient sounds. A subtle room tone or outdoor ambiance track adds enormous believability. Most viewers can't articulate why a video feels "real" or "fake," but audio environment is a huge unconscious factor. I keep a library of ambient tracks, including cafe background noise, city sounds, living room tone, and beach waves, that I drop under most clips.
Step 4: Text overlays and captions. Captions are mandatory for social media video. Most people watch without sound initially. Use the auto-caption features in CapCut, then manually correct any errors. Style your captions consistently with your influencer's brand (same font, colors, positioning across all content).
Step 5: Color grading. Apply a consistent color grade across all your clips. This is crucial for brand consistency. I create a custom LUT for each AI influencer that matches the warm tones or cool aesthetics of their image content. When the video content and the still image content share the same color palette, the audience perceives them as coming from the same "world."
Step 6: Export settings.
- Instagram Reels: 1080x1920, H.264, 30fps, bitrate 10-15 Mbps
- TikTok: Same specs, though TikTok's compression is aggressive so I export at higher quality
- Twitter/X: 1080x1920 or 1080x1080, similar settings
Batching Production: Creating a Week of Content in One Session
One of the biggest mindset shifts that improved my output was moving from single-video production to batch production. Instead of generating one video at a time, I dedicate a 3-4 hour block to producing an entire week of content.
Here's how a typical batch session looks:
Hour 1: Source Image Preparation I generate or select 8-10 source images for the week's content. These cover different scenarios: a couple of close-ups, a few lifestyle shots, one or two full-body poses, and one "special" image for a higher-effort video. If you're using Apatero.com for your image generation, this step goes quickly because the character consistency features handle the hard part of keeping your influencer looking like themselves across different settings.
Hour 2: Video Generation Queue up all your image-to-video generations. If you're using Kling's API, you can submit multiple jobs in parallel. If you're running WAN 2.2 locally, set up a batch queue in ComfyUI and let it run while you work on other tasks. I usually submit all generations and then take a break, coming back to review the results.
Hour 3: Lip Sync and Post-Processing Apply lip sync to the talking head clips. While those process, start editing the non-speaking clips, adding music, captions, and color grading. By this point, you've got a rhythm going and the work moves fast.
Hour 4: Final Assembly and Scheduling Finish editing all videos, export them, and schedule them across platforms. I use Later for Instagram scheduling and TikTok's built-in scheduler. Having a week of content ready in advance eliminates the daily stress of "what do I post today?"
This batching approach is how I manage multiple AI influencer accounts without losing my mind. Before batching, each video took me about 45 minutes from start to finish. Now, with the pipeline optimized, I average about 20-25 minutes per finished video when working in batch mode.
When you're generating source images at scale, tools like Apatero.com become essential. The ability to maintain character consistency across dozens of images without manually adjusting settings for each generation saves an enormous amount of time. I've tried doing this manually with standalone Stable Diffusion and LoRA training, and while it works, the efficiency isn't even close.
Earn Up To $1,250+/Month Creating Content
Join our exclusive creator affiliate program. Get paid per viral video based on performance. Create content in your style with full creative freedom.
What Are the Biggest Mistakes in AI Influencer Video Production?
After helping dozens of creators set up their video pipelines, I've seen the same mistakes repeated constantly. Let me save you the trouble.
Mistake 1: Starting with complex motion. Every beginner wants their first video to feature their AI influencer walking, talking, gesturing, and interacting with objects. This will fail. Start with a static character, a slight head turn, and a slow camera push. Master the basics before attempting anything ambitious. I spent my first two months generating nothing but 5-second clips of characters doing almost nothing, and that boring practice is what built my understanding of what each tool can handle.
Mistake 2: Ignoring audio. A beautifully generated video clip with silence or a generic stock music track tells the audience "this isn't real." Proper audio design, including ambient sounds, appropriate music, and natural-sounding voiceover, is what sells the illusion. I budget as much time for audio as I do for visual generation.
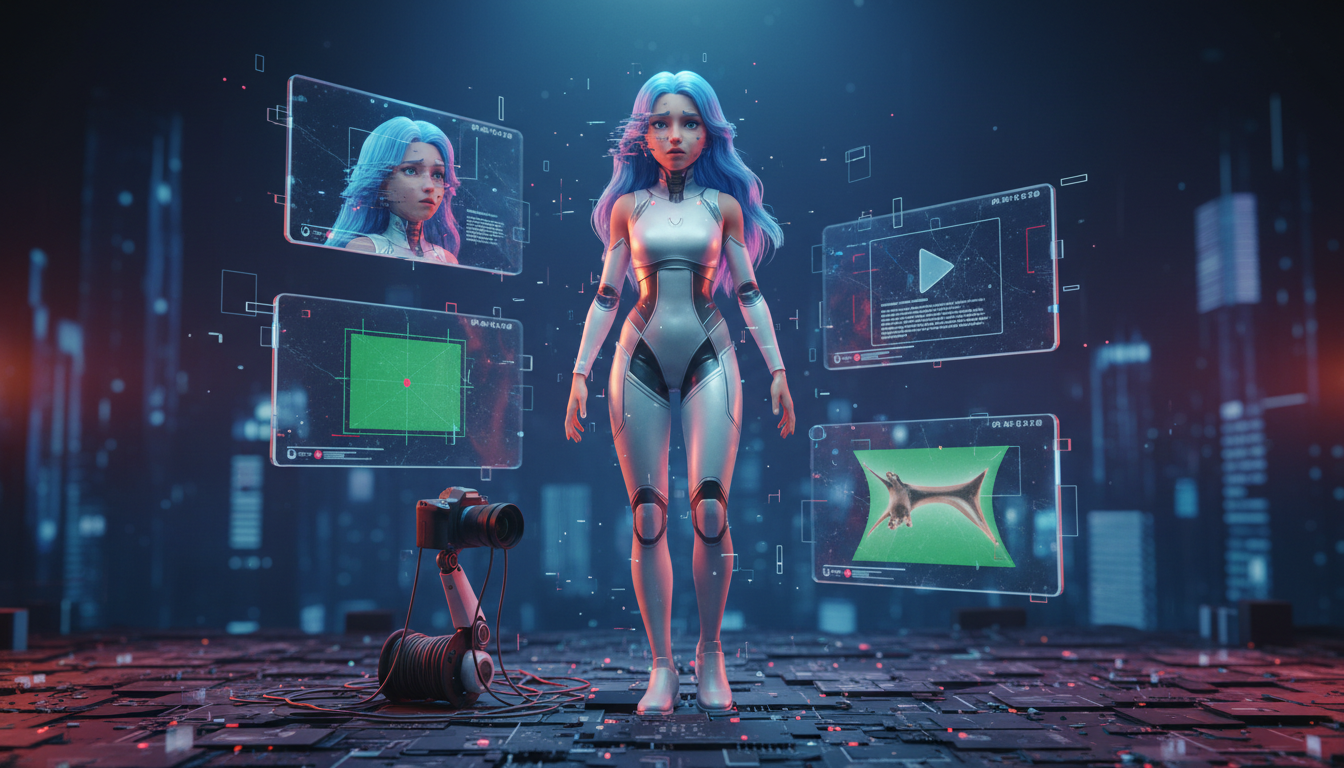
Mistake 3: Using the wrong source image. Not every AI-generated image works well as a video source. Images with complex backgrounds, extreme angles, or unusual lighting will produce worse video output. The best source images for video conversion are well-lit, moderately posed, with a simple or blurred background. I generate my source images specifically for video use, which means I sometimes sacrifice "Instagram-worthy" aesthetics for "video-friendly" composition.
Mistake 4: Not testing at short durations. Every tool I've mentioned, Kling, WAN, Seedance, degrades in quality as clip length increases. The first 3 seconds are almost always better than the last 3 seconds of a 10-second clip. Test at 5 seconds first. Only extend to longer durations once you've confirmed the motion and face preservation work at the shorter length.
Mistake 5: Overproducing. Social media content doesn't need to be perfect. I've seen creators spend hours trying to eliminate every tiny artifact from a clip that viewers will watch for 5 seconds on their phone. Your audience is scrolling through dozens of videos per minute. The threshold for "good enough" is lower than you think. Aim for 80% quality and publish. The remaining 20% of polish rarely translates to measurable engagement improvement.
Left: A video-optimized source image with even lighting and simple background. Right: A visually striking image that will produce poor video results due to complex background and extreme lighting.
Cost Breakdown: Running the Pipeline in 2026
Let me break down the real costs of running this pipeline, because I've seen wildly inaccurate numbers floating around online.
Cloud-based pipeline (using Kling + Hedra):
- Kling Pro subscription: $66/month (covers about 300 5-second clips)
- Hedra for lip sync: $24/month (standard plan)
- CapCut Pro: $7.99/month (optional, free version works fine)
- Total: Approximately $90-100/month for 40-50 finished videos
Local pipeline (WAN 2.2 + LatentSync):
- Electricity for GPU: $15-25/month depending on usage
- One-time GPU investment: $1,200-2,000 for an RTX 4090 (amortized over 2 years: ~$60-85/month)
- Software: Free (ComfyUI, LatentSync, DaVinci Resolve)
- Total: Approximately $75-110/month for unlimited generations
Hybrid approach (what I actually use):
- Kling API for close-up and face-focused clips: $40/month
- WAN 2.2 locally for body and lifestyle clips: $20/month electricity
- LatentSync locally for lip sync: included in above
- CapCut free tier for editing
- Total: Approximately $60/month for 50-60 finished videos
The hybrid approach gives me the best results for the lowest cost. Each tool handles what it does best, and I'm not paying cloud prices for content that can be generated locally. When I first started, I was spending over $200/month. Optimizing the pipeline cut that by more than two-thirds while actually improving output quality.
If you're generating source images through Apatero.com, factor in that subscription cost as well, though that covers both your still image and video source image needs.
Production Tips From Real Experience
These are the practical insights I've gathered from producing hundreds of AI influencer videos. None of these are in any documentation or tutorial.
Tip 1: Generate more than you need. For every finished video I publish, I generate about 4-5 raw clips. The hit rate varies, but having options means you never have to publish something subpar just because you ran out of content.
Tip 2: Create a motion prompt library. Once you find prompts that produce great results, save them. I have a spreadsheet with about 80 tested motion prompts categorized by content type (talking head, lifestyle, reaction, storytelling). This eliminates the guesswork from new generations.
Tip 3: The first frame matters most. The thumbnail that platforms auto-generate comes from the first frame of your video. Since your first frame is essentially your source image (or very close to it), make sure that source image is compelling enough to make someone stop scrolling.
Tip 4: Vertical video needs vertical source images. This sounds obvious but I see people generating landscape source images and then cropping them for vertical video. Generate your source images at 9:16 aspect ratio from the start. The framing will be better and you won't lose resolution to cropping.
Tip 5: Test new tools, but keep your production pipeline stable. New AI video tools launch every week. It's tempting to jump on each one. I set aside one afternoon per month to test new tools against my existing pipeline. If a new tool consistently beats my current setup in controlled tests, I integrate it. Otherwise, I keep moving with what works. Chasing the newest tool constantly will slow your output to a crawl.
Frequently Asked Questions
What's the best AI tool for turning influencer images into video in 2026?
Kling 2.0 is the most reliable option for face-focused AI influencer video content. It offers the best face preservation and produces natural-looking subtle motion. WAN 2.2 is the best free and open-source alternative if you have a compatible GPU. The choice depends on whether you prioritize convenience (Kling) or cost savings and control (WAN 2.2).
How long should AI influencer videos be for social media?
For Instagram Reels and TikTok, aim for 15-30 seconds. This is long enough to tell a micro-story or deliver a message, but short enough that viewers watch to completion. Completion rate is a major algorithm signal, so shorter videos that people finish watching will outperform longer videos that people scroll past. For talking head content, 20-25 seconds is the sweet spot in my testing.
Can I use AI-generated video for an influencer on creator platform or creator platform?
Yes, many AI influencer creators use video content on subscription platforms. However, the quality bar is higher because subscribers are paying and expect premium content. Use your best clips, apply proper post-production, and make sure lip sync is flawless if your character is speaking. Some platforms require disclosure that content is AI-generated, so check the current terms of service.
How much does it cost to run an AI influencer video pipeline?
A functional pipeline costs between $60-110 per month depending on your approach. Cloud-based tools like Kling and Hedra total about $90-100/month. A local setup with WAN 2.2 and open-source lip sync tools costs $75-110/month when amortizing hardware, but offers unlimited generations. Most creators I know spend about $75/month on a hybrid approach.
What GPU do I need to run WAN 2.2 locally?
The minimum practical GPU is an RTX 3090 or RTX 4070 Ti with 12GB VRAM, though you'll be limited to lower resolution outputs. For comfortable operation at full quality, an RTX 4090 with 24GB VRAM is the standard recommendation. AMD GPUs can work but require additional setup and generally produce slower generation times.
How do I maintain face consistency between video clips?
Use the same high-quality source image as the basis for all clips in a content series. Apply consistent color grading in post-production. If using ComfyUI, use the face restoration node as a final step to normalize facial features. The single most important factor is starting with a good source image. Blurry, poorly lit, or low-resolution source images produce inconsistent results across clips.
Is lip sync technology good enough for realistic talking head videos in 2026?
It's good enough for social media consumption, but not for close examination. At the resolution and attention level of Instagram Reels and TikTok (small screens, fast scrolling), current lip sync technology produces convincing results. If someone pauses and zooms in, they might notice imperfections. For the typical viewing experience, modern lip sync tools like LatentSync and Hedra clear the quality bar.
How many videos should an AI influencer post per week?
I recommend 5-7 video posts per week across platforms. This breaks down to about one video per day, which is manageable with a batched production workflow. Quality matters more than quantity, but consistency matters most of all. The algorithm rewards accounts that post regularly, so maintaining a steady cadence is more important than occasional viral hits.
Can I mix AI-generated video with traditional edited content?
Absolutely, and you should. Many successful AI influencer accounts blend AI-generated video clips with text-based content, photo carousels, and engagement posts (polls, questions, stories). The video content drives initial engagement and follower growth, while the other formats maintain daily activity and community interaction without requiring heavy production work.
What's the biggest technical challenge in AI influencer video production?
Temporal consistency. Keeping the character looking exactly the same across different clips, time periods, and content types is the fundamental challenge. This is why I emphasize source image quality and character consistency tools so heavily. Every other technical problem (lip sync timing, motion quality, editing workflow) has reliable solutions. Temporal consistency across your entire content library is the problem that requires ongoing attention and discipline.
What's Coming Next for AI Influencer Video
The pace of improvement in this space is staggering. When I started working with AI influencer video a year ago, a 3-second clip with visible artifacts was the best I could manage. Now I'm producing 10-second clips that most viewers can't distinguish from real footage at social media resolution. The trajectory suggests that within 12 months, we'll see real-time AI influencer video generation, longer clip durations without quality degradation, and built-in lip sync that doesn't require a separate processing step.
The creators who build their pipelines now and develop the production skills to use these tools effectively will have a massive advantage as the technology continues to improve. The tools get better automatically. Your skill at using them only develops through practice.
If you're serious about building an AI influencer business, start with still images, master character consistency, and then layer in video production one step at a time. Don't try to do everything at once. Build the pipeline methodically, test each component, and optimize as you go.
The opportunity window for AI influencer video is wide open right now. The tools are capable enough to produce professional-quality content, but the learning curve is steep enough that most people won't put in the effort. That gap between capability and adoption is where the money is.
This article reflects testing and production experience through March 2026. AI video tools evolve rapidly, so specific model versions and pricing may change. Check Apatero.com for current tool recommendations and workflow updates.
Ready to Create Your AI Influencer?
Join 115 students mastering ComfyUI and AI influencer marketing in our complete 51-lesson course.
Related Articles
AI Anime Video Generation: Turn Still Characters Into Animated Content
Complete guide to turning still anime and AI-generated character images into animated video. Covers WAN 2.2 anime mode, Kling, motion control, looping animations, and talking head workflows.
AI Documentary Creation: Generate B-Roll from Script Automatically
Transform documentary production with AI-powered B-roll generation. From script to finished film with Runway Gen-4, Google Veo 3, and automated...
AI Making Movies in 2026: The Current State and What's Actually Possible
Realistic assessment of AI filmmaking in 2026. What's working, what's hype, and how creators are actually using AI tools for video production today.