ComfyUI Topaz Video Enhancement Nodes: Professional Upscaling Workflow
Set up and use ComfyUI's new Topaz Video AI integration for professional upscaling and enhancement. Covers API configuration, quality settings, and comparison with RTX Video Super Resolution.
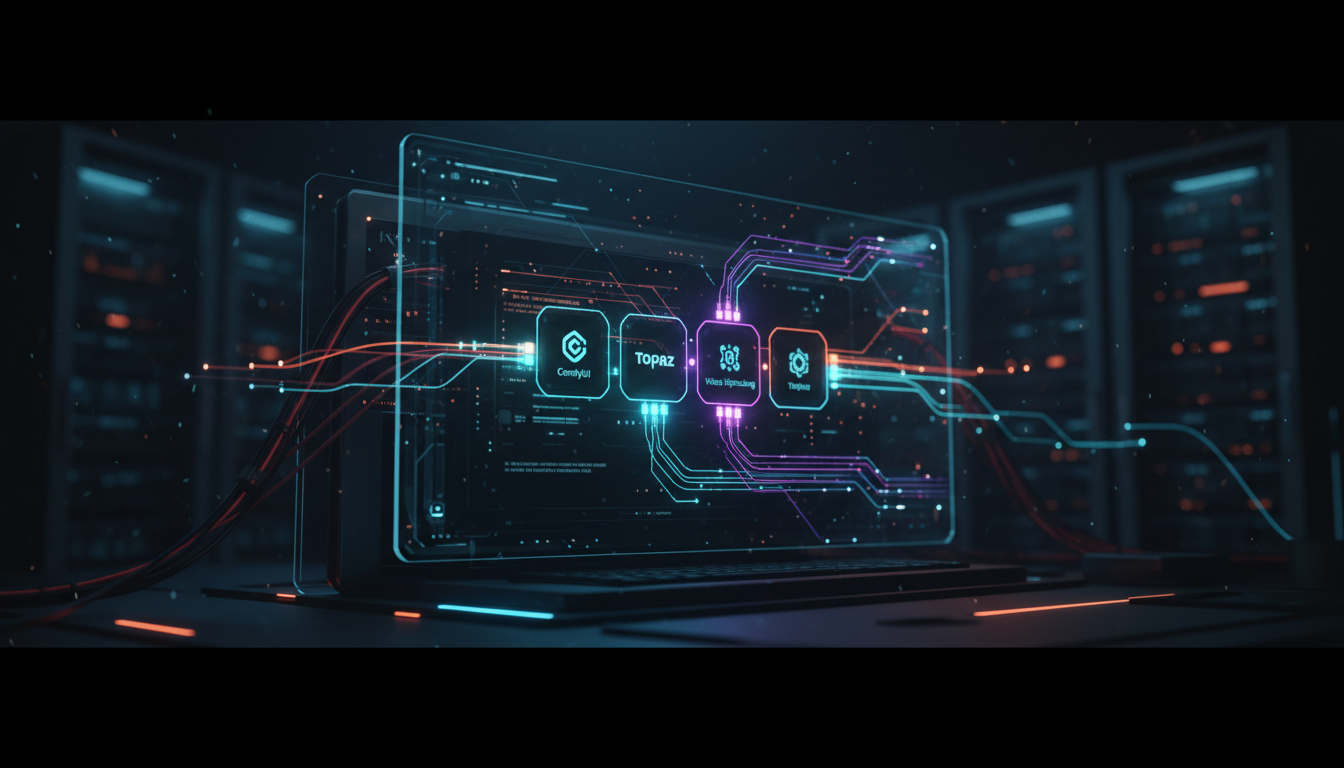
I remember the first time I ran a Topaz Video AI upscale on footage I generated in ComfyUI. It was a 512x512 AnimateDiff clip of a wolf running through snow, and Topaz turned it into something I could genuinely put on a 4K timeline without cringing. The problem was the workflow: render in ComfyUI, export, open Topaz, configure settings, process, re-import. Five manual steps that killed any kind of iterative process. With ComfyUI v0.16 shipping native Topaz API Nodes, that entire runaround is gone. You connect a few nodes, and your AI-generated video gets professional-grade enhancement without ever leaving the graph.
This guide walks through exactly how to set up the Topaz integration, configure it for different use cases, and decide when it actually makes sense versus the free alternatives already sitting on your GPU.
Quick Answer: ComfyUI v0.16 introduced native Topaz Video AI API nodes that let you upscale and enhance video directly inside your workflow. You need a Topaz Video AI license with API access enabled, then connect the Topaz Enhance node after your video output. The integration supports all major Topaz models including Proteus, Artemis, and Gaia, with configurable quality presets. For most AI-generated content, the Proteus model at 2x with medium grain recovery produces the best results. Processing happens locally through the Topaz API, so you need Topaz Video AI installed on the same machine.
- ComfyUI v0.16 adds native Topaz Video AI nodes for in-workflow upscaling and enhancement
- Requires a Topaz Video AI license with local API access, not a cloud subscription
- Proteus model handles AI-generated content best, Artemis excels for live-action footage
- Processing is local and GPU-intensive, expect 2-5 fps on a 4070 Ti at 2x upscale
- RTX Video Super Resolution is free and real-time but limited to playback enhancement only
- The integration eliminates the render-export-process-reimport cycle entirely
Why Does Topaz Video AI Matter for ComfyUI Users?
If you have spent any time generating video with ComfyUI, you know the output quality problem. AnimateDiff typically produces 512x512 or 768x768 frames. Even newer models like Wan and HunyuanVideo that output higher resolutions still produce artifacts, soft edges, and temporal inconsistencies that scream "this was made by AI." Topaz Video AI has been the go-to solution for cleaning up this kind of footage since long before AI video generation was mainstream. It was originally designed for upscaling old DVDs and noisy phone footage, but it turns out those same capabilities are exactly what AI-generated video needs.
The reason Topaz works so well on AI output is that its neural networks were trained to handle exactly the artifacts that diffusion models produce. Soft details, flickering textures, inconsistent fine detail between frames. Topaz's temporal processing looks at multiple frames simultaneously and enforces consistency, which is the single biggest weakness of frame-by-frame AI generation.
I have been using Topaz Video AI since version 3.x, and I can say without hesitation that it produces better upscaling results on AI footage than any other tool I have tested. Real-ESRGAN is great for single images, but it processes each frame independently, which introduces flicker on video. Topaz is the only tool that genuinely solves the temporal consistency problem during upscaling.
Hot take: if you are generating AI video and not running it through some kind of enhancement pipeline, you are leaving 60% of the quality on the table. Raw AI video output is a draft, not a final product.
How Do You Set Up the Topaz API in ComfyUI?
Setting up the Topaz integration is straightforward, but there are a few gotchas that tripped me up the first time. The most important thing to understand is that this is not a cloud API. Topaz Video AI must be installed locally on your machine, and the API runs as a local service. This means you need a valid Topaz license and enough GPU headroom to run both ComfyUI and Topaz simultaneously.
Prerequisites
Before you touch ComfyUI, make sure you have the following ready:
- Topaz Video AI v5.x or later installed and activated
- API access enabled in Topaz preferences (Settings > API > Enable Local API)
- At least 12GB VRAM for comfortable parallel operation (8GB works but you will hit swapping)
- ComfyUI v0.16 or later with the Topaz nodes package
Step-by-Step Installation
First, update ComfyUI to v0.16 if you have not already. The Topaz nodes ship as part of the core node set, not a custom node pack, which is a big deal because it means they are maintained by the ComfyUI team and will not break on updates.
cd /path/to/ComfyUI
git pull origin master
pip install -r requirements.txt
Next, enable the Topaz API service. Open Topaz Video AI, go to Settings, then API, and toggle "Enable Local API Server." Note the port number, it defaults to 7321 but you can change it if it conflicts with something else. The API starts automatically when Topaz is running.
In ComfyUI, you will find the new nodes under Add Node > Video > Topaz Enhancement. There are three primary nodes:
- Topaz Video Enhance - The main processing node
- Topaz Model Selector - Choose between Proteus, Artemis, Gaia, and others
- Topaz API Config - Set connection parameters
Configuring the API Connection
The API Config node needs just two values, the host (usually localhost or 127.0.0.1) and the port. Here is the basic connection setup:
Topaz API Config:
  host: 127.0.0.1
  port: 7321
  timeout: 300
  verify_connection: true
I recommend keeping verify_connection enabled during setup. It adds a small handshake delay but catches configuration issues before you waste time rendering. Once everything is stable, you can disable it for a marginal speed boost.
One issue I ran into during my initial setup: if you are running ComfyUI through a virtual environment and Topaz is installed at the system level, the API discovery can fail silently. The fix is to explicitly set the host and port rather than relying on auto-detection. I wasted about 45 minutes troubleshooting what turned out to be a simple hostname resolution issue.
The Topaz API Config node with recommended default settings for local operation.
Which Topaz Model Should You Use for AI Video?
This is where things get interesting, and where most people make the wrong choice. Topaz Video AI ships with several AI models, each designed for different source material. Choosing the wrong model does not just give you suboptimal results. It can actively make your footage look worse.
Model Breakdown
Proteus (v5) is the newest and most versatile model. It was designed as a general-purpose enhancer and handles AI-generated content remarkably well. Proteus does the best job of adding realistic detail without introducing the "oversharpened plastic" look that older models sometimes create. For ComfyUI output, this is your default choice about 80% of the time.
Artemis was originally designed for live-action footage, particularly older or noisy material. It is more aggressive with denoising and can smooth out the kind of high-frequency noise you see in poorly compressed video. For AI-generated content, Artemis can be too aggressive. It tends to smooth over fine details that Proteus would preserve. That said, if your AI output has significant flickering or temporal noise, Artemis's strong temporal processing can save footage that Proteus struggles with.
Gaia is the detail-focused model. It excels at preserving and enhancing textures, which sounds great in theory but can be problematic with AI video. Since AI-generated frames do not have "real" texture in the traditional sense, Gaia sometimes enhances artifacts that should have been smoothed away. I have seen it turn subtle diffusion noise into very visible grain patterns.
Iris handles interlaced and mixed-frame-rate content. Unless you are doing something very specific with your ComfyUI output, you will never need this one.
Here is my recommended starting configuration for AI-generated video:
Topaz Model Selector:
  model: Proteus
  version: v5

Topaz Video Enhance:
  scale: 2
  grain_recovery: medium
  deblock: low
  sharpen: 0.3
  anti_flicker: high
  output_format: png_sequence
Quality Presets
The Topaz Enhance node in ComfyUI exposes several quality parameters that are not immediately obvious from the UI labels. Understanding what each one actually does will save you hours of trial and error.
Grain Recovery controls how much natural-looking film grain Topaz adds back to the output. This sounds counterintuitive for AI video, but a small amount of grain actually makes upscaled AI footage look more natural and less "plastic." I set this to medium for most work. Low makes things look too clean, and high adds visible noise that defeats the purpose.
Deblock removes compression artifacts. Since most ComfyUI output is either raw frames or lightly compressed video, you usually want this on low. Setting it higher can soften details unnecessarily.
Anti-flicker is the most important setting for AI video. This controls Topaz's temporal processing strength. For AI-generated content, crank this to high. AI video almost always has some degree of temporal inconsistency, and this setting directly addresses it. The tradeoff is processing speed. High anti-flicker roughly doubles the processing time compared to low, but the quality difference is worth it.
Hot take: most "bad AI video" that people share online would look perfectly acceptable if they just ran it through Topaz with anti-flicker on high. The model itself is often fine. The temporal consistency is what kills it.
Building a Complete Enhancement Workflow
Let me walk through the workflow I use for my own projects and the test renders I publish on Apatero.com. This is not the simplest possible setup, but it produces consistently professional results.
The Core Pipeline
The workflow breaks down into three stages of generation, enhancement, and output encoding. Here is how the nodes connect:
[Video Generation Nodes]
    → [Frame Buffer]
    → [Topaz API Config] + [Topaz Model Selector]
    → [Topaz Video Enhance]
    → [Video Combine / Export]
The Frame Buffer node is important. Topaz processes video in chunks, and feeding it frames one at a time produces worse temporal results than giving it a batch. The buffer accumulates frames from your generation pipeline and passes them to Topaz in groups of 16-32 frames, which is the sweet spot for temporal analysis.
Practical Node Setup
Here is a more detailed breakdown of each node's configuration for a typical 2x upscale workflow:
Free ComfyUI Workflows
Find free, open-source ComfyUI workflows for techniques in this article. Open source is strong.
Frame Buffer:
  buffer_size: 24
  overlap: 4

Topaz API Config:
  host: 127.0.0.1
  port: 7321
  timeout: 600

Topaz Model Selector:
  model: Proteus
  version: v5

Topaz Video Enhance:
  scale: 2
  grain_recovery: medium
  deblock: low
  sharpen: 0.3
  anti_flicker: high
  denoise: 0.2
  detail_recovery: medium
  output_format: png_sequence
  output_colorspace: rec709
The overlap parameter on the Frame Buffer is crucial. It tells the buffer to include 4 frames from the previous batch when sending the next batch to Topaz. This ensures smooth temporal transitions between processing chunks. Without overlap, you get visible "seams" every 24 frames where the temporal analysis resets.
A complete generation-to-enhancement pipeline. Note the Frame Buffer node between generation and Topaz processing.
Handling Memory Constraints
Running both a video generation model and Topaz simultaneously is demanding. On my 4070 Ti with 12GB VRAM, I have to be strategic about memory allocation. The approach I have settled on is a two-pass workflow within ComfyUI:
- Pass 1: Generate all frames and save to disk as a PNG sequence
- Pass 2: Load the PNG sequence and run Topaz enhancement
This uses a "Load Image Sequence" node to feed saved frames into the Topaz pipeline, which means the generation model is fully unloaded before Topaz starts. It is less elegant than a single continuous pipeline, but it is more reliable and actually faster in total because neither process has to fight for VRAM.
For users with 24GB cards like the 4090, you can absolutely run both simultaneously. I have tested this on a friend's 4090 and the single-pass pipeline works smoothly at 2x upscale with Proteus.
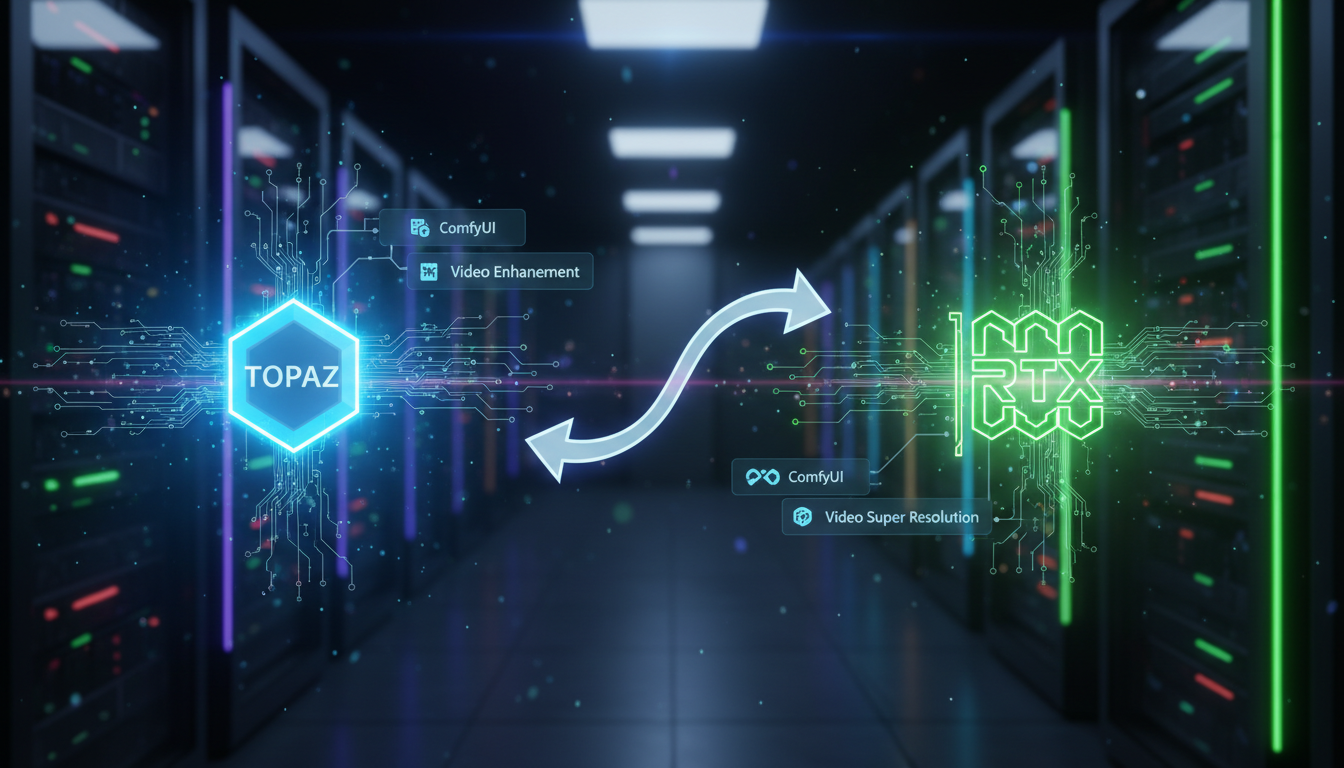
How Does Topaz Compare to RTX Video Super Resolution?
This is the question everyone asks, and the answer is more nuanced than you might expect. NVIDIA's RTX Video Super Resolution (VSR) is free, runs in real-time, and produces surprisingly good results. So why would you pay for Topaz?
RTX Video Super Resolution: The Free Option
RTX VSR is a driver-level feature available on RTX 30-series and newer GPUs. It enhances video during playback in supported applications (Chrome, VLC with proper configuration, etc.). The technology uses NVIDIA's own neural networks to upscale and enhance video on the fly.
Here is what RTX VSR does well:
- Real-time processing at zero additional cost
- Excellent sharpening and detail recovery on compressed video
- No workflow integration needed, it just works during playback
- Handles standard video formats automatically
And here is where it falls short for our use case:
- Only works during playback, not for rendering or export
- No temporal analysis beyond adjacent frames
- Cannot output enhanced frames, only displays them
- Limited control over enhancement parameters
- Does not address AI-specific artifacts like flicker
Side-by-Side Comparison
I ran a proper A/B test on three different AI-generated clips: an AnimateDiff character animation, a HunyuanVideo landscape pan, and a Wan 2.2 product turntable. Here is what I found:
Detail Recovery: Topaz Proteus consistently produced sharper, more detailed output than RTX VSR. The difference was most obvious on fine details like hair, text, and fabric textures. Topaz added detail that looked plausible and consistent. RTX VSR sharpened existing detail but did not add new information the same way.
Temporal Consistency: This is where Topaz absolutely destroys RTX VSR. The AnimateDiff clip had noticeable frame-to-frame flicker in the character's face. Topaz with anti-flicker on high completely eliminated it. RTX VSR reduced it slightly but you could still see the inconsistency.
Processing Speed: RTX VSR wins here, obviously. Real-time versus 2-5 fps for Topaz. If you just need to preview AI-generated clips at higher quality, RTX VSR is instant.
Want to skip the complexity? Apatero gives you professional AI results instantly with no technical setup required.
Workflow Integration: Topaz in ComfyUI gives you an exportable result. RTX VSR only enhances playback. If you need the enhanced footage for editing, compositing, or delivery, Topaz is the only option.
My recommendation: use RTX VSR for previewing and evaluating your AI video during the iteration phase. Once you have the generation settings dialed in and want a final render, switch to Topaz for the export. This is the workflow I have been using at Apatero.com for all the sample videos I publish, and it balances speed during development with quality for delivery.
What About Real-ESRGAN and Other Free Alternatives?
Real-ESRGAN and similar open-source upscalers work well for single images but struggle with video because they process each frame independently. You can absolutely use Real-ESRGAN in ComfyUI for image upscaling, and for still frames it produces excellent results. But for video, the lack of temporal processing means you will get flicker, especially on areas with subtle detail like skin, sky gradients, and water.
There are experimental temporal-aware open-source upscalers emerging, and they are worth watching, but as of early 2026, none of them match Topaz's quality on AI-generated video content.
Optimizing Quality Settings for Different Content Types
Not all AI video is the same, and your Topaz settings should reflect the type of content you are enhancing. Here are the configurations I have tested extensively and recommend for common ComfyUI output types.
Character Animation (AnimateDiff, Wan)
Character animation is the hardest type for any enhancement tool because faces are where humans are most sensitive to artifacts. The temporal inconsistency in AI-generated faces, eyes shifting shape slightly between frames, skin texture flickering, is extremely distracting even when the overall animation looks good.
model: Proteus v5
scale: 2
grain_recovery: low
sharpen: 0.4
anti_flicker: high
denoise: 0.3
detail_recovery: high
face_recovery: enabled
The key here is high anti-flicker combined with face recovery enabled. The face recovery feature in Proteus v5 specifically targets facial landmarks and enforces consistency between frames. I have seen it turn borderline unusable face animations into something that looks genuinely polished.
Landscape and Environment Footage
Environmental content is more forgiving because there are no faces to worry about, but texture consistency still matters. Trees, water, clouds, all of these need coherent motion without the "swimming" artifact that frame-by-frame processing introduces.
model: Proteus v5
scale: 2
grain_recovery: medium
sharpen: 0.25
anti_flicker: medium
denoise: 0.15
detail_recovery: medium
I dial back the anti-flicker to medium for landscapes because the stronger setting can make moving elements like water and foliage look slightly frozen. Medium provides enough temporal smoothing to prevent flicker without killing natural motion.
Product and Technical Animation
For product turntables, UI animations, and other technical content where precision matters more than organic feel, I switch from Proteus to Artemis. Artemis's more aggressive processing actually works in your favor when the content is supposed to look clean and precise rather than organic.
model: Artemis
version: medium
scale: 2
grain_recovery: none
sharpen: 0.5
anti_flicker: high
denoise: 0.4
detail_recovery: high
Notice the higher sharpen and denoise values combined with no grain recovery. For technical content, you want the output as clean and crisp as possible. The grain that helps character animation look natural makes product shots look noisy.
Before and after comparison on an AnimateDiff character animation. Note the improved facial detail consistency and reduced flicker artifacts in the enhanced version.
Performance Benchmarks and Hardware Considerations
Let me share some real numbers from my testing, because the Topaz documentation is vague about performance with AI-generated source material.
Earn Up To $1,250+/Month Creating Content
Join our exclusive creator affiliate program. Get paid per viral video based on performance. Create content in your style with full creative freedom.
All benchmarks were run on my primary workstation: RTX 4070 Ti, 32GB system RAM, NVMe storage. Source footage was 512x512 AnimateDiff output being upscaled to 1024x1024 (2x).
| Configuration | FPS | VRAM Used | Quality Rating |
|---|---|---|---|
| Proteus, anti-flicker low | 4.8 fps | 6.2 GB | Good |
| Proteus, anti-flicker high | 2.3 fps | 7.8 GB | Excellent |
| Artemis, anti-flicker high | 3.1 fps | 6.9 GB | Very Good |
| Proteus, 4x upscale, AF high | 0.7 fps | 10.4 GB | Excellent |
A few observations from this data. First, anti-flicker is expensive. Going from low to high cuts your framerate roughly in half. Second, 4x upscaling is extremely slow and requires significant VRAM. For most use cases, I recommend doing 2x upscale in Topaz and then using a lightweight sharpening pass if you need to go higher. Third, Artemis is actually faster than Proteus at the same settings, which makes sense because it is a simpler model architecture.
For users generating video with consumer GPUs, the two-pass workflow I described earlier is essentially mandatory. You cannot run a video generation model and Topaz simultaneously on 8GB VRAM. Even 12GB is tight. Plan your workflow around sequential processing rather than trying to pipeline everything.
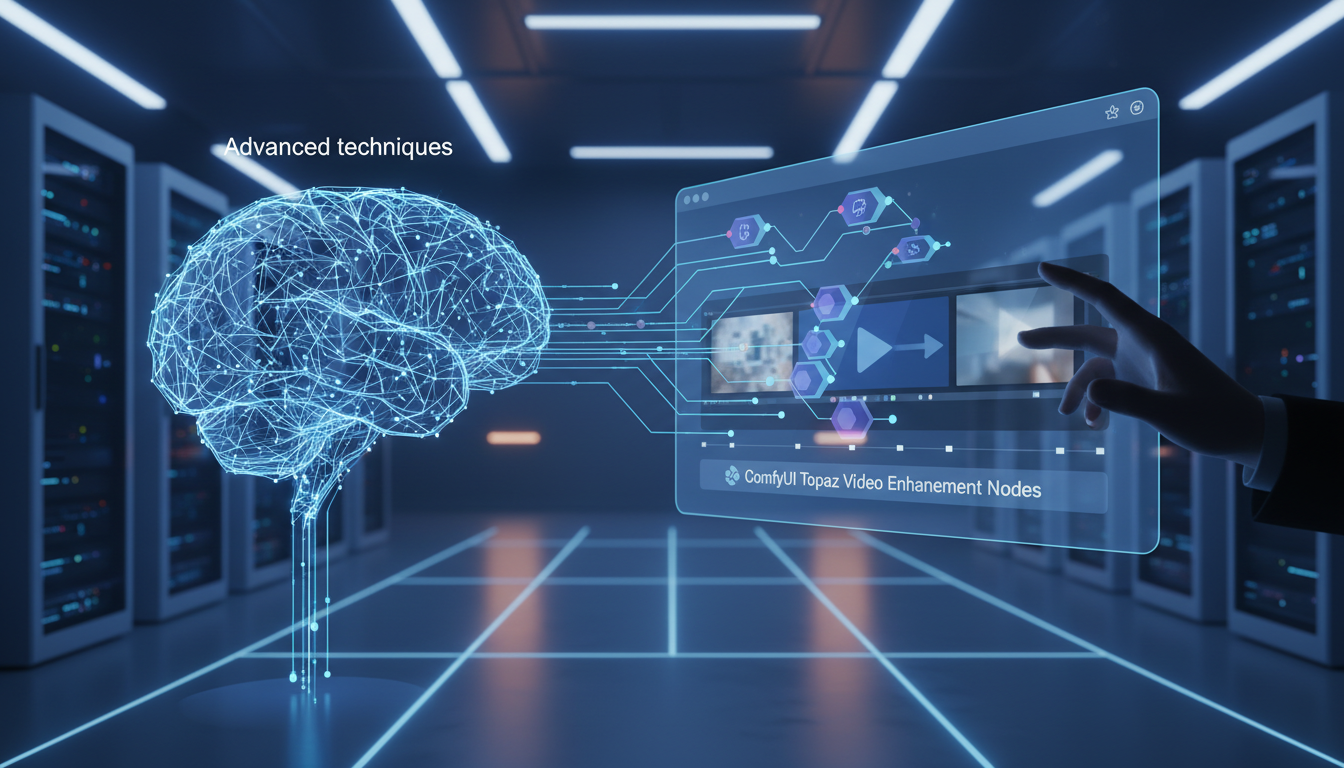
Advanced Techniques and Workflow Tips
After several weeks of working with the Topaz nodes in production, I have picked up some techniques that are not in any documentation.
Batch Processing with Queue Management
If you are processing multiple clips, use ComfyUI's queue system to chain Topaz jobs. Create a workflow that loads a video file, processes it, and saves the output, then queue up multiple runs with different source files. The Topaz API handles sequential requests cleanly, and this lets you set up an overnight processing batch.
Selective Enhancement with Masks
One of the more powerful combinations is using ComfyUI's masking nodes to selectively apply Topaz enhancement. For example, you can enhance a character's face with high anti-flicker while processing the background with lighter settings for faster rendering. The workflow uses a segmentation model to generate a mask, then runs two separate Topaz passes that are composited in the final output.
This is an advanced technique and the setup is not trivial, but for professional work where processing time is a real constraint, it can cut your render time by 40-50% while maintaining quality where it matters most.
Integration with Existing Pipelines
If you are already using ComfyUI for video generation with the workflows I covered in my ComfyUI animation guide, adding Topaz enhancement is mostly a matter of appending nodes to the end of your existing graph. The video output from AnimateDiff or Wan passes through the Frame Buffer and Topaz Enhance nodes before hitting your final export. No changes to the generation side are needed.
One thing I wish I had known earlier: the Topaz API respects ComfyUI's execution order, so you can put the enhancement nodes inline without worrying about timing issues. The Frame Buffer handles all the synchronization.
Troubleshooting Common Issues
I have run into every possible configuration problem during my testing, so here is a quick reference for the most common issues and their fixes.
"Connection refused" error on Topaz API Config: Make sure Topaz Video AI is running and the API is enabled. The API only starts when the application is open, it does not run as a background service. Also check that no firewall is blocking localhost connections on the configured port.
Extremely slow processing (under 1 fps at 2x): Check your VRAM allocation. If ComfyUI has a loaded model consuming VRAM, Topaz will be forced into system RAM fallback, which is 10x slower. Unload your generation models before running the enhancement pass.
Output looks oversharpened or has halos: Your sharpen value is too high. For AI-generated content, keep it under 0.4. The default of 0.5 is calibrated for real camera footage which has different characteristics than diffusion model output.
Visible seams every N frames: Increase the overlap value on your Frame Buffer node. The default of 2 is too low for content with fast motion. Bump it to 4-6 for reliable results.
Colors shift after Topaz processing: Make sure your output colorspace is set to match your source. The default rec709 works for most SDR content. If you are working in a linear workflow, switch to linear and handle the conversion downstream.
Is the Topaz Integration Worth the Cost?
Let me be direct about the economics. Topaz Video AI costs roughly $200 for a perpetual license (with periodic paid upgrades for new models). For hobbyists generating the occasional AI video clip, that is a significant investment. For anyone doing professional or semi-professional work, it pays for itself the first time a client says "this looks amazing" instead of "this looks like AI."
The ComfyUI integration specifically adds value by eliminating workflow friction. Before the integration, enhancing a 10-second clip required manually exporting frames, importing into Topaz, configuring settings, processing, and re-importing. With the nodes, it is two clicks to add enhancement to any existing workflow. That convenience means you actually use it instead of skipping enhancement "just this once" because you are tired of the manual process.
I track all my AI generation tools and costs over at Apatero.com, and Topaz has consistently been one of the highest-value tools in my pipeline. The quality improvement it provides to AI-generated video is dramatic and immediately visible. Combined with the new ComfyUI integration, it is easier to use than ever.
That said, here is my honest assessment: if you are only generating short clips for social media at 1080p or lower, RTX VSR during playback might be good enough. The Topaz investment makes the most sense when you need exportable, deliverable footage at high quality. Think client work, portfolio pieces, or content where you control the viewing experience.
Frequently Asked Questions
Do I Need a Topaz Subscription or Is It a One-Time Purchase?
Topaz Video AI is a one-time purchase with a perpetual license. You pay once and get the current version plus updates for a year. After that, you can keep using the version you have indefinitely or pay for an upgrade to get newer AI models. There is no subscription or cloud processing fee. All processing happens locally on your hardware.
Can I Use Topaz Video AI Nodes Without a GPU?
Technically yes, Topaz can fall back to CPU processing, but it is impractically slow. A 10-second clip at 2x upscale that takes 30 seconds on a GPU would take 15-20 minutes on CPU. The ComfyUI integration does not change this. You need a dedicated GPU with at least 6GB VRAM for reasonable performance.
Does the Topaz Integration Work with ComfyUI Manager?
Yes, the Topaz nodes are part of the core ComfyUI v0.16 node set, so ComfyUI Manager recognizes them without any custom node installation. Updates come through the standard ComfyUI update process. You do still need Topaz Video AI installed separately as the actual processing engine.
What Is the Maximum Resolution I Can Upscale To?
Topaz Video AI supports upscaling up to 16K resolution, though practical limits depend on your VRAM. For most ComfyUI workflows, 2x or 4x upscaling covers the useful range. Going from 512x512 to 2048x2048 (4x) is the most common scenario. Going beyond 4x in a single pass often introduces artifacts, so for very high resolutions, do multiple 2x passes.
Can I Use Topaz on Image Sequences From ComfyUI, Not Just Video Files?
Absolutely. The Topaz nodes in ComfyUI work with both video files and image sequences natively. In fact, image sequences are the recommended input format because they preserve maximum quality. The Frame Buffer node accepts individual frames and handles batching for Topaz processing automatically.
How Does Topaz Handle Variable Frame Rate AI Video?
The Topaz nodes assume constant frame rate input. If your AI-generated video has variable frame rate (which can happen with some AnimateDiff configurations), normalize it to constant frame rate using the Frame Interpolation nodes before passing it to Topaz. Variable frame rate input will not crash anything, but the temporal processing will produce suboptimal results because the motion analysis assumes consistent timing.
Is There a Noticeable Quality Difference Between Proteus v4 and v5?
Yes, the improvement is significant. Proteus v5 handles AI-generated content notably better than v4, with less haloing on edges, better face processing, and improved temporal consistency. If you are on an older Topaz license that only includes v4, the upgrade is worth it specifically for AI video enhancement.
Can I Run Topaz Processing on a Different Machine Than ComfyUI?
The current implementation requires Topaz to be on the same machine as ComfyUI since the API connection is localhost only. Network API support is planned according to the Topaz roadmap, which would enable processing on a dedicated render machine. For now, everything needs to be local.
Does Topaz Enhancement Work with All ComfyUI Video Output Formats?
The Topaz nodes accept PNG sequences, APNG, and raw frame tensors from ComfyUI. They do not directly accept compressed video formats like MP4 or WebM. You need to decode compressed video into frames first using ComfyUI's video loading nodes, then pass those frames to the Topaz enhancement pipeline. Output can be saved as a frame sequence or encoded to video using ComfyUI's export nodes downstream.
What Happens if Topaz Video AI Crashes During Processing?
The ComfyUI Topaz nodes include error handling that detects API disconnection. If Topaz crashes mid-process, ComfyUI will pause execution and display an error rather than producing corrupted output. You can restart Topaz, re-enable the API, and resume the queue from the failed frame using the checkpoint feature in the Frame Buffer node.
Final Thoughts
The Topaz integration in ComfyUI v0.16 is one of those features that fundamentally changes how I think about AI video generation. Before, enhancement was a separate post-production step that I would often skip because of the manual overhead. Now it is just another set of nodes in my graph. The barrier to producing professional-quality AI video has dropped significantly.
If you are serious about AI video production and want to level up your output quality, start with the Proteus model at 2x with high anti-flicker. That single configuration handles 80% of use cases. Then experiment with the content-specific settings I outlined above as you get comfortable with the pipeline. And if you want to see examples of what these workflows produce, I regularly post test renders and comparisons on Apatero.com.
The AI video space is moving incredibly fast. Tools that were bleeding-edge six months ago are now table stakes. Having Topaz integrated directly into ComfyUI is not just a convenience improvement. It raises the quality floor for everyone working in this space, and that is genuinely exciting to watch.
Ready to Create Your AI Influencer?
Join 115 students mastering ComfyUI and AI influencer marketing in our complete 51-lesson course.
Related Articles

10 Most Common ComfyUI Beginner Mistakes and How to Fix Them in 2025
Avoid the top 10 ComfyUI beginner pitfalls that frustrate new users. Complete troubleshooting guide with solutions for VRAM errors, model loading...

25 ComfyUI Tips and Tricks That Pro Users Don't Want You to Know in 2025
Discover 25 advanced ComfyUI tips, workflow optimization techniques, and pro-level tricks that expert users use.

360 Anime Spin with Anisora v3.2: Complete Character Rotation Guide ComfyUI 2025
Master 360-degree anime character rotation with Anisora v3.2 in ComfyUI. Learn camera orbit workflows, multi-view consistency, and professional...