Ultimate Guide to ComfyUI for Beginners (2025)
Complete beginner's guide to ComfyUI. Installation, first workflows, essential nodes, and everything you need to start creating AI images and videos.
ComfyUI is the most powerful interface for AI image and video generation. It's also intimidating for beginners. Those node graphs look like engineering diagrams. This guide will take you from complete beginner to confidently building your own workflows.
Quick Answer: ComfyUI is a node-based interface for running AI image and video generation models. Unlike simple prompt boxes, ComfyUI shows you exactly how generation works by connecting nodes in a visual workflow. While the learning curve is steeper than alternatives, the control and flexibility are unmatched. Most users become productive within a few hours.
- ComfyUI is a visual, node-based workflow editor for AI generation
- It supports SDXL, Flux, LTX-2, Wan, and nearly every major model
- Custom nodes extend functionality massively
- Learning curve is 2-4 hours for basics, weeks for mastery
- Free and open-source with active community support
What is ComfyUI?
ComfyUI is a visual programming interface for AI generation. Instead of a simple text box where you type prompts, ComfyUI shows you the entire generation process as connected nodes.
Why Nodes?
Each node does one thing:
- Load Model node: Loads your AI model
- Text node: Holds your prompt
- Sampler node: Does the actual generation
- Save node: Saves your image
By connecting these nodes, you build a workflow. This gives you complete control over every step of generation.
ComfyUI vs Alternatives
| Feature | ComfyUI | AUTOMATIC1111 | Midjourney |
|---|---|---|---|
| Interface | Node-based | Tab-based | Chat/Discord |
| Control | Maximum | High | Limited |
| Learning curve | Steepest | Medium | Easiest |
| Flexibility | Highest | High | Low |
| Video support | Excellent | Limited | None |
| Cost | Free | Free | Subscription |
For a detailed comparison, see our ComfyUI vs AUTOMATIC1111 guide.
Installation
Requirements
Minimum:
- NVIDIA GPU with 6GB+ VRAM
- 16GB RAM
- 50GB free storage
- Windows 10/11, Linux, or macOS
Recommended:
- NVIDIA GPU with 12GB+ VRAM
- 32GB RAM
- 200GB+ SSD storage
Windows Installation (Easiest)
Step 1: Download the portable package
- Go to the ComfyUI GitHub releases
- Download the Windows portable package
- Extract to a folder (avoid spaces in path)
Step 2: Run ComfyUI
- Double-click
run_nvidia_gpu.bat - Wait for the server to start
- Open browser to
http://127.0.0.1:8188
That's it. ComfyUI is running.
Step 3: Download a model
- Download an SDXL model from Civitai or Hugging Face
- Place in
ComfyUI/models/checkpoints/ - Refresh ComfyUI (press F5)
Linux/Mac Installation
Using git:
git clone https://github.com/comfyanonymous/ComfyUI.git
cd ComfyUI
pip install -r requirements.txt
python main.py
Using conda:
git clone https://github.com/comfyanonymous/ComfyUI.git
cd ComfyUI
conda create -n comfyui python=3.10
conda activate comfyui
pip install torch torchvision torchaudio
pip install -r requirements.txt
python main.py
Model File Locations
Place your model files in these directories:
| Model Type | Location |
|---|---|
| Checkpoints (SDXL, SD1.5) | models/checkpoints/ |
| LoRAs | models/loras/ |
| VAE | models/vae/ |
| ControlNet | models/controlnet/ |
| Embeddings | models/embeddings/ |
| CLIP | models/clip/ |
| Upscalers | models/upscale_models/ |
Understanding the Interface
Main Areas
Canvas (center): Where your node workflow lives Menu (right-click): Access all available nodes Queue (bottom): Shows pending and completed generations Settings (gear icon): Configuration options
Navigation
- Pan: Middle-mouse drag or spacebar + drag
- Zoom: Scroll wheel
- Select: Left-click on nodes
- Multi-select: Shift + click or box selection
- Delete: Select node(s), press Delete
- Undo: Ctrl+Z
Node Basics
Anatomy of a node:
- Title bar: Node name
- Inputs (left): Colored dots for connections
- Outputs (right): Colored dots for outputs
- Parameters: Adjustable settings within the node
Connection colors:
- Purple: Model connections
- Pink: Conditioning/prompt
- Yellow: Latent/image
- Orange: VAE
- Green: Mask
Your First Workflow
Loading the Default Workflow
When you open ComfyUI, you see a default workflow. Let's understand it:
Nodes present:
- Load Checkpoint: Loads your AI model
- CLIP Text Encode (x2): Positive and negative prompts
- Empty Latent Image: Sets output resolution
- KSampler: Does the generation
- VAE Decode: Converts to viewable image
- Save Image: Saves the result
Running Your First Generation
Step 1: In Load Checkpoint, select your downloaded model
Step 2: In the positive CLIP Text Encode, type your prompt:
a beautiful sunset over the ocean, vibrant colors, photorealistic
Step 3: In the negative CLIP Text Encode, type:
blurry, low quality, distorted
Step 4: In Empty Latent Image, set:
- Width: 1024
- Height: 1024
Step 5: Click "Queue Prompt" (or press Ctrl+Enter)
Step 6: Watch the progress bar. When done, your image appears in the Save Image node.
Congratulations. You just generated your first ComfyUI image.
Essential Nodes Explained
Model Loading Nodes
Load Checkpoint:
- Loads SDXL, SD1.5, or compatible models
- Select from dropdown of files in checkpoints folder
Load LoRA:
- Adds style/subject LoRAs to your model
- Connect between checkpoint and CLIP encoders
strength_model: How much LoRA affects generationstrength_clip: How much LoRA affects text understanding
Text and Prompt Nodes
CLIP Text Encode:
Free ComfyUI Workflows
Find free, open-source ComfyUI workflows for techniques in this article. Open source is strong.
- Converts text to format the model understands
- Connect to CLIP output from checkpoint
- Positive: What you want
- Negative: What you don't want
CLIP Text Encode (SDXL):
- SDXL-specific with two text inputs
- First: Main description
- Second: Style/quality terms
Image Dimension Nodes
Empty Latent Image:
- Sets output size
- Common sizes: 1024x1024, 1152x896, 896x1152
- Batch size: Generate multiple images at once
Load Image:
- Brings in existing images
- Used for img2img, ControlNet, reference
Sampling Nodes
KSampler: The core generation node.
Parameters:
seed: Random seed (same seed = same image)steps: More = better quality, slowercfg: How closely to follow prompt (7-8 typical)sampler_name: Algorithm (euler, dpm++, etc.)scheduler: Step scheduling (normal, karras, etc.)denoise: 1.0 for text-to-image, lower for img2img
Output Nodes
VAE Decode:
- Converts latent to viewable image
- Usually uses checkpoint's built-in VAE
Save Image:
- Saves to output folder
- Customize filename prefix
Building Custom Workflows
Adding Nodes
Method 1: Right-click menu
- Right-click on canvas
- Navigate categories
- Click to add node
Method 2: Search
- Double-click on canvas
- Type node name
- Select from results
Connecting Nodes
- Click and drag from output (right side) to input (left side)
- Colors must match (or be compatible)
- Release to connect
Reroute and Organization
Reroute node:
- Adds control points to wires
- Double-click wire to add reroute
- Helps organize complex workflows
Groups:
- Select nodes, right-click, "Group"
- Add labels to workflow sections
- Color-code for clarity
For organization tips, see our workflow organization guide.
Installing Custom Nodes
ComfyUI Manager (Essential)
ComfyUI Manager lets you install nodes with one click.
Want to skip the complexity? Apatero gives you professional AI results instantly with no technical setup required.
Installation:
cd ComfyUI/custom_nodes
git clone https://github.com/ltdrdata/ComfyUI-Manager.git
Restart ComfyUI.
Usage:
- Click "Manager" in menu
- Search for nodes
- Click Install
- Restart ComfyUI
Essential Custom Nodes to Install
Start with these:
- Impact Pack - Face fixing, segmentation
- WAS Node Suite - Utilities
- ControlNet Preprocessors - For ControlNet workflows
- IPAdapter Plus - Face/style consistency
- VideoHelperSuite - Video support
For the complete list, see our best custom nodes guide.
Common Workflows
Text-to-Image (Basic)
Already covered above. The default workflow.
Image-to-Image
Modifications to basic workflow:
- Add "Load Image" node
- Add "VAE Encode" node
- Connect: Load Image → VAE Encode → KSampler (latent input)
- Set KSampler denoise to 0.5-0.8
- Lower denoise = more like original image
With LoRA
Modifications:
- Add "Load LoRA" node
- Connect: Checkpoint → LoRA → CLIP Text Encode
- Also connect model output through LoRA
- Adjust strength (0.5-1.0 typical)
With ControlNet
Additional nodes needed:
- Load ControlNet Model
- Preprocessor (Canny, Depth, OpenPose, etc.)
- Apply ControlNet
Connection flow:
- Load reference image
- Preprocess (Canny edges, depth map, etc.)
- Apply ControlNet to conditioning
- Continue to KSampler
For ControlNet details, see our ControlNet guide.
Upscaling Workflow
Simple upscale:
Earn Up To $1,250+/Month Creating Content
Join our exclusive creator affiliate program. Get paid per viral video based on performance. Create content in your style with full creative freedom.
- Load generated or external image
- Add "Upscale Image" node
- Select upscale model
- Save result
AI-enhanced upscale:
- Generate at normal size
- Upscale image 2x
- Run through KSampler at low denoise (0.3-0.5)
- Result: Larger image with added detail
Video Generation in ComfyUI
Setting Up for Video
Required nodes:
- ComfyUI-VideoHelperSuite
- ComfyUI-LTXVideo (for LTX-2)
- ComfyUI-WanVideoWrapper (for Wan)
Required models:
- Download LTX-2 or Wan model files
- Place in appropriate folders
Basic Video Workflow
- Load video model
- Add text prompt
- Set frame count and resolution
- Generate
- Use Video Combine node to create video file
For detailed video workflows, see our LTX-2 guide and Wan guide.
Troubleshooting Common Issues
"Out of Memory" (OOM)
Causes:
- Model too large for VRAM
- Resolution too high
- Too many nodes/models loaded
Solutions:
- Reduce resolution
- Enable model offloading in settings
- Use GGUF quantized models
- Close other GPU applications
Slow Generation
Causes:
- High step count
- Large resolution
- Slow sampler choice
Solutions:
- Reduce steps (25-30 usually sufficient)
- Use faster samplers (euler_ancestral, dpm++)
- Generate at lower resolution, upscale after
Black or Corrupted Output
Causes:
- VAE mismatch
- Broken connections
- Incompatible model/settings
Solutions:
- Try creative VAE (not baked-in)
- Check all connections
- Reset to default workflow and rebuild
Missing Nodes Error
When loading workflows:
- Note which nodes are missing
- Install via ComfyUI Manager
- Restart and reload workflow
Node Not Found in Menu
Causes:
- Node not installed
- Installation error
- Conflicting nodes
Solutions:
- Check Manager for installation status
- Look at terminal for errors
- Try reinstalling node pack
Tips for Success
Workflow Management
- Save frequently: Ctrl+S to save workflows
- Name descriptively: "SDXL_portrait_workflow_v2.json"
- Create templates: Save common starting points
- Version your workflows: Keep old versions
Performance Optimization
- Use appropriate resolution: Don't go bigger than needed
- Batch strategically: Generate multiple seeds at once
- Cache models: Keep frequently used models loaded
- SSD storage: Fast storage speeds workflow
Learning Progression
Week 1: Basic text-to-image, understand core nodes Week 2: LoRAs, img2img, simple modifications Week 3: ControlNet basics, custom node exploration Month 1: Video generation, complex workflows Ongoing: Advanced techniques, workflow optimization
Resources for Learning
Official Resources
- ComfyUI GitHub: Documentation and updates
- ComfyUI Examples: Built-in workflow examples
Community Resources
- r/comfyui: Reddit community
- ComfyUI Discord: Real-time help
- OpenArt: Workflow sharing platform
- Civitai: Models and workflows
Video Tutorials
YouTube is excellent for ComfyUI learning:
- Search "ComfyUI beginner tutorial"
- Follow along with hands-on examples
- Watch workflow walkthroughs
For curated learning resources, see our AI learning resources guide.
Frequently Asked Questions
Is ComfyUI hard to learn?
The basics take 2-4 hours. Proficiency takes weeks. It's more complex than alternatives but the investment pays off in capability.
Do I need a powerful computer?
You need a dedicated GPU. Minimum 6GB VRAM, recommended 12GB+. AMD support exists but NVIDIA is more reliable.
Can I use ComfyUI commercially?
Yes. ComfyUI itself is open source. Check the license of specific models you use.
How is ComfyUI different from AUTOMATIC1111?
ComfyUI uses visual nodes, A1111 uses tabs and settings. ComfyUI is more flexible but has a steeper learning curve.
Does ComfyUI support video?
Yes, with excellent support for LTX-2, Wan, and other video models through custom nodes.
Where do I find workflows?
OpenArt, Civitai, Reddit, and Discord all have downloadable workflows.
Can I create my own custom nodes?
Yes, if you know Python. See the developer documentation.
Why choose ComfyUI over easier tools?
Maximum control, flexibility, and the ability to do things not possible elsewhere. Professional users typically prefer ComfyUI.
Wrapping Up
ComfyUI transforms AI generation from a black box into a visible, controllable process. Yes, the learning curve exists. But once you understand nodes and connections, you have capabilities that simpler tools can't match.
Getting started checklist:
- Install ComfyUI (use portable package on Windows)
- Download a model (SDXL recommended)
- Run the default workflow
- Install ComfyUI Manager
- Add essential custom nodes
- Start modifying and building
The ComfyUI community is helpful. When stuck, search Reddit, Discord, or YouTube. Chances are someone had the same question.
For those preferring cloud-based generation without local setup, Apatero.com offers professional tools. But for maximum control and capability, learning ComfyUI is worth the investment.
Quick Reference
Keyboard Shortcuts
| Shortcut | Action |
|---|---|
| Ctrl+Enter | Queue prompt |
| Ctrl+S | Save workflow |
| Ctrl+O | Open workflow |
| Ctrl+Z | Undo |
| Delete | Remove selected |
| Ctrl+G | Group selected |
| Double-click | Search nodes |
| Space+drag | Pan canvas |
Common Sampler Settings
| Use Case | Sampler | Scheduler | Steps |
|---|---|---|---|
| Fast preview | euler_ancestral | normal | 15 |
| Balanced | dpm++ 2m | karras | 25 |
| High quality | dpm++ sde | karras | 35 |
| Consistency | euler | normal | 30 |
Recommended Starting Settings
For SDXL:
- Resolution: 1024x1024
- Steps: 25-30
- CFG: 7
- Sampler: dpm++ 2m
- Scheduler: karras
Start here, then experiment based on results.
Ready to Create Your AI Influencer?
Join 115 students mastering ComfyUI and AI influencer marketing in our complete 51-lesson course.
Related Articles
Adobe Firefly vs Midjourney vs Ideogram 2026: Which Wins
Brand-safe licensing, scroll-stopping aesthetics, or text rendering. Three tools optimized for three different jobs, tested against real briefs.
AI Architecture Rendering 2026: Veras vs Paintit vs Midjourney
44 percent of architects use AI in 2026. Veras, Paintit, ArchiVinci, and Midjourney tested on five real architectural briefs from a working studio.
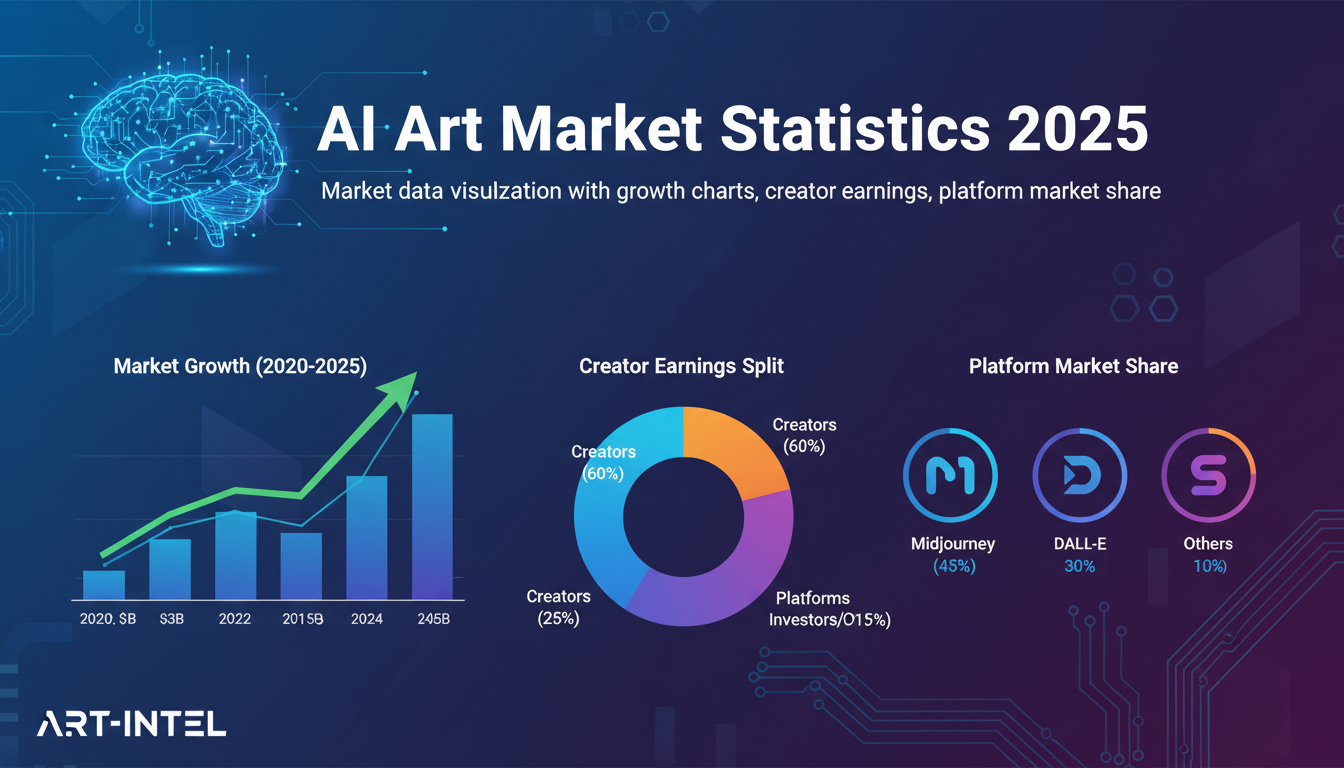
AI Art Market Statistics 2025: Industry Size, Trends, and Growth Projections
Comprehensive AI art market statistics including market size, creator earnings, platform data, and growth projections with 75+ data points.