Z-Image Base ComfyUI Setup: Complete Installation and Workflow Guide
Set up Z-Image Base in ComfyUI with this complete guide. Installation, node configuration, basic workflows, and optimization tips for local generation.
ComfyUI has become the preferred interface for serious AI image generation, offering node-based workflows that provide complete control over the generation process. Setting up Z-Image Base in ComfyUI unlocks the model's full potential with customizable pipelines, LoRA integration, and advanced features. This guide walks you through every step from installation to your first generation.
ComfyUI's learning curve is steeper than simpler interfaces, but the control and flexibility it provides make it worthwhile for anyone doing serious generative work.
Prerequisites
Before starting, ensure your system meets these requirements.
Hardware Requirements
Minimum:
- NVIDIA GPU with 12GB VRAM (RTX 3060 12GB)
- 32GB system RAM
- 50GB free storage
- CUDA-capable system
Recommended:
- NVIDIA GPU with 16-24GB VRAM (RTX 4070/4090)
- 64GB system RAM
- SSD for model storage
- Latest NVIDIA drivers
Software Requirements
- Python 3.10 or 3.11
- Git
- CUDA 11.8 or 12.x
- Windows, Linux, or macOS
Installing ComfyUI
Let's get ComfyUI running on your system.
Method 1: Direct Clone (Recommended)
## Clone repository
git clone https://github.com/comfyanonymous/ComfyUI
cd ComfyUI

## Create virtual environment
python -m venv venv
source venv/bin/activate  # Linux/Mac
## or: venv\Scripts\activate  # Windows

## Install PyTorch (adjust for your CUDA version)
pip install torch torchvision torchaudio --index-url https://download.pytorch.org/whl/cu121

## Install dependencies
pip install -r requirements.txt
Method 2: Portable (Windows)
For Windows users, portable packages exist:
- Download from ComfyUI GitHub releases
- Extract to desired location
- Run
run_nvidia_gpu.bat
Verifying Installation
Start ComfyUI to verify:
python main.py
Open http://127.0.0.1:8188 in your browser. You should see the ComfyUI interface.
 ComfyUI interface after successful installation
Installing ComfyUI Manager
ComfyUI Manager simplifies node installation and updates.
Installation Steps
- Navigate to custom_nodes folder:
cd custom_nodes
git clone https://github.com/ltdrdata/ComfyUI-Manager
Restart ComfyUI
Access Manager from the interface menu
Using Manager
With Manager installed:
- Install custom nodes from the menu
- Update existing nodes
- Search for specific functionality
- Manage dependencies
Downloading Z-Image Base
Get the model files and place them correctly.
Model Download
Download Z-Image Base from HuggingFace:
- Navigate to the model page
- Download the safetensors file (~12GB)
- Note the VAE if provided separately
File Placement
Place files in ComfyUI's model directories:
ComfyUI/
├── models/
│   ├── checkpoints/
│   │   └── z-image-base.safetensors  ← Main model
│   ├── vae/
│   │   └── z-image-vae.safetensors   ← If separate
│   └── loras/
│       └── (your loras here)
Basic Generation Workflow
Let's create a simple text-to-image workflow.
Essential Nodes
A minimal workflow requires:
- Load Checkpoint - Loads Z-Image Base
- CLIP Text Encode - Processes your prompt
- Empty Latent Image - Creates the generation canvas
- KSampler - Performs the diffusion process
- VAE Decode - Converts latent to image
- Save Image - Saves your output
Node Connections
Connect nodes in this pattern:
Free ComfyUI Workflows
Find free, open-source ComfyUI workflows for techniques in this article. Open source is strong.
[Load Checkpoint]
  ├── MODEL → [KSampler] MODEL
  ├── CLIP → [CLIP Text Encode (Positive)] CLIP
  ├── CLIP → [CLIP Text Encode (Negative)] CLIP
  └── VAE → [VAE Decode] VAE

[CLIP Text Encode (Positive)]
  └── CONDITIONING → [KSampler] positive

[CLIP Text Encode (Negative)]
  └── CONDITIONING → [KSampler] negative

[Empty Latent Image]
  └── LATENT → [KSampler] latent_image

[KSampler]
  └── LATENT → [VAE Decode] samples

[VAE Decode]
  └── IMAGE → [Save Image] images
Recommended Settings
For Z-Image Base:
| Setting | Recommended Value |
|---|---|
| Steps | 30 |
| CFG | 7 |
| Sampler | euler |
| Scheduler | normal |
| Denoise | 1.0 |
| Resolution | 1024x1024 |
Your First Generation
- Set your prompt in the positive CLIP node
- Add quality negatives: "blurry, low quality, distorted"
- Configure resolution in Empty Latent Image
- Click "Queue Prompt"
Watch the generation progress and your first Z-Image Base output appear.
Advanced Workflows
Once basics work, explore advanced configurations.
Adding LoRA Support
Insert a LoRA loader between checkpoint and samplers:
[Load Checkpoint]
  └── MODEL → [Load LoRA] model

[Load LoRA]
  ├── MODEL → [KSampler] MODEL
  └── CLIP → [CLIP Text Encode] CLIP
Configure LoRA strength (typically 0.7-1.0 for full effect).
Image-to-Image
Replace Empty Latent Image with a loaded image:
[Load Image]
  └── IMAGE → [VAE Encode] pixels

[VAE Encode]
  └── LATENT → [KSampler] latent_image
Adjust denoise (0.3-0.7) to control how much changes.
Batch Generation
Generate multiple images efficiently:
[Empty Latent Image]
  batch_size: 4
This generates 4 images per queue, useful for exploring variations.
Want to skip the complexity? Apatero gives you professional AI results instantly with no technical setup required.
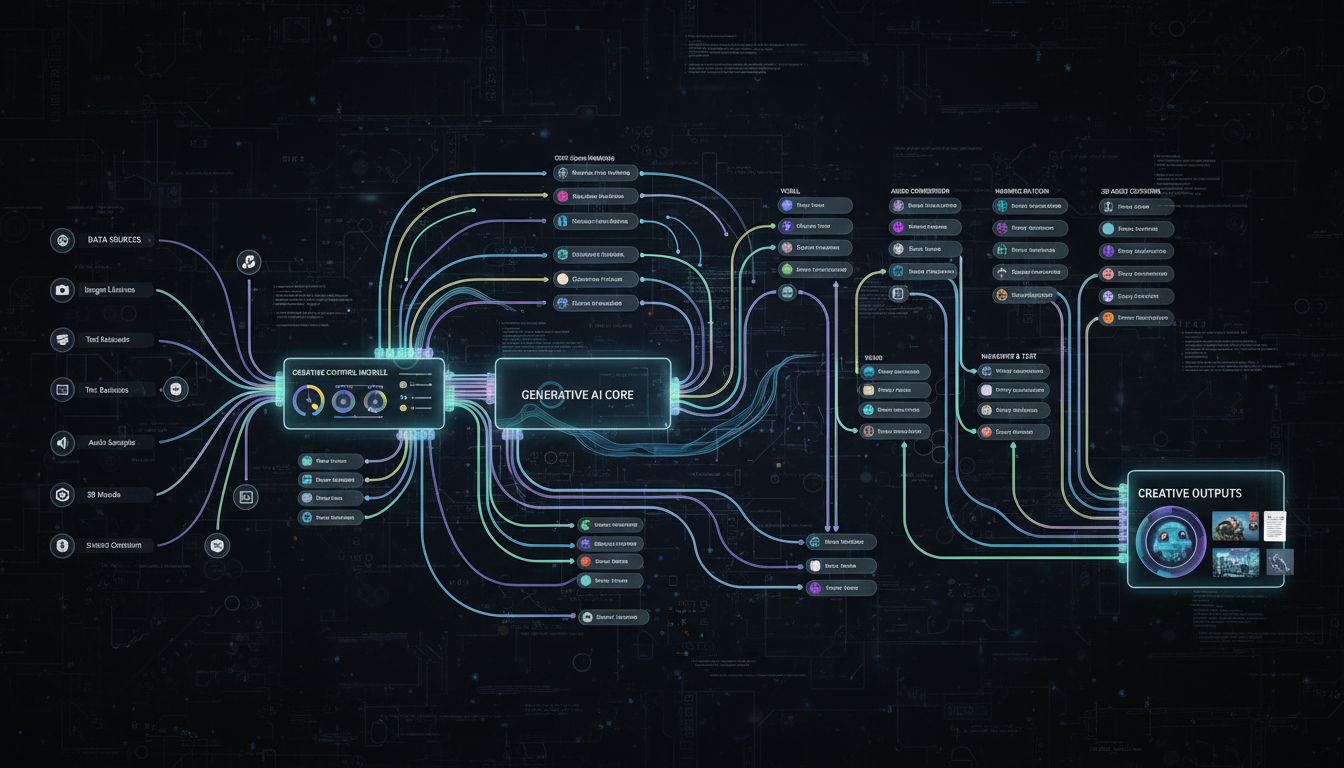
 Complex workflows enable sophisticated generation pipelines
Optimization Tips
Get better performance from your setup.
Memory Management
For limited VRAM:
Enable attention optimizations:
- Install xformers:
pip install xformers - Add
--use-pytorch-cross-attentionto launch args - Use
--lowvramflag if needed
Quantization:
- fp16 models use half the VRAM
- Some quality trade-off
Speed Optimization
Faster generation:
- Reduce steps (20 instead of 30 for previews)
- Use smaller batch sizes if VRAM limited
- Enable CUDA graphs:
--cuda-malloc
Caching:
- Model weights are cached after first load
- Subsequent generations start faster
Quality Optimization
Better outputs:
- Use full 30+ steps for final renders
- CFG 7-8 for balanced quality
- Higher resolution when VRAM allows
- Appropriate negative prompts
Troubleshooting
Common issues and their solutions.
Earn Up To $1,250+/Month Creating Content
Join our exclusive creator affiliate program. Get paid per viral video based on performance. Create content in your style with full creative freedom.
Model Won't Load
Symptoms: Error messages when loading checkpoint
Solutions:
- Verify file placement in correct folder
- Check file isn't corrupted (re-download)
- Ensure sufficient VRAM
- Check ComfyUI console for specific errors
Out of Memory
Symptoms: CUDA out of memory errors
Solutions:
- Enable
--lowvrammode - Reduce resolution
- Close other GPU applications
- Use fp16 model if available
Slow Generation
Symptoms: Generation takes very long
Solutions:
- Check CUDA is being used (not CPU)
- Update GPU drivers
- Verify xformers installation
- Monitor GPU usage to diagnose
Black/Blank Outputs
Symptoms: Generated images are black or empty
Solutions:
- Check VAE is loaded correctly
- Verify node connections
- Try different seed
- Reduce CFG scale
Key Takeaways
- ComfyUI offers complete control via node-based workflows
- 12GB VRAM minimum with 16GB+ recommended
- Standard workflow uses 6 core nodes
- 30 steps, CFG 7, euler sampler are good starting points
- ComfyUI Manager simplifies node installation
- Optimization flags help with limited hardware
Frequently Asked Questions
Does Z-Image Base work with A1111?
This guide covers ComfyUI. A1111 may have limited support depending on extension availability.
Which Python version should I use?
Python 3.10 or 3.11 are recommended. 3.12 may have compatibility issues.
Can I run ComfyUI without a GPU?
Technically yes with CPU mode, but generation will be extremely slow (minutes to hours per image).
How do I update ComfyUI?
Run git pull in the ComfyUI directory, then update dependencies if needed.
Where do I find community workflows?
Check ComfyUI subreddit, Civitai workflows section, and GitHub repositories.
Can I use multiple LoRAs?
Yes, chain multiple Load LoRA nodes together.
How do I save my workflow?
Use the Save button in ComfyUI to export as JSON. Load button imports saved workflows.
Why is my first generation slow?
Model loading takes time on first generation. Subsequent generations are faster.
How do I use different aspect ratios?
Change width and height in Empty Latent Image node.
Can I run multiple workflows at once?
ComfyUI queues workflows. Multiple can be queued but execute sequentially.
ComfyUI with Z-Image Base provides a powerful local generation setup that gives you complete control over your creative process. The initial setup effort pays off in flexibility and capability.
For users who prefer simpler interfaces without local setup, Apatero offers instant access to Z-Image models alongside 50+ other options, with LoRA training available on Pro plans.
Ready to Create Your AI Influencer?
Join 115 students mastering ComfyUI and AI influencer marketing in our complete 51-lesson course.
Related Articles
Adobe Firefly vs Midjourney vs Ideogram 2026: Which Wins
Brand-safe licensing, scroll-stopping aesthetics, or text rendering. Three tools optimized for three different jobs, tested against real briefs.
AI Art Market Statistics 2025: Industry Size, Trends, and Growth Projections
Comprehensive AI art market statistics including market size, creator earnings, platform data, and growth projections with 75+ data points.

AI Automation Tools: Transform Your Business Workflows in 2025
Discover the best AI automation tools to transform your business workflows. Learn how to automate repetitive tasks, improve efficiency, and scale operations with AI.