How to Install LTX-2 Standalone with Gradio: Step-by-Step Guide
Install LTX-2 video generation locally with a Gradio web interface. No ComfyUI needed. Complete setup guide from download to first generation.
Make AI images and video in your browser
Characters, video, photo packs. No GPU, no setup. Your first generation is free.
Not everyone wants to learn ComfyUI just to generate videos. If you want LTX-2's powerful video generation without the node-based complexity, the standalone Gradio version is your answer. I'll walk you through every step, from installing dependencies to generating your first 4K video.
Quick Answer: LTX-2 can run standalone with a Gradio web interface by cloning the official repository, installing dependencies via pip, downloading the model weights from HuggingFace, and running the Gradio app. Total setup time is 15-30 minutes depending on your internet speed and hardware.
- No ComfyUI knowledge required for standalone setup
- Gradio provides a simple web interface for generation
- Requires 12GB+ VRAM (16GB recommended)
- Full model download is approximately 15GB
- Works on Windows, Linux, and macOS (CUDA or MPS)
Why Use Standalone Instead of ComfyUI?
ComfyUI is powerful but has a learning curve. If you just want to generate videos without building node workflows, the standalone Gradio interface offers:
Simpler interface: One page with all controls. Enter a prompt, adjust settings, click generate.
Faster iteration: No workflow setup. Change parameters directly in the UI.
Lower barrier: Perfect for testing LTX-2 before committing to a full ComfyUI setup.
Script-friendly: Easy to modify for batch processing or API integration.
The tradeoff is less flexibility. ComfyUI enables complex workflows, LoRA stacking, and advanced conditioning. But for straightforward text-to-video or image-to-video, standalone works great.
Prerequisites
Before starting, ensure you have:
Hardware Requirements
| Component | Minimum | Recommended |
|---|---|---|
| VRAM | 12GB | 16GB+ |
| RAM | 16GB | 32GB |
| Storage | 30GB free | 50GB free |
| GPU | RTX 3080/4070 | RTX 4090/A6000 |
Software Requirements
- Python 3.10 or 3.11 (3.12 has compatibility issues)
- CUDA 11.8 or 12.1 (for NVIDIA GPUs)
- Git
- A terminal/command prompt
Check Your Python Version
python --version
## Should show Python 3.10.x or 3.11.x
If you need to install Python, use pyenv on Linux/Mac or download from python.org for Windows.
Step 1: Create a Virtual Environment
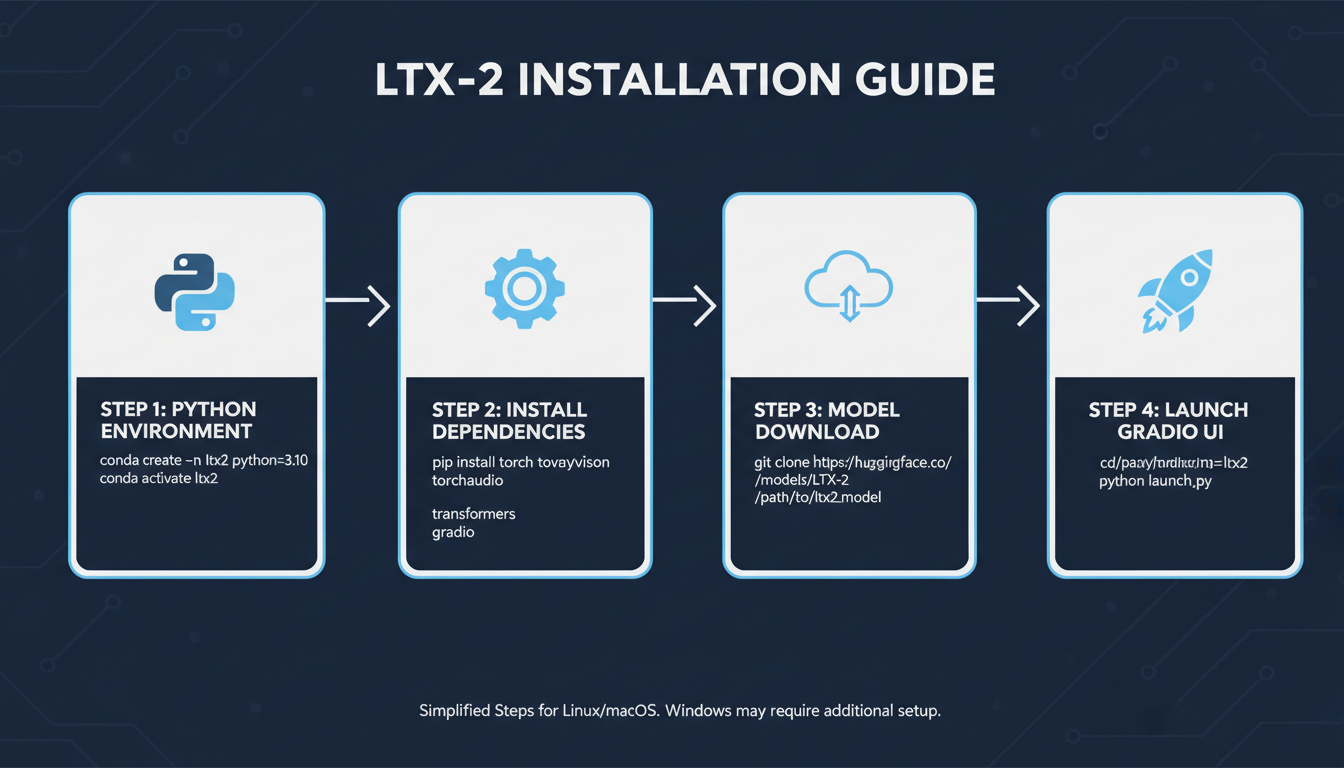 The installation process: Python environment, dependencies, model download, and Gradio launch
Always use a virtual environment to avoid dependency conflicts.
On Linux/macOS:
## Navigate to where you want to install
cd ~/ai-projects

## Create virtual environment
python -m venv ltx2-env

## Activate it
source ltx2-env/bin/activate
On Windows:
## Navigate to installation directory
cd C:\ai-projects

## Create virtual environment
python -m venv ltx2-env

## Activate it
.\ltx2-env\Scripts\activate
Your terminal prompt should now show (ltx2-env) indicating the environment is active.
Step 2: Clone the LTX-Video Repository
The official Lightricks repository contains everything you need.
git clone https://github.com/Lightricks/LTX-Video.git
cd LTX-Video
This downloads the inference code, Gradio app, and configuration files.
Step 3: Install Dependencies
Install PyTorch first (with CUDA support), then the remaining dependencies.
For NVIDIA GPUs (CUDA 12.1):
pip install torch torchvision torchaudio --index-url https://download.pytorch.org/whl/cu121
For NVIDIA GPUs (CUDA 11.8):
pip install torch torchvision torchaudio --index-url https://download.pytorch.org/whl/cu118
For Apple Silicon (MPS):
pip install torch torchvision torchaudio
Install Remaining Requirements:
pip install -r requirements.txt
This installs transformers, diffusers, gradio, and other dependencies. Takes 2-5 minutes.
Verify PyTorch Installation:
python -c "import torch; print(f'PyTorch {torch.__version__}'); print(f'CUDA available: {torch.cuda.is_available()}')"
You should see CUDA available: True on NVIDIA GPUs.
Step 4: Download Model Weights
LTX-2 models are hosted on HuggingFace. You can download them automatically or manually.
Automatic Download (Recommended):
The Gradio app downloads models on first run if they're not found. However, this can be slow. For more control:
Manual Download with huggingface-cli:
## Install HuggingFace CLI
pip install huggingface_hub[cli]

## Login (optional, for gated models)
huggingface-cli login

## Download LTX-Video 2.0
huggingface-cli download Lightricks/LTX-Video-2.0 --local-dir ./models/ltx-video-2.0
Model Files You Need:
| File | Size | Purpose |
|---|---|---|
| transformer/ | ~10GB | Main DiT model |
| vae/ | ~500MB | Video encoder/decoder |
| text_encoder/ | ~2GB | T5 text encoder |
| scheduler/ | ~1MB | Sampling scheduler |
Total download: approximately 12-15GB.
Step 5: Configure the Gradio App
The repository includes a Gradio demo. Before running, you may want to adjust settings.
Edit Configuration (Optional):
Create or edit a config file to set defaults:
## config.py (create this file)
MODEL_PATH = "./models/ltx-video-2.0"
DEFAULT_WIDTH = 1280
DEFAULT_HEIGHT = 720
DEFAULT_FRAMES = 49
DEFAULT_FPS = 16
DEFAULT_STEPS = 30
DEFAULT_CFG = 6.5
Memory Optimization Settings:
For 12GB GPUs, add these environment variables before running:
export PYTORCH_CUDA_ALLOC_CONF=expandable_segments:True
export CUDA_VISIBLE_DEVICES=0
On Windows:
Free ComfyUI Workflows
Find free, open-source ComfyUI workflows for techniques in this article. Open source is strong.
$env:PYTORCH_CUDA_ALLOC_CONF="expandable_segments:True"
$env:CUDA_VISIBLE_DEVICES="0"
Step 6: Launch the Gradio Interface
Now for the exciting part. Launch the web interface:
python app.py
Or if the repository uses a different entry point:
python -m ltx_video.gradio_app
You should see output like:
Running on local URL:  http://127.0.0.1:7860
Running on public URL: https://xxxxx.gradio.live
Open http://127.0.0.1:7860 in your browser.
Step 7: Generate Your First Video
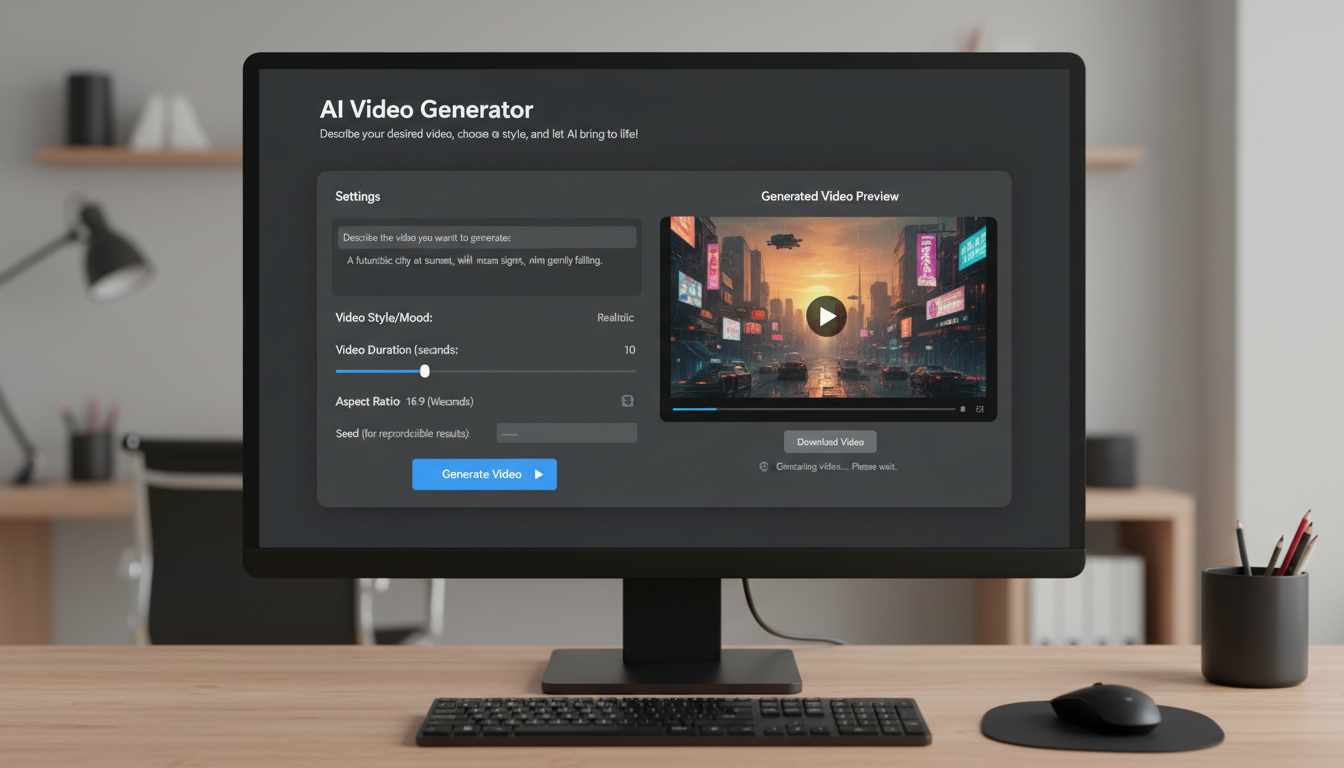 The Gradio interface provides a simple web-based UI for LTX-2 video generation
With the Gradio interface open, you're ready to generate.
Basic Text-to-Video:
- Enter a prompt in the text field
- Set resolution to 720p (1280x720) for first test
- Set frames to 33 (2 seconds at 16fps)
- Set steps to 30
- Click Generate
Example prompt:
A golden retriever running through autumn leaves, slow motion,
warm afternoon sunlight, shallow depth of field, cinematic
First generation includes model loading time. Subsequent generations are faster.
Image-to-Video:
- Upload a reference image
- Enter a motion prompt describing what should happen
- Adjust denoise strength (0.7-0.9 for subtle motion)
- Generate
Image conditioning dramatically improves consistency.
Optimizing Performance
Once basic generation works, optimize for your hardware.
Enable FP8 Quantization (RTX 40 Series):
FP8 reduces VRAM usage by 40% with minimal quality loss.
## In your launch script or config
import torch
torch.set_float32_matmul_precision('high')
The Gradio app may have a built-in FP8 toggle.
Want to skip the complexity? Apatero gives you professional AI results instantly with no technical setup required.
Reduce Memory Usage:
## Lower resolution for testing
--width 512 --height 512

## Fewer frames
--frames 25

## Enable attention slicing
--attention-slicing

## Enable VAE tiling
--vae-tiling
Batch Processing:
For multiple generations, use the API mode instead of clicking repeatedly:
import gradio_client

client = gradio_client.Client("http://127.0.0.1:7860")
result = client.predict(
    prompt="Your prompt here",
    width=1280,
    height=720,
    frames=49,
    api_name="/generate"
)
Troubleshooting Common Issues
"CUDA out of memory"
Solutions:
- Reduce resolution to 512x512
- Reduce frame count to 25
- Close other GPU applications
- Enable FP8 quantization
- Add
--low-vramflag if available
"Module not found" Errors
Solution: Reinstall dependencies in the virtual environment:
pip install -r requirements.txt --force-reinstall
Gradio Won't Launch
Check port availability:
## Linux/Mac
lsof -i :7860

## Windows
netstat -ano | findstr :7860
If port is in use, specify a different port:
python app.py --port 7861
Slow Generation Speed
Benchmarks for reference:
| Resolution | GPU | Time (30 steps) |
|---|---|---|
| 512x512 | RTX 4090 | ~15 sec |
| 720p | RTX 4090 | ~45 sec |
| 1080p | RTX 4090 | ~90 sec |
| 720p | RTX 3080 | ~75 sec |
If significantly slower, check that CUDA is being used (not CPU).
Model Download Fails
Alternative download method:
## Use wget or aria2 for more reliable downloads
wget https://huggingface.co/Lightricks/LTX-Video-2.0/resolve/main/model_index.json
Or download directly from the HuggingFace model page.
Running on Different Hardware
RTX 3080/3090 (10-24GB VRAM)
These cards work well with default settings. Enable FP16 for best quality:
python app.py --precision fp16
RTX 4070/4080 (12-16GB VRAM)
Enable FP8 for optimal performance:
Earn Up To $1,250+/Month Creating Content
Join our exclusive creator affiliate program. Get paid per viral video based on performance. Create content in your style with full creative freedom.
python app.py --precision fp8
Apple Silicon (M1/M2/M3)
MPS (Metal Performance Shaders) support is experimental:
export PYTORCH_ENABLE_MPS_FALLBACK=1
python app.py --device mps
Performance is slower than CUDA but functional.
CPU Only (Not Recommended)
Possible but extremely slow:
python app.py --device cpu
Expect 10-30 minutes per generation.
Advanced: Creating Custom Scripts
The Gradio app is convenient but you might want more control.
Basic Generation Script:
import torch
from diffusers import LTXVideoPipeline

## Load model
pipe = LTXVideoPipeline.from_pretrained(
    "Lightricks/LTX-Video-2.0",
    torch_dtype=torch.bfloat16
)
pipe.to("cuda")

## Generate
video = pipe(
    prompt="A butterfly landing on a flower, macro photography",
    num_frames=49,
    height=720,
    width=1280,
    num_inference_steps=30,
    guidance_scale=6.5,
).frames[0]

## Save
video.save("output.mp4")
Batch Generation Script:
prompts = [
    "Ocean waves at sunset",
    "City traffic time lapse",
    "Forest stream flowing",
]

for i, prompt in enumerate(prompts):
    video = pipe(prompt=prompt, num_frames=49).frames[0]
    video.save(f"output_{i}.mp4")
    print(f"Generated {i+1}/{len(prompts)}")
When to Move to ComfyUI
The standalone setup is perfect for:
- Quick tests and experimentation
- Simple text-to-video generation
- Learning LTX-2's capabilities
- Batch processing with scripts
Consider moving to ComfyUI when you need:
- Multi-keyframe conditioning
- LoRA model integration
- Complex workflows with chained operations
- Advanced controlnet/ip-adapter features
- Integration with other models
For a ComfyUI setup guide, see LTX-2: Everything You Need to Know.
Frequently Asked Questions
Is the standalone version different from ComfyUI's LTX-2?
No, it's the same model. The difference is the interface, not the underlying video generation.
Can I use LoRAs with the standalone version?
Not directly through Gradio. LoRA support requires additional code or using ComfyUI. The standalone version uses the base model only.
How much disk space do I need?
Plan for 30-50GB: 15GB for model weights, 5GB for Python environment, and headroom for generated videos.
Does this support audio generation?
Yes, LTX-2 generates synchronized audio. The Gradio interface should have an audio toggle.
Can I run this on a cloud GPU?
Yes. Services like RunPod, Vast.ai, and Lambda Labs provide suitable GPUs. Follow the same installation steps.
How do I update to newer LTX versions?
Pull the latest repository changes and re-download model weights:
git pull
pip install -r requirements.txt --upgrade
Is commercial use allowed?
Yes, LTX-2 uses an open license permitting commercial applications.
Can I run multiple instances?
Yes, on different ports. Useful for parallel generation:
python app.py --port 7860 &
python app.py --port 7861 &
What's the maximum video length?
Up to 60 seconds at lower resolutions, 20 seconds at 4K. Standalone supports the full range.
Why is my first generation so slow?
Model loading happens on first generation. Subsequent generations skip this step and are much faster.
Wrapping Up
The LTX-2 standalone Gradio setup gives you powerful video generation without the complexity of node-based workflows. In 15-30 minutes, you can go from nothing to generating cinematic AI videos.
Key steps to remember:
- Create a Python virtual environment
- Clone the official repository
- Install PyTorch with CUDA support
- Download model weights from HuggingFace
- Launch the Gradio app
For more advanced workflows, LoRA integration, and professional production techniques, explore ComfyUI integration and my LTX-2 tips and tricks.
If you want to skip setup entirely, Apatero.com offers cloud-based LTX-2 generation with no installation required.
Quick Reference Commands
For easy reference, here are the essential commands:
## Create environment
python -m venv ltx2-env && source ltx2-env/bin/activate

## Clone and install
git clone https://github.com/Lightricks/LTX-Video.git
cd LTX-Video
pip install torch torchvision torchaudio --index-url https://download.pytorch.org/whl/cu121
pip install -r requirements.txt

## Download models
huggingface-cli download Lightricks/LTX-Video-2.0 --local-dir ./models/ltx-video-2.0

## Run
python app.py
Bookmark this section for quick setup on new machines.
Now go generate some videos.
Make AI images and video in your browser
Characters, video, photo packs. No GPU, no setup. Your first generation is free.
Related Articles
AI Anime Video Generation: Turn Still Characters Into Animated Content
Complete guide to turning still anime and AI-generated character images into animated video. Covers WAN 2.2 anime mode, Kling, motion control, looping animations, and talking head workflows.
AI Documentary Creation: Generate B-Roll from Script Automatically
Transform documentary production with AI-powered B-roll generation. From script to finished film with Runway Gen-4, Google Veo 3, and automated...
AI Making Movies in 2026: The Current State and What's Actually Possible
Realistic assessment of AI filmmaking in 2026. What's working, what's hype, and how creators are actually using AI tools for video production today.