Fix Blurry Images in ComfyUI: Every Solution That Actually Works
Stop getting soft, blurry AI images. Complete troubleshooting guide covering VAE issues, upscaling methods, denoise settings, and latent space fixes.
Nothing kills the vibe faster than spending 30 seconds waiting for a generation only to get a blurry mess. I've been there more times than I'd like to admit, and I've figured out exactly why it happens.
Quick Answer: Blurry ComfyUI images usually come from wrong VAE settings, improper denoise values during upscaling, latent space issues, or using the wrong upscaling method. This guide covers every common cause and the exact fix for each.
- Never set denoise to 1.0 when upscaling in latent space
- Match your VAE to your model's architecture (SDXL, SD 1.5, etc.)
- SUPIR upscaling outperforms traditional methods for blurry inputs
- SDXL latent scaling behaves differently than SD 1.5
- AI upscalers like Real-ESRGAN add detail that bilinear scaling can't
The #1 Cause: Wrong Denoise Settings
Here's what nobody tells you about latent upscaling. When you upscale an image in latent space and then run it through the sampler again, the denoise setting controls how much of the original image gets preserved.
Denoise 1.0 = Complete noise. Your upscaled image becomes pure noise before sampling. The output will have zero connection to your input.
Denoise 0.0 = No changes. Nothing happens. You get back exactly what you put in.
Denoise 0.3-0.6 = Sweet spot for upscaling. Enough to add detail, not enough to destroy the original composition.
I spent an entire weekend generating garbage because I left denoise at 0.7 for upscaling. Everything was coming out soft and weird. Dropped it to 0.4 and suddenly my images were crispy.
The exact value depends on your workflow. For simple 2x upscales, I use 0.35-0.45. For more aggressive 4x upscales where I want more hallucinated detail, 0.5-0.6.
VAE Mismatches: The Silent Killer
If your VAE doesn't match your model's latent space, expect disaster. Not crash-level disaster. Subtle, insidious "why does everything look wrong" disaster.
Symptoms of wrong VAE:
- Green or purple color tints
- Soft, blurry output even at high steps
- Distorted anatomy in ways that feel "off"
- Textures that look melted or smeared
The fix is simple: Make sure your VAE matches your base model.
For SDXL models, use the SDXL VAE.
For SD 1.5 models, use the SD 1.5 VAE (or a fine-tuned version).
For Flux, use the Flux VAE.
For Z Image Turbo, use its specific ae.safetensors VAE.
I keep a cheat sheet next to my monitor with which VAE goes with which model family. Saves me from making this mistake repeatedly.
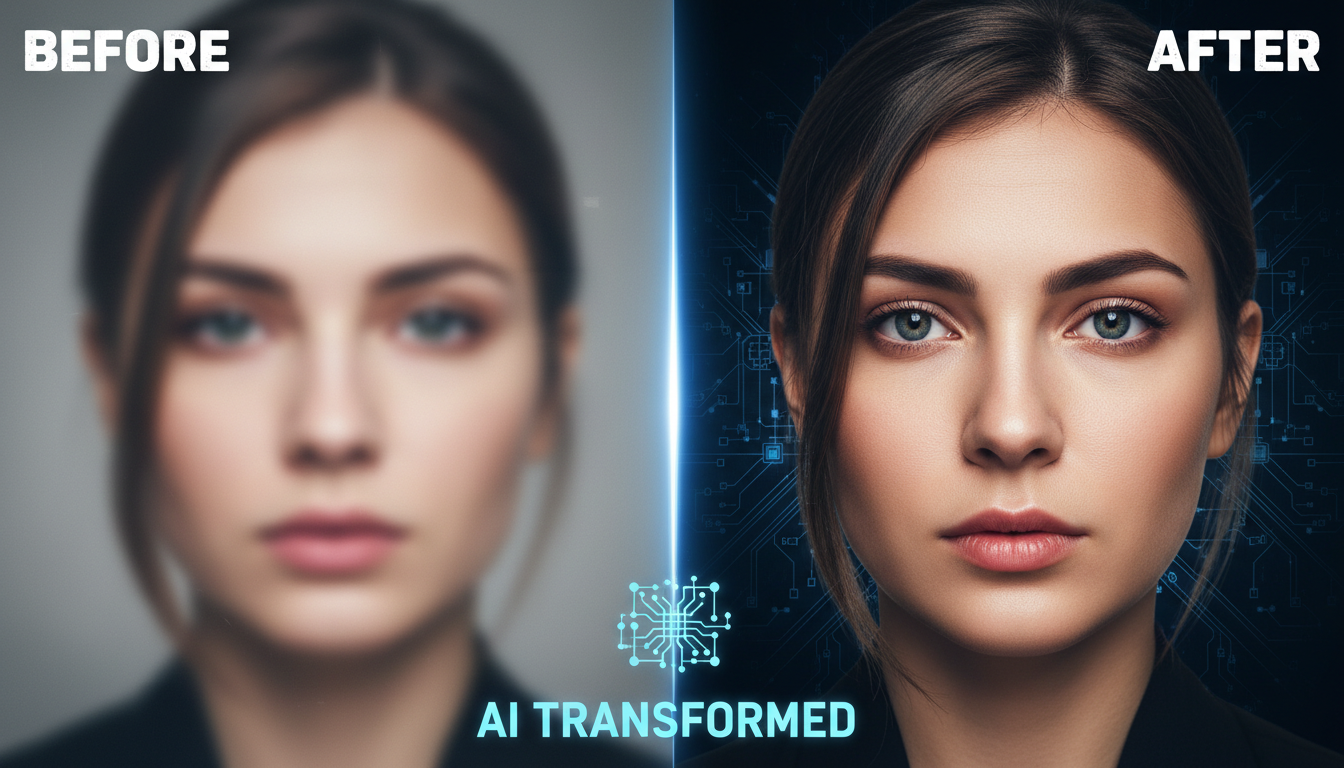
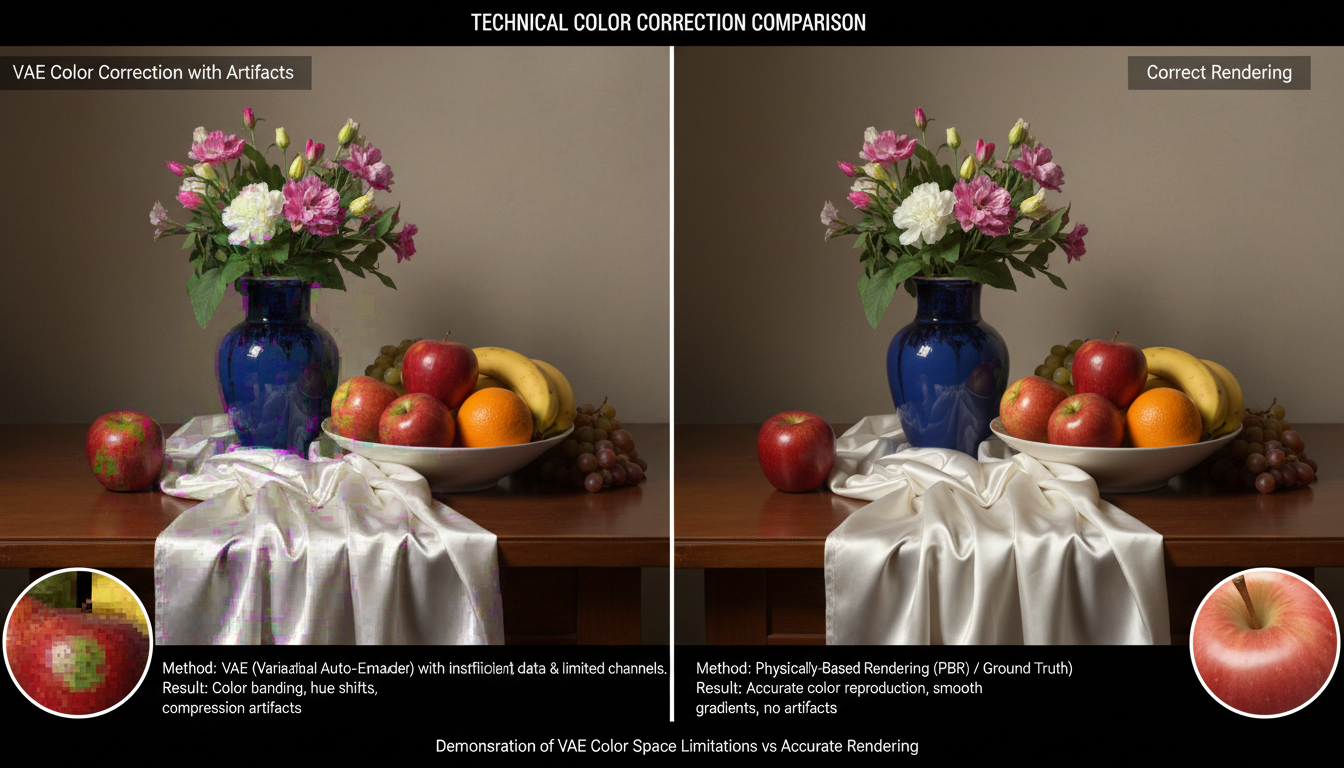 Left: Wrong VAE causing green tint and softness. Right: Correct VAE with proper colors and sharpness.
SDXL Latent Scaling Is Broken
This one took me forever to figure out. Scaling latents works fine in SD 1.5. You resize the latent, run it through the sampler, get a bigger image. Simple.
SDXL latents are weird. When you scale them, you don't get the expected blur of bilinear interpolation. You get digital-looking artifacts, almost like compression damage.
The workaround: Don't scale SDXL latents. Instead:
- Decode to pixel space first
- Upscale the decoded image
- Re-encode to latent space
- Then run additional sampling
Yes, it's slower. Yes, it uses more VRAM. But it actually works.
If you must scale SDXL latents directly, keep the scaling factor small (1.5x max) and use higher denoise to let the sampler clean up artifacts.
Choosing the Right Upscaler
Not all upscalers are equal, and the wrong choice is a major source of blurry output.
Bilinear/Lanczos (Built-in) Fast but adds no detail. Just smooth interpolation. Fine for minor resolution bumps, terrible for large upscales.
Real-ESRGAN My workhorse. Adds convincing detail, works fast on GPU, handles most content well. 4x-UltraSharp variant is excellent for faces.
Free ComfyUI Workflows
Find free, open-source ComfyUI workflows for techniques in this article. Open source is strong.
SUPIR The new hotness. Learned regularizers produce incredible detail without over-sharpening. Best for rescuing blurry or noisy inputs. More on this below.
Ultimate SD Upscale Tile-based approach that runs SD sampling on chunks. Great for adding coherent detail but slow.
For most workflows, I do: generate at native res > ESRGAN 2x > optional img2img pass at 0.3 denoise for fine details.
SUPIR: The Blur Rescue Tool
SUPIR is specifically designed for cases where your input is already soft or noisy. Traditional upscalers struggle here because they're amplifying existing problems.
SUPIR's learned regularizers actively reconstruct missing detail. It's not guessing based on interpolation. It's generating new detail that makes sense contextually.
I've rescued images that looked unsalvageable. Compressed JPEGs, low-res screenshots, overly soft AI generations. SUPIR brought them back.
The ComfyUI SUPIR workflow I use combines it with SDXL for additional refinement. Takes about 15 seconds per image on my 4090 but the results are worth it.
The SD-Latent-Upscaler Solution
There's a dedicated node for this: SD-Latent-Upscaler. It uses a small neural network specifically trained for latent space upscaling.
Unlike bilinear interpolation, it preserves structure while scaling. The output latents stay coherent, which means your subsequent sampling doesn't have to fight against artifacts.
I've found it works best for 1.5x-2x scales. Beyond that, you're better off with pixel-space upscaling.
Want to skip the complexity? Apatero gives you professional AI results instantly with no technical setup required.
Where to find it: Search "SD-Latent-Upscaler" in ComfyUI Manager.
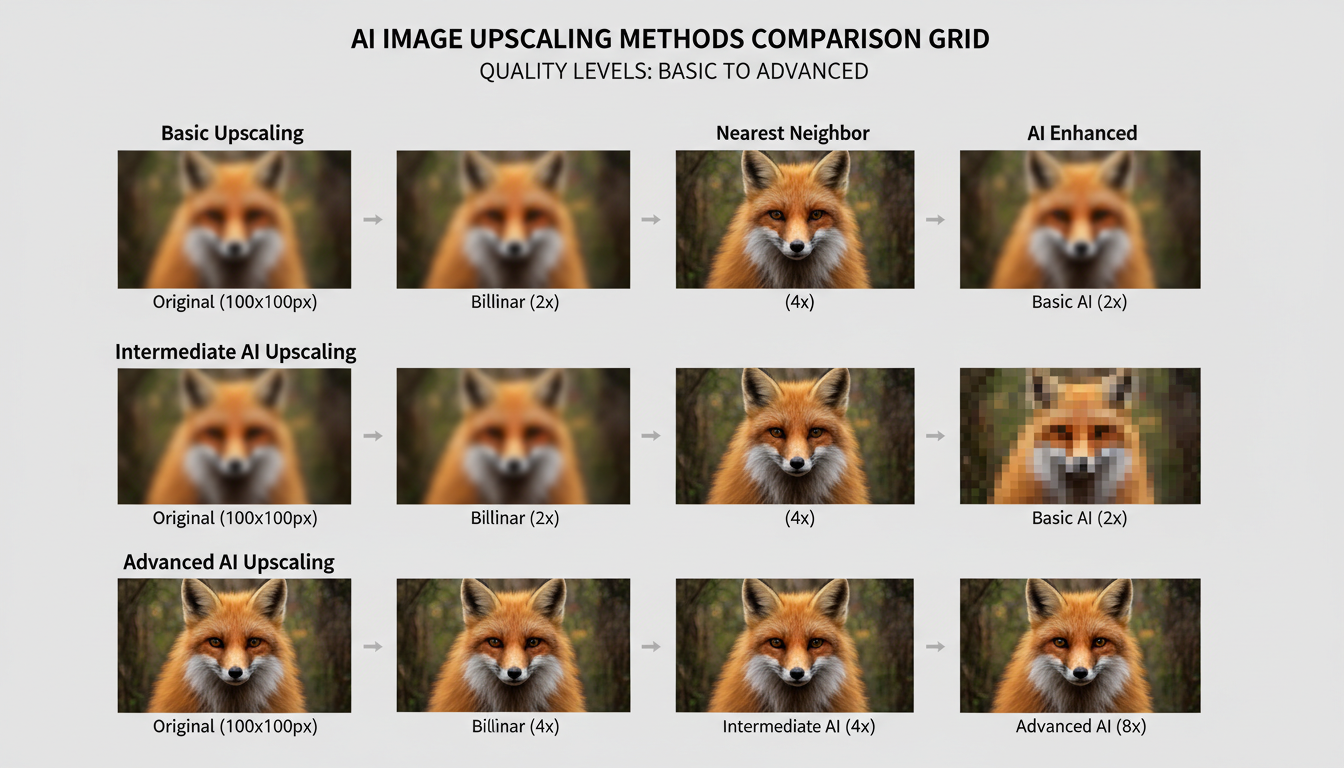 Comparison: Bilinear (left) vs ESRGAN (center) vs SUPIR (right) on a soft input
Step Count Isn't Always the Problem
When images come out blurry, the natural instinct is "more steps = more detail." This is mostly wrong.
Most modern models converge by 20-30 steps. Beyond that, you're just burning compute. SDXL at 25 steps looks nearly identical to SDXL at 50 steps.
Turbo and Lightning models are even more extreme. They're optimized for 4-8 steps. Running 20+ steps doesn't add detail. It might actually hurt quality.
If your images are blurry after 25 steps, adding more steps won't fix it. Look at the other causes in this guide instead.
CFG Scale Artifacts
Too-high CFG causes its own kind of "blur." Not soft blur, but oversaturated, contrast-crushed blur where details get lost in the extremes.
Safe CFG ranges:
- SD 1.5: 7-9
- SDXL: 5-8
- Flux: 3.5-4.5
- Z Image Turbo: 4-5
I've seen people run CFG 15+ thinking it'll make their prompts "stronger." It makes your images look like deep-fried memes instead.
Earn Up To $1,250+/Month Creating Content
Join our exclusive creator affiliate program. Get paid per viral video based on performance. Create content in your style with full creative freedom.
If you need stronger prompt adherence, improve your prompt. Higher CFG is rarely the answer.
Model-Specific Issues
Some models just produce softer output. This isn't a bug you can fix. It's baked into the training.
Known soft models:
- Some anime fine-tunes prioritize smooth skin over detail
- Early SDXL fine-tunes before training techniques improved
- Models trained on heavily compressed data
Solutions:
- Switch to a model known for sharp output
- Use a sharpening LoRA
- Post-process with ESRGAN or SUPIR
- Accept it and lean into the soft aesthetic
For realistic content, I stick to models specifically trained for sharpness. The best SDXL models for character consistency tend to also produce sharper output.
Quick Diagnostic Checklist
When you get blurry output, run through this:
- Is denoise set correctly for your workflow? (Not 1.0 for upscaling)
- Does your VAE match your model?
- Are you scaling SDXL latents directly? (Don't)
- Is your upscaler appropriate for the task?
- Is CFG in a reasonable range?
- Is your base model known for sharp output?
90% of blurry image issues fall into one of these buckets.
Workflow Template for Sharp Images
Here's my standard workflow when I need guaranteed sharp output:
- Generate at native resolution (1024x1024 for SDXL)
- Decode to pixel space
- ESRGAN 2x upscale
- Encode back to latent
- img2img at 0.35 denoise, 20 steps
- Final ESRGAN 1.5x if needed
This consistently produces crisp 4K images. The double-upscale approach with the img2img pass adds coherent fine detail that pure upscaling misses.
For folks who don't want to build custom workflows, Apatero.com has built-in upscaling that handles most of this automatically. I use it when I need quick results without pipeline debugging.
FAQ
Why do my SDXL images look softer than SD 1.5? SDXL actually produces sharper images on average, but the larger resolution can make artifacts more noticeable. Also, many early SDXL models were undertrained.
Should I sharpen in post instead? Avoid traditional sharpening (unsharp mask). It adds halos and artifacts. AI upscalers that add detail work better.
My workflow worked before, why is it blurry now? Check for ComfyUI updates that changed node behavior, VAE updates, or model updates. Something in your pipeline changed.
Does generating at higher resolution help? Yes, but only if your VRAM allows. Native 2K generation beats 1K + upscale if you have the memory for it.
Can I fix blur after saving the image? SUPIR and similar tools can help, but you've lost information permanently. Better to fix the pipeline and regenerate.
Why are faces always the blurriest part? Faces contain the most fine detail. Any softness in your pipeline shows up worst on faces. Use face-specific upscalers or FaceDetailer in post.
Is JPEG compression causing my blur? If you're loading JPEGs as inputs, yes. The compression adds blur that propagates through your pipeline. Use PNG for intermediate files.
When All Else Fails
Sometimes the issue is just VRAM. Your GPU is quietly running out of memory and falling back to lower precision or smaller batches.
Signs of hidden VRAM issues:
- Generation takes much longer than expected
- Quality randomly varies between identical runs
- ComfyUI logs show memory warnings
Solutions: Use smaller batch sizes, enable attention slicing, try quantized models, or upgrade your GPU.
The low VRAM optimization guide covers this in detail if you're running on limited hardware.
Sharp images aren't magic. They're the result of understanding how each component in your pipeline affects quality. Fix the right thing and you'll wonder why you ever tolerated blur in the first place.
Ready to Create Your AI Influencer?
Join 115 students mastering ComfyUI and AI influencer marketing in our complete 51-lesson course.
Related Articles

10 Most Common ComfyUI Beginner Mistakes and How to Fix Them in 2025
Avoid the top 10 ComfyUI beginner pitfalls that frustrate new users. Complete troubleshooting guide with solutions for VRAM errors, model loading...

25 ComfyUI Tips and Tricks That Pro Users Don't Want You to Know in 2025
Discover 25 advanced ComfyUI tips, workflow optimization techniques, and pro-level tricks that expert users use.

360 Anime Spin with Anisora v3.2: Complete Character Rotation Guide ComfyUI 2025
Master 360-degree anime character rotation with Anisora v3.2 in ComfyUI. Learn camera orbit workflows, multi-view consistency, and professional...