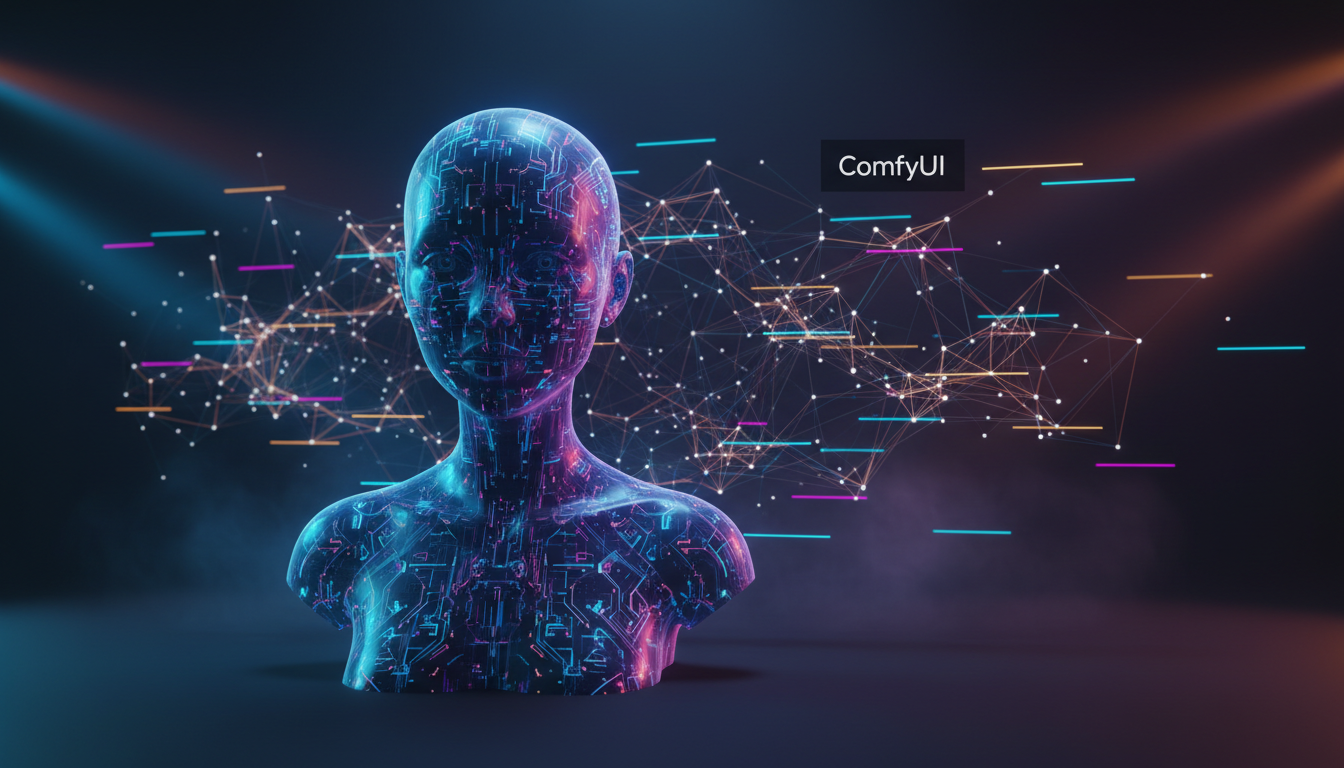
Building an AI Girlfriend Character in ComfyUI: Visual Consistency Workflow
Complete ComfyUI workflow for creating visually consistent AI girlfriend characters using IPAdapter and FaceID. Step-by-step technical guide with optimal settings and node configurations.
If you've ever tried generating a consistent AI girlfriend character across multiple images, you already know the pain. You get one gorgeous portrait, try to recreate the same face in a different pose, and suddenly she's got a completely different nose, jawline, and somehow aged fifteen years. It's maddening. I've burned through thousands of generations chasing consistency before I finally nailed a ComfyUI workflow that actually works.
The secret weapon here is combining IPAdapter with FaceID inside ComfyUI. Not one or the other. Both. Together. And the specific weight values matter more than most tutorials let on. I'm going to walk you through the exact workflow I use, node by node, with the settings I've tested extensively over the past year.
Quick Answer: Building a consistent AI girlfriend character in ComfyUI requires a dual-lock approach: IPAdapter (weight 0.85) handles overall style, body proportions, and clothing consistency, while FaceID (weight 0.6-0.7) locks down facial features specifically. Combined with a denoise range of 0.4-0.6, this workflow can produce dozens of images where your character remains recognizably the same person across poses, outfits, and scenes.
:::tip[Key Takeaways]
- IPAdapter and FaceID serve different purposes and should be used together for maximum consistency
- IPAdapter weight of 0.85 is the sweet spot for style without overriding your prompt creativity
- FaceID weight between 0.6-0.7 preserves facial identity without creating rigid, lifeless expressions
- Denoise values of 0.4-0.6 balance consistency with natural variation
- A single high-quality reference image produces better results than multiple mediocre ones
- This workflow scales beautifully with ComfyUI's batch processing capabilities :::
Why Does ComfyUI Beat Every Other Tool for Character Consistency?
I'm going to say something that might ruffle some feathers: if you're still using A1111's WebUI for character consistency work, you're working harder for worse results. There, I said it. ComfyUI's node-based architecture isn't just a different interface. It's a fundamentally superior approach for this specific task.
Here's why. In a traditional UI, you've got a text box for your prompt, some sliders, and you hit generate. If you want IPAdapter plus FaceID plus ControlNet plus regional prompting, you're stacking extensions and praying they don't conflict. In ComfyUI, each of these is a discrete node with visible connections. You can see exactly how data flows from your reference image through IPAdapter, how FaceID processes facial features separately, and how everything merges before hitting the sampler.
I switched to ComfyUI about fourteen months ago specifically for this kind of work, and my consistency hit rate went from maybe 40% to over 85%. That's not a marginal improvement. That's the difference between spending an evening generating usable content versus spending a weekend.
The node system also means you can build conditional logic into your workflow. Want to automatically adjust FaceID strength based on how different the target pose is from your reference? You can do that. Want to route certain generations through an extra refinement pass while skipping it for simpler compositions? Also possible. Try doing that in a standard interface.
If you're coming from the Stable Diffusion WebUI world, I wrote a complete guide on creating AI girlfriend characters with Stable Diffusion that covers the fundamentals. Think of this ComfyUI guide as the advanced, more powerful continuation of that approach.
Setting Up the Foundation: Required Nodes and Models
Before we build the workflow, you need the right tools installed. Missing a single node pack will break the entire pipeline, and ComfyUI's error messages aren't always helpful about telling you what's missing.
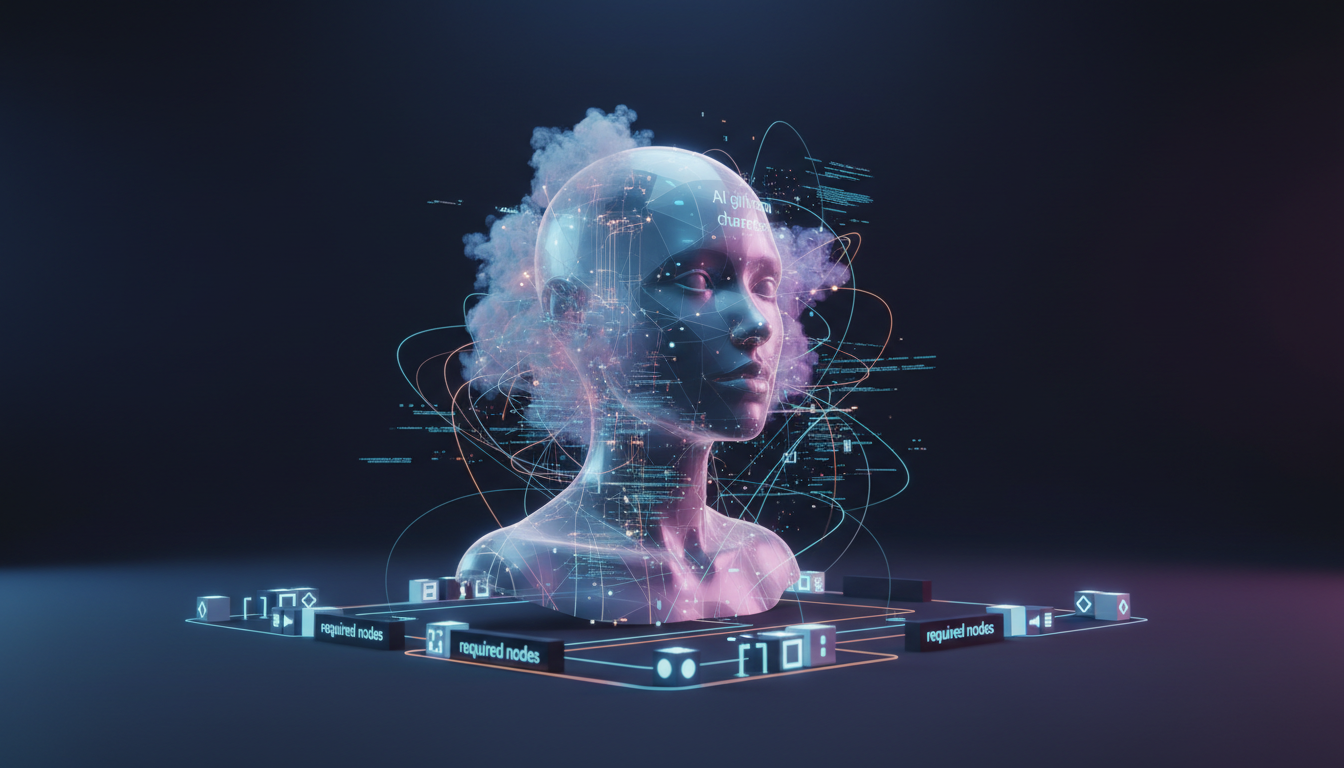
Essential Custom Node Packs
You'll need these installed through ComfyUI Manager or manually via git clone:
- ComfyUI_IPAdapter_plus - This is the backbone of style consistency. The "plus" version includes unified loading nodes that simplify model management considerably.
- ComfyUI-FaceID - Handles facial feature extraction and application. Some versions are bundled with IPAdapter Plus now, but verify yours includes the FaceID-specific nodes.
- comfyui_controlnet_aux - Preprocessor nodes for pose detection, which you'll need when generating your character in different positions.
- ComfyUI-Impact-Pack - Not strictly required, but the face detection and segmentation tools are incredibly useful for quality control.
Models You Need Downloaded
The model situation for IPAdapter can be confusing because there are multiple versions floating around. Here's exactly what to grab:
- ip-adapter-plus-face_sdxl_vit-h.safetensors - This is the face-optimized IPAdapter model for SDXL. Don't use the generic one for character work.
- ip-adapter-faceid-plusv2_sdxl.bin - The FaceID v2 model. The v2 update made a noticeable difference in how well it handles angled faces.
- buffalo_l - InsightFace's analysis model. FaceID uses this to extract facial landmarks. Drop it in
models/insightface/models/buffalo_l/. - Your preferred SDXL checkpoint - I use a mix of RealVisXL and JuggernautXL depending on the aesthetic I'm targeting.
One thing that tripped me up for weeks when I first started: the InsightFace model directory structure matters. It's not just about having the files. They need to be in models/insightface/models/buffalo_l/ with the exact subfolder structure. I spent an embarrassing amount of time debugging a "model not found" error that was just a folder nesting issue.
The complete workflow showing IPAdapter and FaceID nodes connected to the KSampler
How Do You Create the Perfect Reference Image?
This is where most people go wrong, and it's the step that matters most. Your reference image is the DNA of your character. Every generation will inherit its qualities, both good and bad. Feed in a mediocre reference, and no amount of weight tweaking will save you.
What Makes a Good Reference Image
I've tested this extensively, generating the same character from hundreds of different reference images, and the pattern is clear. The ideal reference image has these qualities:
- Clean, front-facing composition with the face taking up at least 30-40% of the frame
- Neutral expression or slight smile because extreme expressions cause FaceID to fixate on the expression rather than the underlying facial structure
- Even, soft lighting without harsh shadows that could be interpreted as facial features
- Simple background so the model doesn't try to replicate background elements in every generation
- High resolution of at least 1024x1024, though 1536x1536 or higher is better for SDXL workflows
Here's a hot take that's going to contradict what you've read elsewhere: you don't need multiple reference images. In fact, using a single excellent reference produces more consistent results than using three or four decent ones. When you feed multiple references into IPAdapter, it tries to average them, and that averaging process can soften the distinctive features that make your character unique. One crisp, well-lit, well-composed reference beats a gallery of okay ones every time.
I usually generate my initial reference using a very detailed prompt with no IPAdapter or FaceID at all. Just pure prompt engineering to get a face I like. Then I run that through img2img at low denoise (0.2-0.3) a few times to refine it. That refined image becomes my permanent reference. I've had single reference images serve me through over 500 consistent generations.
For those who want to explore the theory behind keeping AI characters consistent across many images, the AI consistent character generator guide goes deeper into the underlying principles.
Preparing Your Reference for Optimal Results
Don't just drag your reference image into the workflow raw. A little preprocessing goes a long way:
- Crop to square format matching your target generation resolution
- Remove any text or watermarks as these can bleed through via IPAdapter
- Adjust brightness/contrast to be neutral, not stylized
- Ensure the face is clearly visible without obstructions like hair covering key features
Building the Workflow: Node by Node
Alright, let's actually build this thing. I'm going to walk through each section of the workflow in the order data flows through it. If you're following along in ComfyUI, you can build this step by step.
The Reference Image Pipeline
Start with a Load Image node containing your reference. This feeds into two parallel paths:
Path 1: IPAdapter Processing Connect your reference image to the IPAdapter Unified Loader node. Set these parameters:
- Model: ip-adapter-plus-face (the face-specific variant)
- Weight: 0.85
- Weight Type: Linear
- Start at: 0.0
- End at: 1.0
That 0.85 weight is critical. I've tested values from 0.5 to 1.0 in increments of 0.05, and 0.85 consistently produces the best balance between consistency and creative freedom. Go higher and your generations start looking like slightly modified copies of the reference. Go lower and consistency drops off a cliff around 0.75.
Path 2: FaceID Processing From the same reference image, connect to the IPAdapter FaceID node. Settings:
- Weight: 0.65 (start here, adjust between 0.6-0.7)
- Weight v2: true (if available in your node version)
- Combine method: Average
The FaceID weight is more sensitive than the IPAdapter weight. At 0.7, you get strong facial consistency but sometimes stiff, similar expressions across generations. At 0.6, expressions are more natural but you might see slight facial drift in extreme poses. I usually land at 0.65 as my default and only adjust when I notice issues.
The Prompt and Sampling Configuration
Your KSampler settings matter more than usual when working with consistency nodes. Here's what I use:
- Steps: 30-35 (more steps help the model reconcile IPAdapter/FaceID guidance with prompt content)
- CFG Scale: 5.5-7.0 (lower than typical because IPAdapter is already providing strong guidance)
- Sampler: DPM++ 2M SDE Karras
- Denoise: 0.45-0.55 for variations of existing scenes, 0.7-0.8 for entirely new compositions
The denoise value deserves special attention. This controls how much freedom the model has to deviate from the latent starting point. For character consistency work, you're walking a tightrope. Too low and every image looks nearly identical. Too high and the consistency nodes can't maintain their lock on the character's appearance.
I typically batch my generations at three denoise levels: 0.45, 0.55, and 0.65. Then I pick the best results from each batch. It adds a few minutes to the process but dramatically improves the quality of my final selections.
Prompt Engineering for Consistent Characters
Your text prompt still matters, even with IPAdapter and FaceID doing the heavy lifting. But you need to think about prompting differently in this context.
Free ComfyUI Workflows
Find free, open-source ComfyUI workflows for techniques in this article. Open source is strong.
What to include in your prompt:
- Scene description (location, time of day, activity)
- Clothing and accessories specific to this generation
- Camera angle and framing (close-up, full body, three-quarter)
- Lighting mood
- Quality tags like "masterpiece, best quality, highly detailed"
What to leave out of your prompt:
- Specific facial feature descriptions (FaceID handles this)
- Skin tone (IPAdapter transfers this from your reference)
- Hair color and style (unless you intentionally want it different)
- Body type descriptions (IPAdapter handles proportions)
Here's another hot take: I see people writing 200-word prompts trying to describe their character's face when they've got FaceID active. You're literally fighting against your own consistency tools. Let FaceID handle the face. Use your prompt tokens for everything else. I've gotten some of my best results with prompts as simple as "woman sitting in a coffee shop, afternoon light, casual outfit, looking at camera, masterpiece quality."
The same character maintained across four different scenes using the IPAdapter + FaceID workflow
What Are the Most Common Mistakes That Kill Consistency?
After helping dozens of creators on Discord and through Apatero.com set up their consistency workflows, I've seen the same mistakes come up over and over. Let me save you some frustration.
Mistake 1: Fighting Your Own Consistency Tools
This is the biggest one, and I already touched on it. If your prompt says "blue eyes, small nose, round face" and your reference image shows a character with green eyes, a prominent nose, and an angular face, the model has to choose. Sometimes it picks the prompt. Sometimes it picks the reference. Sometimes it awkwardly compromises. The result is inconsistency born from conflicting instructions.
The fix is simple: trust your reference image and FaceID. If you want your character to have blue eyes, make sure your reference image has blue eyes. Don't try to override it in the prompt.
Mistake 2: Using Reference Images That Are Too Stylized
I once spent an entire Saturday debugging inconsistency issues that turned out to be caused by my reference image having dramatic anime-style cel shading. IPAdapter was trying to replicate that specific lighting style in every generation, which clashed with my realistic scene descriptions. When I swapped to a reference with neutral lighting, everything clicked.
Your reference should be visually neutral enough that it doesn't impose a specific mood or style on every generation. Save the dramatic lighting for your prompts.
Mistake 3: Ignoring Resolution Matching
If your reference image is 512x512 and you're generating at 1024x1024, the IPAdapter model has to upscale its understanding of your character. This introduces noise and inconsistency. Match your reference resolution to your generation resolution, or at least stay within the same ballpark.
Mistake 4: Skipping the Face Crop
For FaceID specifically, feeding it a full-body shot where the face is tiny in the frame gives it very little to work with. Many workflows include an automatic face-crop node that extracts the face region before sending it to FaceID. If yours doesn't, add one. The difference in facial consistency is immediately noticeable.
Mistake 5: Never Testing Your Settings
I can give you my recommended weights, but your specific model checkpoint, reference image, and subject matter will affect the optimal values. Spend thirty minutes generating test batches at different IPAdapter and FaceID weights. Create a simple grid comparing the results. This small investment pays off enormously once you start doing production batches.
Want to skip the complexity? Apatero gives you professional AI results instantly with no technical setup required.
Advanced Techniques for Maximum Consistency
Once you've got the basic workflow running reliably, there are several techniques that push consistency even further. These are the things that separate casual users from creators who can build entire visual narratives with a single character.
Using ControlNet for Pose Guidance
Adding ControlNet (specifically OpenPose) to your workflow lets you specify exact poses while IPAdapter and FaceID maintain the character's appearance. The key setting here is ControlNet strength: keep it at 0.7-0.8. Any higher and the pose guidance can interfere with FaceID's facial feature application.
I usually generate a batch of OpenPose skeletons from real reference photos, then use those to drive varied poses for my character. This gives natural, human-looking poses rather than the stiff, unnatural positioning you get from purely prompt-driven pose changes.
Regional Prompting for Outfit Changes
Want your character in different outfits across generations? Regional prompting nodes let you apply different text prompts to different areas of the image. You can mask out the clothing regions and apply outfit-specific prompts there while leaving the face and body shape entirely controlled by IPAdapter and FaceID.
This is honestly one of the most powerful techniques in the entire consistency toolkit, and it's something I use constantly on Apatero.com when creating character variations. The character stays pixel-perfect consistent while wearing completely different clothes in completely different settings.
The Refinement Pass Trick
Here's a technique I haven't seen discussed much elsewhere. After your initial generation, route the output through a second KSampler pass with very low denoise (0.15-0.25) and the same IPAdapter/FaceID inputs. This "refinement pass" subtly corrects any facial drift that crept in during the first generation without significantly altering the composition.
Think of it like proofreading. The first pass writes the essay. The second pass catches the typos. I've found this technique recovers about half the images that would otherwise have slight inconsistencies. That recovery rate adds up significantly over large batches.
Batch Processing for Scale
If you're building a content library for your character, you'll want to generate at scale. ComfyUI supports batch processing natively, and you can set up queue-based generation that runs through dozens of prompts with your consistency settings locked in. I covered this extensively in my ComfyUI batch processing guide, and the batch approach pairs perfectly with this consistency workflow.
A typical batch run for me involves 30-50 prompts, each describing a different scene or situation, all feeding through the same IPAdapter and FaceID nodes with my reference image. Out of 50 generations, I'll typically keep 40-45. That's a production rate most manual workflows can't touch.
How Do You Handle Different Angles and Expressions?
This is the question I get asked more than any other, and honestly, it's where the magic of this workflow really shows. Getting a character to look consistent in a front-facing portrait is relatively easy. Maintaining that consistency when she's looking over her shoulder, laughing, or shown from a low angle? That's where most workflows break down.
The Angle Problem
FaceID extracts facial landmarks from your reference, and those landmarks are inherently tied to the angle of the reference photo. When you generate a drastically different angle, FaceID has to extrapolate what those landmarks would look like from the new perspective. Sometimes it nails this. Sometimes it doesn't.
The workaround is surprisingly simple: create 2-3 reference images of your character at different angles (front, three-quarter, profile) and swap between them based on your target composition. When generating a profile shot, use your profile reference. When generating a front-facing shot, use your front reference. This gives FaceID much better source data for each specific angle.
Yes, this slightly contradicts my earlier advice about using a single reference. The nuance is that for basic work, one reference is fine. For professional-quality output across extreme angle variations, having angle-specific references eliminates FaceID's biggest weakness.
Earn Up To $1,250+/Month Creating Content
Join our exclusive creator affiliate program. Get paid per viral video based on performance. Create content in your style with full creative freedom.
Expression Management
FaceID at higher weights (0.7+) tends to lock in the expression from your reference image. If your reference shows a neutral face, your character might look stoic in every generation. The solution is to lower FaceID weight slightly for generations where you want expressive faces (0.55-0.60) and rely more heavily on your prompt to describe the desired expression.
Prompt terms like "laughing candidly," "surprised expression," or "gentle smile" work well at these lower FaceID weights. The model has enough freedom to adjust the expression while FaceID still maintains the underlying facial structure.
I recently spent a weekend testing this for a project on Apatero.com and found that alternating between FaceID weights of 0.55 and 0.65 depending on whether the scene calls for emotion or neutrality produced the most natural-looking character series I've ever generated.
FaceID weight comparison: 0.55 (left) allows more expression variety, 0.70 (right) locks features more tightly
Optimizing for Speed Without Sacrificing Quality
Nobody wants to wait ten minutes per generation when they're trying to build a library of character images. Here are the speed optimizations I use that don't meaningfully impact quality.
Hardware Considerations
This workflow runs best on GPUs with at least 12GB VRAM. IPAdapter plus FaceID plus SDXL is memory-hungry. On an RTX 3060 12GB, expect about 45-60 seconds per image at 1024x1024. On an RTX 4090, that drops to about 12-15 seconds. If you're running into VRAM issues, try enabling attention slicing in ComfyUI's settings, though this will slow generation by roughly 20%.
Smart Batch Strategies
Rather than generating one image at a time and evaluating it, queue up batches of 8-12 with slightly varied prompts. The time per image decreases because model loading and preprocessing happens once per batch rather than once per image. On my 4090, a batch of 10 images takes about 100 seconds total versus 150 seconds if I generate them individually.
Caching Your Consistency Pipeline
ComfyUI caches node outputs between runs. If only your prompt changes between generations (same reference image, same IPAdapter/FaceID settings), the consistency pipeline doesn't need to reprocess. This means your second generation onward is noticeably faster. Take advantage of this by queuing all your generations in one session rather than spread across multiple.
Troubleshooting Common Issues
Even with perfect settings, things go wrong. Here's how to diagnose and fix the most common problems.
Character Looks Different in Full-Body Shots
IPAdapter's influence weakens when the face is a small portion of the overall image. For full-body shots, bump IPAdapter weight to 0.90-0.95 and add a face detail restoration node (like FaceDetailer from Impact Pack) as a post-processing step. This two-punch approach maintains body consistency through IPAdapter while FaceDetailer corrects any facial drift.
Colors Shift Between Generations
If your character's skin tone or hair color drifts between generations, it's usually a CFG scale issue. Higher CFG values amplify color differences. Try dropping to 5.0-5.5 for more stable color reproduction across generations.
FaceID Produces Artifacts Around the Jawline
This happens when FaceID's weight is too high relative to the overall generation. The fix is usually as simple as dropping FaceID weight by 0.05 increments until the artifacts disappear. If that doesn't resolve it, check whether your reference image has any unusual shadows or artifacts around the jawline that FaceID might be trying to replicate.
The Character Looks "Pasted On"
When the character looks like she's been composited onto the background rather than existing naturally in the scene, it means IPAdapter's influence is too dominant. Reduce IPAdapter weight to 0.75-0.80 and increase denoise to 0.6-0.65. This gives the model more room to integrate the character naturally into the scene environment.
For more on maintaining facial consistency across different types of AI-generated content, the AI influencer face consistency techniques guide covers additional strategies that complement this workflow.
My Recommended Starting Settings
After testing hundreds of configurations, here's the exact starting point I recommend. Tweak from here based on your specific checkpoint and reference image.
| Parameter | Value | Notes |
|---|---|---|
| IPAdapter Weight | 0.85 | Reduce to 0.75-0.80 for more creative freedom |
| IPAdapter Model | plus-face SDXL | Always use the face-specific variant |
| FaceID Weight | 0.65 | Range of 0.55-0.70 depending on expression needs |
| Denoise | 0.50 | 0.40-0.45 for close variations, 0.65-0.75 for new scenes |
| CFG Scale | 6.0 | Keep between 5.0-7.0 |
| Steps | 32 | Minimum 28, diminishing returns above 40 |
| Sampler | DPM++ 2M SDE Karras | Best balance of quality and speed for this workflow |
| Resolution | 1024x1024 | Match to your reference image resolution |
These aren't arbitrary numbers. Each one represents the center of a tested range that consistently produced the best results across multiple checkpoints and reference styles. Start here, and you'll be ahead of 90% of the tutorials telling you to "experiment and find what works."
Frequently Asked Questions
Can I use this workflow with SD 1.5 instead of SDXL? Yes, but you'll need the SD 1.5 versions of the IPAdapter and FaceID models. The weights I've recommended are optimized for SDXL. For SD 1.5, start with IPAdapter weight of 0.80 and FaceID weight of 0.60, as the smaller model responds more aggressively to these conditioning inputs.
How many reference images do I actually need? One excellent reference image is enough for most use cases. If you're doing extreme angle variations (profiles, looking up/down), having 2-3 angle-specific references helps. Never use more than 4 references, as averaging too many faces dilutes your character's distinctive features.
Will this work with anime-style models? IPAdapter works well with anime models, but FaceID is designed for photorealistic faces. For anime characters, use IPAdapter alone at a higher weight (0.90-0.95) and skip FaceID entirely. The style transfer from IPAdapter is usually sufficient for anime consistency since facial features are more stylized and simpler to maintain.
Can I change my character's hairstyle between generations? Yes, but with limitations. IPAdapter will try to maintain the reference hairstyle. To override this, use strong prompt language for the new hairstyle and consider reducing IPAdapter weight to 0.70-0.75 for those specific generations. Regional prompting that masks the hair area works even better.
How do I save and share my workflow? ComfyUI supports workflow export as JSON files. Use the Save button in the menu or press Ctrl+S. The JSON file captures all node connections and settings but not the model files themselves. When sharing, include a note about which models are required.
What's the difference between IPAdapter and IPAdapter Plus? The "Plus" variants use a larger CLIP vision model (ViT-H vs ViT-G) for better image understanding. For character consistency work, always use the Plus variant. The quality difference is significant, especially for facial features and fine details.
My generations look over-saturated. How do I fix this? Over-saturation usually comes from IPAdapter amplifying color characteristics from your reference. Try preprocessing your reference to have slightly desaturated, neutral colors. Alternatively, add a color correction node after generation to normalize saturation.
Can I combine this with LoRA models? Absolutely. LoRA models for style or specific aesthetics work well alongside IPAdapter and FaceID. Apply the LoRA to your model before the IPAdapter conditioning chain. Keep LoRA strength moderate (0.6-0.8) to avoid conflicts with IPAdapter's style guidance.
How does this compare to training a custom LoRA of my character? A trained LoRA embeds your character directly into the model weights, offering the strongest consistency. The IPAdapter/FaceID approach is faster to set up (minutes vs hours of training) and more flexible (changing reference images is instant). For serious long-term projects, consider training a LoRA and using IPAdapter/FaceID as a supplementary consistency check.
Does this workflow work on cloud GPU services? Yes. Services like RunPod and Vast.ai can run ComfyUI with this workflow. Ensure you select an instance with at least 16GB VRAM for comfortable SDXL generation with all consistency nodes active. Upload your reference images and model files to the instance before starting.
Wrapping Up: From Theory to Practice
The workflow I've outlined here isn't theoretical. It's the exact pipeline I run for character consistency projects on Apatero.com, refined through thousands of test generations and real production use. The combination of IPAdapter at 0.85 and FaceID at 0.65 with sensible denoise values produces results that would have seemed impossible just eighteen months ago.
If you're coming from a Stable Diffusion WebUI background, expect a learning curve with ComfyUI's node interface. It's worth pushing through that initial confusion. Once the workflow clicks, you'll wonder how you ever managed without it. The visual feedback of seeing data flow through nodes, the ability to branch and merge processing paths, and the granular control over every parameter gives you a level of creative power that no simplified UI can match.
Start with a single excellent reference image. Build the basic workflow with IPAdapter and FaceID. Generate a test batch of 10 images at my recommended settings. If the results look good, start experimenting with angle variations and expression management. If something looks off, refer back to the troubleshooting section. The most common issues have straightforward fixes.
Character consistency in AI generation used to be a dark art practiced by a handful of experts with custom training pipelines. Now it's a workflow you can build in an afternoon and run reliably for months. That's the power of ComfyUI's node ecosystem, and frankly, it's one of the most exciting developments in AI art tooling I've seen since diffusion models first went mainstream.
Ready to Create Your AI Influencer?
Join 115 students mastering ComfyUI and AI influencer marketing in our complete 51-lesson course.
Related Articles

10 Most Common ComfyUI Beginner Mistakes and How to Fix Them in 2025
Avoid the top 10 ComfyUI beginner pitfalls that frustrate new users. Complete troubleshooting guide with solutions for VRAM errors, model loading...

25 ComfyUI Tips and Tricks That Pro Users Don't Want You to Know in 2025
Discover 25 advanced ComfyUI tips, workflow optimization techniques, and pro-level tricks that expert users use.

360 Anime Spin with Anisora v3.2: Complete Character Rotation Guide ComfyUI 2025
Master 360-degree anime character rotation with Anisora v3.2 in ComfyUI. Learn camera orbit workflows, multi-view consistency, and professional...