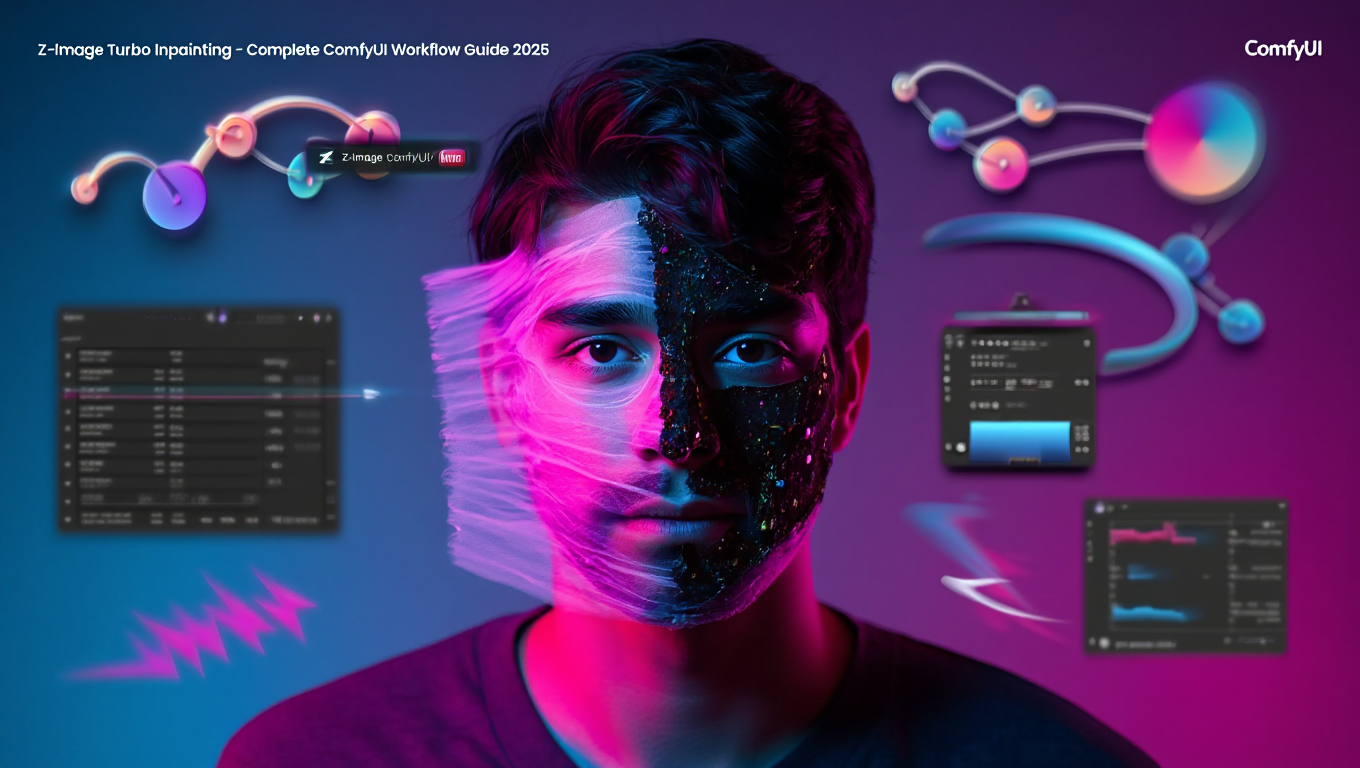
Z-Image Turbo Inpainting - Complete ComfyUI Workflow Guide 2025
Master Z-Image Turbo inpainting for smooth image editing in ComfyUI. Complete guide to denoise settings, mask techniques, and troubleshooting common issues.
You've generated the perfect image with Z-Image Turbo, but one element needs changing. Traditional approaches would require regenerating entirely, hoping to recreate what worked while fixing what didn't. Z-Image Turbo inpainting offers a better path, allowing targeted modifications while preserving everything you want to keep.
Quick Answer: Z-Image Turbo inpainting works best at 0.6-0.8 denoise strength with mask blur applied for direct blending. Since Z-Image isn't designed as an inpainting model, use Differential Diffusion for better edge transitions and avoid high denoise values that break image coherence.
- Optimal denoise range is 0.6-0.8 for balanced change and coherence
- High denoise values break context since Z-Image isn't an inpainting model
- Differential Diffusion improves edge blending significantly
- Mask blur prevents harsh transitions between edited and original areas
- Text refinement through inpainting improves artificial-looking renders
Why Is Z-Image Turbo Inpainting Different?
Z-Image Turbo wasn't specifically trained for inpainting tasks, which creates both limitations and opportunities. Understanding these differences helps you work effectively within the model's capabilities.
Traditional inpainting models like Stable Diffusion Inpainting variants learn to understand masked regions contextually, smoothly filling areas based on surrounding content. Z-Image Turbo approaches this differently, treating inpainting as a modified generation task where the mask defines areas of higher influence.
The practical result is that Z-Image inpainting excels at modifications where you want to use its photorealistic generation capabilities within specific regions. It struggles when you need pure contextual fill that ignores the prompt entirely.
How Do You Set Up Z-Image Inpainting in ComfyUI?
Configuring Z-Image Turbo for inpainting requires specific node arrangements and parameter settings. This workflow builds on standard Z-Image setup with inpainting-specific additions.
Required Nodes:
| Node | Purpose |
|---|---|
| Load Image | Import your base image |
| Load Mask | Define editing regions |
| VAE Encode (Inpaint) | Encode masked image for processing |
| KSampler | Generation with inpainting parameters |
| VAE Decode | Convert latent back to image |
Step 1 - Load Your Base Image
Import the image you want to modify through the Load Image node. Ensure the image resolution matches Z-Image's native 1024x1024 or uses compatible aspect ratios.
Step 2 - Create Your Mask
Generate a mask defining regions for modification. White areas indicate regions to change, black areas remain protected. Use ComfyUI's mask tools or import masks created in external software.
Step 3 - Apply Mask Blur
Add a Blur Mask node between your mask loader and the VAE encoder. Start with a blur value of 10-20 pixels. Higher blur creates smoother transitions but reduces precision at edges.
Step 4 - Configure the KSampler
Set denoise to 0.6-0.8 range. Use 8-12 steps matching Z-Image Turbo's distilled optimization. Maintain CFG scale at 4-5 for natural results.
Step 5 - Add Differential Diffusion (Optional but Recommended)
Integrate Differential Diffusion nodes for improved edge handling. This technique varies the diffusion process based on mask intensity, creating more natural transitions.
What Denoise Settings Work Best?
Denoise strength determines how much the masked region changes from the original. Finding the right balance is critical for successful Z-Image inpainting.
Denoise Setting Guide:
| Denoise | Result | Best For |
|---|---|---|
| 0.3-0.5 | Subtle modifications | Color adjustments, minor fixes |
| 0.6-0.7 | Moderate changes | Object replacement, feature modification |
| 0.8 | Significant changes | Major element replacement |
| 0.9+ | Near-complete regeneration | Usually breaks coherence - avoid |
Testing Your Denoise Value:
Start at 0.6 and generate a test image. If the change isn't sufficient, increase by 0.05 increments. If edges look disconnected or the style doesn't match, decrease the value.
Why High Denoise Fails:
At denoise values approaching 1.0, Z-Image essentially regenerates the masked region from scratch. Without inpainting-specific training, the model can't properly contextualize this new content with surrounding areas, resulting in obvious seams and style mismatches.
How Does Differential Diffusion Improve Results?
Differential Diffusion represents a technique where the diffusion process varies based on mask values rather than applying uniformly. This creates graduated transitions that significantly improve Z-Image inpainting quality.
How It Works:
Instead of binary mask treatment (fully change or fully protect), Differential Diffusion interprets mask grayscale values as influence gradients. Light gray areas receive moderate modification, while white areas receive full processing.
Free ComfyUI Workflows
Find free, open-source ComfyUI workflows for techniques in this article. Open source is strong.
Setting Up Differential Diffusion:
Install the Differential Diffusion custom nodes if not already available. Connect your blurred mask to the Differential Diffusion node, then integrate this into your sampling pipeline.
Optimal Differential Diffusion Settings:
| Parameter | Recommended Value |
|---|---|
| Mask Processing | Gaussian blur, radius 10-15 |
| Gradient Falloff | Linear or smooth step |
| Edge Handling | Soft blend |
The combination of mask blur and Differential Diffusion creates professional-quality inpainting results that rival dedicated inpainting models for many use cases.
What Are Common Z-Image Inpainting Issues and Solutions?
Users encounter several predictable challenges when inpainting with Z-Image Turbo. Here are solutions to the most frequent problems.
Issue: Obvious Seams at Mask Edges
The edited region has visible boundaries where it meets unedited areas.
Solutions:
- Increase mask blur to 20-30 pixels
- Enable Differential Diffusion
- Reduce denoise strength by 0.1
- Expand mask slightly beyond the target area
Issue: Style Mismatch Between Regions
The inpainted area looks different in style, lighting, or quality from surrounding content.
Solutions:
- Lower denoise to 0.5-0.6
- Include style descriptions in your prompt matching the original
- Consider regenerating the entire image if mismatch is severe
- Use img2img on the full image at very low denoise to harmonize
Issue: Context Loss at High Denoise
Want to skip the complexity? Apatero gives you professional AI results instantly with no technical setup required.
Inpainted content doesn't make sense with surrounding image.
Solutions:
- This is expected behavior - reduce denoise below 0.8
- Use multiple passes at lower denoise instead of single high-denoise pass
- Provide detailed prompts describing desired content and context
Issue: Text Looking Artificial After Inpainting
Z-Image's generated text appears too clean or stylized.
Solutions:
- Z-Image renders text well but it can look artificial
- Use inpainting to blend text better with scenes
- Add subtle texture overlays in post-processing
- Consider generating text separately and compositing
How Do You Refine Text With Z-Image Inpainting?
Z-Image Turbo's bilingual text rendering capability sometimes produces text that appears too perfect or artificial. Strategic inpainting can improve text integration.
Text Refinement Workflow:
Generate your base image with text elements. Evaluate text appearance - if it looks artificially clean, proceed with refinement inpainting.
Create a mask covering only the text areas. Set denoise very low at 0.3-0.4. Include prompts like "natural text," "weathered," "realistic signage" depending on context.
Generate and compare results. The light inpainting pass adds subtle imperfections that improve believability without destroying legibility.
When Text Inpainting Helps:
- Sign and storefront text that looks too digital
- Handwritten elements that appear computer-generated
- Text on surfaces that should show wear or texture
- Integration of text with complex backgrounds
What Advanced Inpainting Workflows Exist?
Beyond basic inpainting, several advanced techniques expand Z-Image Turbo's editing capabilities.
Earn Up To $1,250+/Month Creating Content
Join our exclusive creator affiliate program. Get paid per viral video based on performance. Create content in your style with full creative freedom.
Multi-Pass Inpainting:
Instead of single high-denoise passes, use multiple iterations at lower denoise. First pass at 0.5 establishes basic changes, second pass at 0.4 refines details, third pass at 0.3 harmonizes edges.
Progressive Mask Expansion:
Start with a tight mask around your target, inpaint at moderate denoise. Expand the mask slightly and inpaint again at lower denoise. This creates graduated transitions impossible with single-pass approaches.
Combining With ControlNet:
Use ControlNet guidance during inpainting to maintain structural elements. Depth or edge ControlNet helps preserve spatial relationships while allowing content changes.
Upscale Then Inpaint:
For detail work, upscale your image first with SeedVR2, then inpaint at higher resolution. This provides more pixels to work with for precise modifications.
For users wanting professional inpainting results without complex workflow management, Apatero.com provides simplified access to image editing capabilities.
Frequently Asked Questions
Can Z-Image Turbo inpaint as well as dedicated inpainting models?
For many use cases, Z-Image with proper settings matches or exceeds dedicated inpainting models, especially for photorealistic content. It struggles with pure context fill where you want the model to imagine content without prompt guidance.
Why doesn't my inpainting match the surrounding style?
Z-Image Turbo interprets your prompt independently for the masked region. Include style descriptions matching your original image in the inpainting prompt to improve consistency.
What mask feathering value should I use?
Start with 15-20 pixels of gaussian blur on your mask. Increase for larger edited regions, decrease for precise detail work where you need sharp boundaries.
Can I inpaint without any prompt?
Empty prompts work poorly with Z-Image. At minimum, describe what you want in the masked region. The model needs textual guidance even for seemingly obvious contextual fills.
How do I fix inpainting that keeps generating unwanted elements?
Your prompt may contain unintended implications. Simplify to essential descriptions. Remember Z-Image doesn't support negative prompts, so focus positive descriptions on exactly what you want.
Is there a maximum mask size for good results?
Larger masks require lower denoise to maintain coherence. As a guideline, masks covering more than 40% of the image area often benefit from full regeneration rather than inpainting.
Can I inpaint at resolutions other than 1024x1024?
Yes, but maintain aspect ratios Z-Image handles well. Very high resolutions may require VRAM optimization. Very low resolutions lose detail that makes inpainting effective.
Why does my inpainting look blurry?
This often indicates excessive mask blur or very low denoise values. Reduce blur slightly and ensure denoise is at least 0.5 for visible changes with maintained sharpness.
Conclusion
Z-Image Turbo inpainting provides powerful image editing capabilities when you understand its characteristics and limitations. The model's photorealistic strengths translate directly to inpainting quality for appropriate use cases.
Key Success Factors:
Maintain denoise in the 0.6-0.8 range, use mask blur and Differential Diffusion for clean transitions, and include descriptive prompts that match your desired output. Avoid high denoise values that break contextual coherence.
Best Use Cases:
Z-Image inpainting excels at replacing specific elements, refining text rendering, modifying features within photorealistic images, and making targeted adjustments that preserve overall image quality.
Getting Started:
Build the basic inpainting workflow, experiment with denoise settings on test images, and add Differential Diffusion once comfortable with fundamentals. The technique rewards systematic experimentation.
Platforms like Apatero.com offer alternative approaches to image editing for users preferring simplified interfaces over workflow configuration.
Effective inpainting transforms AI image generation from one-shot attempts to iterative refinement processes. Z-Image Turbo's combination of quality and speed makes this iterative approach practical for production workflows.
Ready to Create Your AI Influencer?
Join 115 students mastering ComfyUI and AI influencer marketing in our complete 51-lesson course.
Related Articles

10 Most Common ComfyUI Beginner Mistakes and How to Fix Them in 2025
Avoid the top 10 ComfyUI beginner pitfalls that frustrate new users. Complete troubleshooting guide with solutions for VRAM errors, model loading...

25 ComfyUI Tips and Tricks That Pro Users Don't Want You to Know in 2025
Discover 25 advanced ComfyUI tips, workflow optimization techniques, and pro-level tricks that expert users use.

360 Anime Spin with Anisora v3.2: Complete Character Rotation Guide ComfyUI 2025
Master 360-degree anime character rotation with Anisora v3.2 in ComfyUI. Learn camera orbit workflows, multi-view consistency, and professional...