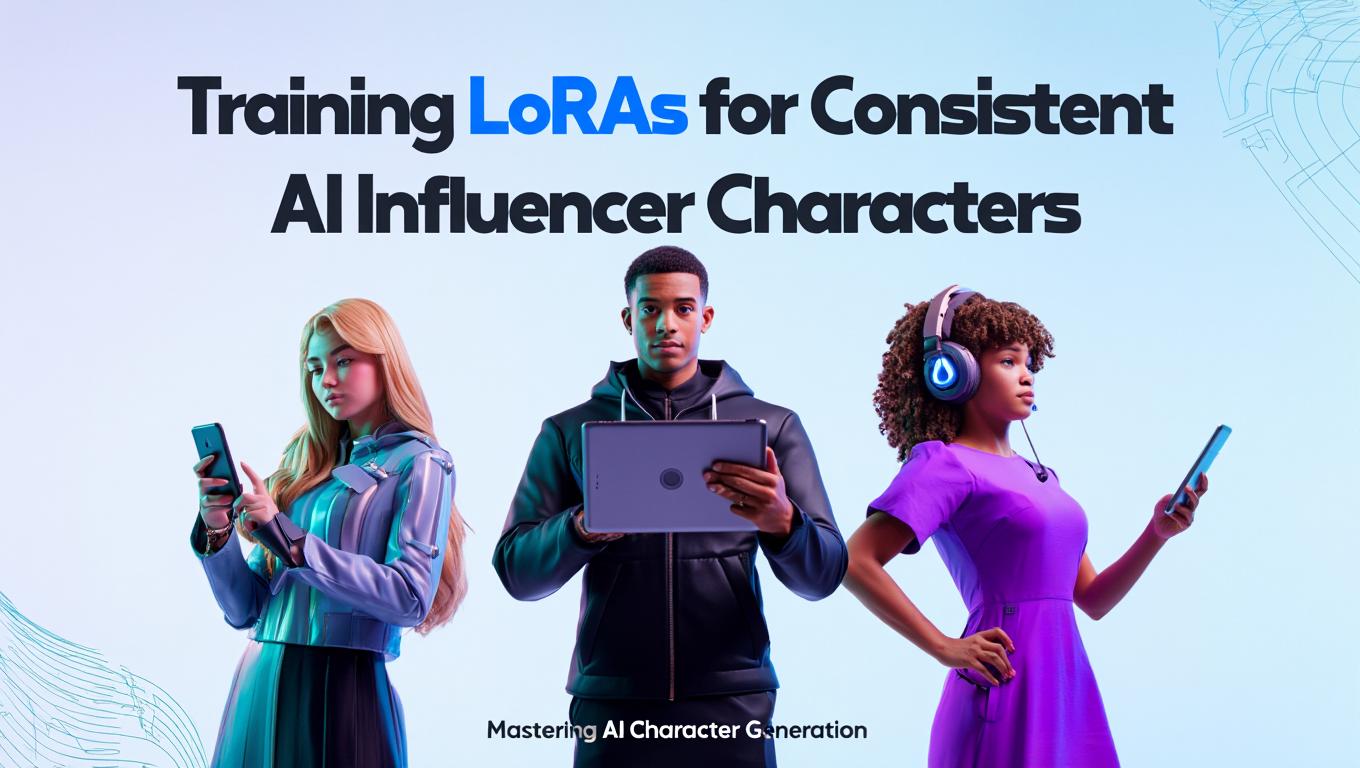
Training LoRAs for Consistent AI Influencer Characters in ComfyUI
Complete guide to training custom LoRAs for AI influencer character consistency. Covers dataset preparation, training settings, and integration with ComfyUI.
My first LoRA training attempt was a disaster. Used 200 images (way too many), trained for 50 epochs (insane), and ended up with a LoRA that could only generate one specific pose with one specific expression. The model had memorized my training data rather than learning my character.
That was three months ago. Since then I've trained probably 15 character LoRAs, failed spectacularly on maybe half of them, and finally developed a process that works consistently.
Here's everything I learned, including the mistakes so you can skip them.
Quick Answer: Training a character LoRA requires 15-30 carefully selected images, proper captioning with a unique trigger word, and conservative training parameters (10-15 epochs, learning rate around 1e-4). The result embeds your character into the model, enabling consistent generation with just your trigger word in prompts.
:::tip[Key Takeaways]
- Training LoRAs for Consistent AI Influencer Characters in ComfyUI represents an important development in its field
- Multiple approaches exist depending on your goals
- Staying informed helps you make better decisions
- Hands-on experience is the best way to learn :::
- Creating a training dataset that actually works (most people mess this up)
- Captioning strategy that avoids common pitfalls
- Training parameters I've tested across multiple characters
- Testing and troubleshooting trained LoRAs
- Production integration in ComfyUI workflows
Why Bother Training a LoRA?
IPAdapter and FaceID work. They've gotten me 80% of the way for most projects. So why go through LoRA training at all?
The Last 20%
That 80% is great until you notice your character's eye shape subtly changes across images. Or their jawline is inconsistent. Or expressions that worked with the reference don't work for new poses.
Reference-based methods compare images at generation time. LoRA training embeds your character directly into model weights. The difference is subtle but real: fundamentally stronger consistency, especially over hundreds of images.
Production Simplicity
Once trained, using a LoRA is trivial. Add trigger word to prompt. Done. No reference image loading, no special nodes for face embedding, no managing multiple input images.
My production workflows with trained LoRAs are half as complex as my IPAdapter workflows. That simplicity matters at scale.
Novel Poses
This is the one that convinced me. IPAdapter sometimes struggles with poses not represented in your reference images. A well-trained LoRA captures the underlying structure of your character's face. It can generate poses never seen during training.
I tested this by training a LoRA on frontal and 3/4 views only, then generating profile shots. The profile shots looked like my character. IPAdapter with the same frontal references? Not so much.
Step 1: Build Your Training Dataset
Dataset quality is everything. A good dataset trained poorly beats a bad dataset trained perfectly.
The Right Number of Images
15-30 images. Not more.
I know this sounds wrong. More data = better model, right? Not for character LoRAs. More images past 30 and you start overfitting without adding meaningful information. The model memorizes instead of learning.
My sweet spot is 20-25 images. Enough diversity to capture the character, not so many that training goes wrong.
What Images to Include
Pose variety:
- Direct front view (2-3 images)
- 3/4 angles left and right (4-5 images)
- Profile views (2 images)
- Looking up and down (2-3 images)
Expression variety:
- Neutral expression (3-4 images)
- Smiling (3-4 images)
- Thoughtful/serious (2-3 images)
- Subtle variations
Lighting variety:
- Soft natural light
- Studio lighting
- Outdoor daylight
- Indoor ambient
Distance variety:
- Close-up face (5-7 images)
- Head and shoulders (5-7 images)
- Half body (3-4 images)
- Full body (2-3 images max)
Focus heavily on faces. That's what matters most for character consistency.
What to Exclude (Critical)
These kill your LoRA:
Sunglasses or face obstruction: The model can't learn features it can't see.
Heavy filters or editing: If your training images have a strong filter, your LoRA will bake in that filter.
Motion blur or focus issues: Blurry features = blurry learning.
Extreme makeup or temporary alterations: Unless that's always part of the character, exclude it.
Strong color casts: Confuses the model about actual skin tones.
Be ruthless about quality. One bad image hurts more than five good images help.
File Organization
/training_data/
└── 15_charactername/
    ├── image_001.png
    ├── image_002.png
    └── ...
The 15_ prefix tells the trainer to repeat each image 15 times per epoch. For 20-25 images over 10-15 epochs, this produces good results.
Step 2: Caption Everything
Captions tell the model what's your character versus what's just background noise.
The Trigger Word
Pick something unique that doesn't exist in the model's vocabulary:
Free ComfyUI Workflows
Find free, open-source ComfyUI workflows for techniques in this article. Open source is strong.
Good: chrname, xyzperson, ohwx, mypersonname
Bad: woman, person, model, influencer, sarah
Common words already have meaning. Your trigger word needs to mean only your character.
Caption Format
Every caption starts with your trigger word, then describes the specific image:
chrname woman, portrait photo, front view, neutral expression,
indoor lighting, professional photography
chrname woman, smiling, outdoor setting, natural lighting,
3/4 angle, casual dress
chrname woman, full body, standing pose, studio background,
fashion photography style
Notice I include "woman" after the trigger word. This helps the model understand the trigger is modifying a person concept.
Caption Files
Create a .txt file for each image with matching names:
image_001.png
image_001.txt
image_002.png
image_002.txt
One caption per file, describing only that specific image.
Auto-Captioning Shortcut
For faster initial captions:
- Run BLIP or Florence2 auto-captioner
- Manually add
chrname woman,to the start of each caption - Review and adjust any incorrect descriptions
This saves time on descriptions while ensuring your trigger word is consistent.
Step 3: Set Up kohya_ss
kohya_ss is the standard tool for LoRA training. Other options exist but this one has the best documentation and community support.
Installation
git clone https://github.com/bmaltais/kohya_ss.git
cd kohya_ss
./setup.sh  # Linux/Mac
setup.bat   # Windows
Follow the prompts. It'll install dependencies and configure for your GPU.
Hardware Requirements
Minimum (it'll work but slowly):
- 12GB VRAM for SDXL
- 8GB VRAM for SD 1.5
Comfortable:
Want to skip the complexity? Apatero gives you professional AI results instantly with no technical setup required.
- 16-24GB VRAM
- NVMe storage
What I use:
- RTX 4090 24GB
- Training a character LoRA takes about 1-2 hours
If you don't have appropriate hardware, cloud options work fine. Runpod, Vast.ai, or specialized services like Apatero.com that handle the infrastructure for you.
Step 4: Training Parameters
This is where most people go wrong. Here are parameters I've tested across multiple successful character LoRAs.
Network Configuration
Network Rank (dim): 32-64
Network Alpha: 16-32 (half of rank works well)
Network Type: LoRA (not LoCon for characters)
Higher rank captures more detail but creates larger files and risks overfitting. I use 32 for most characters, 64 if they have very distinctive features.
Training Settings
Training resolution: 1024x1024 (SDXL) or 512x512 (SD 1.5)
Batch size: 1-2
Learning rate: 1e-4 (start here)
Optimizer: AdamW8bit or Prodigy
Scheduler: Cosine with restarts
Warmup steps: 100-200
Max epochs: 10-15
Save every: 2 epochs
The epoch count is critical. Too few = undertrained, trigger word does nothing. Too many = overtrained, model memorizes instead of learns.
I save checkpoints every 2 epochs so I can test different stages and pick the best one.
SDXL-Specific Settings
Train UNet only: Yes
Cache latents: Yes
Cache text encoder outputs: Yes
These reduce VRAM usage significantly while maintaining quality.
My "Safe Start" Configuration
If you're training your first character LoRA, use these exactly:
Network Rank: 32
Network Alpha: 16
Learning Rate: 1e-4
Epochs: 12
Image Repeats: 15
Batch Size: 1
This is conservative but reliable. Adjust from here once you see results.
Step 5: Run Training and Monitor
What to Watch
Loss values: Should decrease and stabilize. Starting around 0.2, ending around 0.05-0.10 is typical.
Warning signs of overfitting:
- Loss drops very low (below 0.03) then rises
- Generated test images look identical to training images
- Character only works in poses from training
Warning signs of underfitting:
- Loss stays high
- Trigger word has no effect on generations
- Character looks generic
Preview Images
Generate test images during training to monitor progress. kohya_ss can do this automatically.
Earn Up To $1,250+/Month Creating Content
Join our exclusive creator affiliate program. Get paid per viral video based on performance. Create content in your style with full creative freedom.
Good training shows your character appearing more clearly over epochs while maintaining flexibility.
Step 6: Test Before Production
Don't deploy a LoRA until you've tested it thoroughly.
Basic Test
Simple prompt with just trigger word:
chrname woman, portrait photo
Character should appear clearly.
Flexibility Test
Prompts that differ from training data:
chrname woman, astronaut suit, space station, floating
chrname woman, medieval dress, castle interior
Good LoRAs adapt to novel scenarios. Bad LoRAs produce garbage outside training contexts.
Strength Test
Try different LoRA strengths: 0.5, 0.75, 1.0, 1.25.
Lower strength = more flexibility, less accuracy. Higher strength = more accuracy, potential artifacts.
Find your sweet spot. Mine is usually 0.75-0.85.
Combination Test
Test with other LoRAs and IPAdapter:
- Does it break style LoRAs?
- Does IPAdapter still work?
- Any weird interactions?
Step 7: Deploy in ComfyUI
Basic Loading
[Load Checkpoint] → [Load LoRA] → [CLIP Text Encode]
Specify your LoRA and strength (0.7-1.0 typically).
Full Production Workflow
[Load Checkpoint]
    ↓
[Load Character LoRA (0.8)]
    ↓
[Load Style LoRA (optional, 0.5)]
    ↓
[CLIP Text Encode with trigger word]
    ↓
[KSampler]
    ↓
[VAE Decode]
    ↓
[Face Detailer (optional)]
    ↓
[Upscale + Save]
Combining with IPAdapter
For maximum consistency, use both:
[Character LoRA] + [IPAdapter with reference]
The LoRA handles base character identity. IPAdapter provides additional pose/expression guidance. This combination produces my most consistent results.
Troubleshooting
Character Doesn't Appear
- Verify exact trigger word spelling
- Increase LoRA strength
- Check that LoRA loaded correctly
- You might be undertrained - try a later epoch checkpoint
Overfitting (Character Looks Too Specific)
- Use earlier epoch checkpoint
- Reduce training epochs next time
- Add more variety to training data
- Increase caption diversity
Quality Degradation
- Reduce LoRA strength
- Check training image quality
- Verify base model compatibility
- Try lower learning rate in retraining
Strange Artifacts
- Lower LoRA strength
- Check for bad training images
- Training might have corrupted - retrain from scratch
Advanced Tips
The Bootstrap Strategy
Don't have good images of your character? Bootstrap them:
- Generate character with IPAdapter/FaceID
- Select best 20-25 generations
- Use those for LoRA training
- Now you have a LoRA from reference-only starting point
This is how I created my first AI influencer character from just concept reference images.
Continuous Improvement
As you generate more content:
- Select best new generations
- Add to training dataset
- Retrain periodically
This iteratively improves consistency based on what actually works.
The Ensemble Approach
Train multiple LoRAs with different settings:
- One higher rank, one lower
- One more epochs, one fewer
Combine at inference with low strengths each. More reliable than single LoRA.
Frequently Asked Questions
How long does training take?
1-4 hours for typical character LoRA on consumer GPU. Depends on epochs, dataset size, and hardware.
Can I train from AI-generated images?
Yes. Generate with IPAdapter, select best results, train LoRA from those. This is my standard workflow for new characters.
How many images do I need?
15-30. More causes overfitting without adding value.
What's the best learning rate?
Start with 1e-4. Adjust based on results.
How do I avoid overfitting?
Conservative epochs (10-15), varied training data, caption dropout, test frequently during training.
Can I share my character LoRA?
If you created the character, yes. If based on real people without consent, legal/ethical issues arise.
What if my LoRA is too strong?
Use lower strength at inference (0.5-0.7) or retrain with fewer epochs.
Cloud training options?
Runpod, Vast.ai for GPU rentals. Apatero.com for simplified character training without managing infrastructure.
Conclusion
LoRA training takes your AI influencer from "usually looks right" to "always looks right." The upfront investment in dataset creation and training pays off across every future generation.
Start with a quality dataset (this matters most). Use conservative training parameters. Test thoroughly before production. Iterate and improve based on results.
For those who want custom character consistency without managing the technical process, platforms like Apatero.com offer simplified training that handles the complexity while delivering production-ready results.
Your character's consistency across hundreds of images depends on getting this foundation right. The time invested in proper LoRA training is worth it.
Ready to Create Your AI Influencer?
Join 115 students mastering ComfyUI and AI influencer marketing in our complete 51-lesson course.
Related Articles

10 Best AI Influencer Generator Tools Compared (2025)
Comprehensive comparison of the top AI influencer generator tools in 2025. Features, pricing, quality, and best use cases for each platform reviewed.

5 Proven AI Influencer Niches That Actually Make Money in 2025
Discover the most profitable niches for AI influencers in 2025. Real data on monetization potential, audience engagement, and growth strategies for virtual content creators.

AI Action Figure Generator: How to Create Your Own Viral Toy Box Portrait in 2026
Complete guide to the AI action figure generator trend. Learn how to turn yourself into a collectible figure in blister pack packaging using ChatGPT, Flux, and more.