Flux Fill Complete Guide: Inpainting and Outpainting 2025
Master Flux Fill for professional inpainting and outpainting. Learn Black Forest Labs' dedicated editing model for smooth object removal and image extension.
Flux Fill is Black Forest Labs' purpose-built model for inpainting and outpainting. Unlike using base Flux for masked generation, Fill was trained specifically for direct editing—producing results that blend naturally with surrounding content.
Quick Answer: Flux Fill handles both inpainting (replacing masked areas) and outpainting (extending beyond boundaries). It offers superior blending compared to base Flux models and works through dedicated workflows in ComfyUI and via API.
:::tip[Key Takeaways]
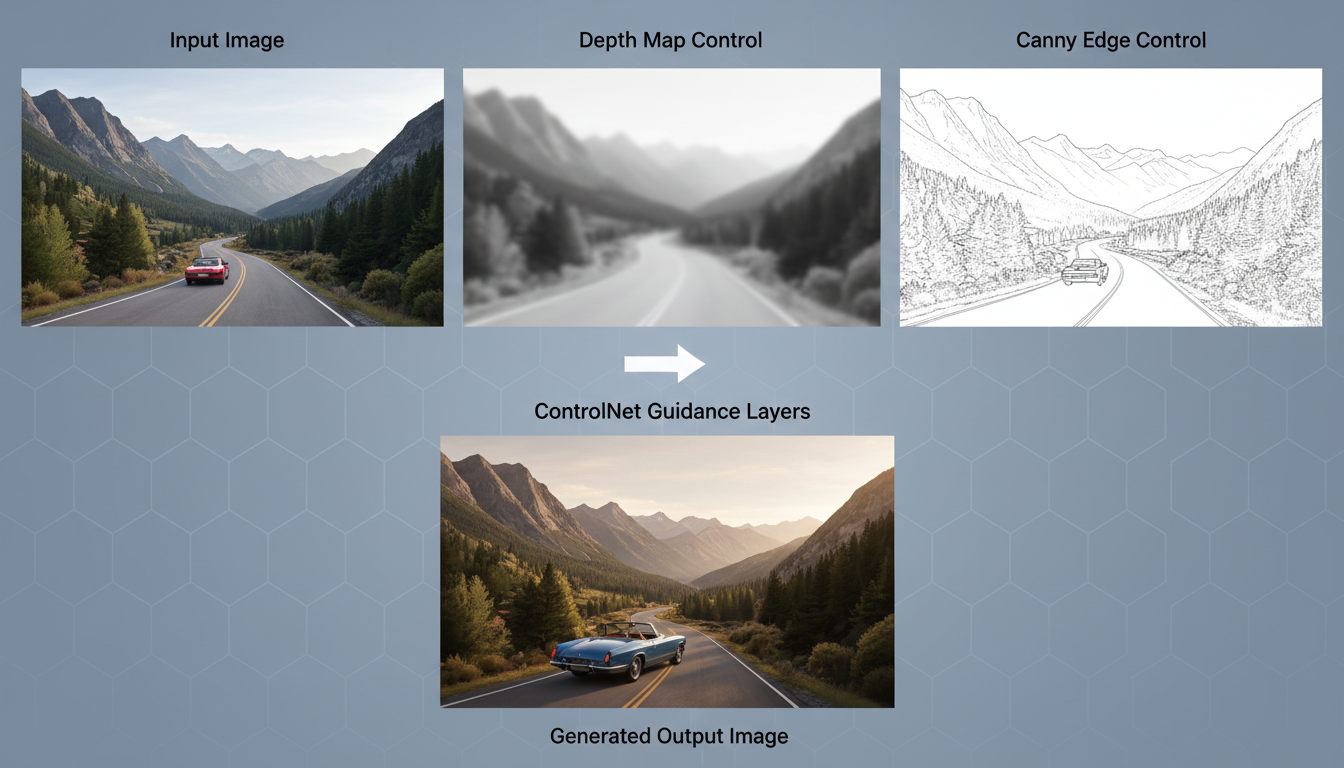
- Key options include Load Image: and Mask Editor:
- Start with the basics before attempting advanced techniques
- Common mistakes are easy to avoid with proper setup
- Practice improves results significantly over time :::
- Clean object removal and replacement
- Natural image extension in any direction
- Context-aware content generation
- Maintains style and lighting consistency
- Works with existing Flux ecosystem
Flux Fill vs Base Flux for Editing
Why use Fill instead of base Flux with masks?
Training Difference: Flux Fill was specifically trained on inpainting tasks. It understands how to analyze surrounding context and generate content that blends smoothly.
Edge Handling: Fill produces smooth transitions at mask boundaries. Base Flux often shows visible seams or style mismatches.
Prompt Interpretation: Fill interprets prompts relative to the masked area. Base Flux sometimes replaces more than intended.
For serious editing work, Fill produces consistently better results.
Setting Up Flux Fill in ComfyUI
Installation:
cd ComfyUI/custom_nodes
git clone https://github.com/city96/ComfyUI-GGUF
## Or use FluxInpaint nodes
Model Download: Download Flux Fill from HuggingFace or Black Forest Labs. Place in:
ComfyUI/models/diffusion_models/flux-fill.safetensors
Required Components:
- Flux Fill model
- Flux VAE
- CLIP text encoders (same as base Flux)
Basic Inpainting Workflow
Node Setup:
Load Image → Create Mask → Load Flux Fill →
Encode Image → Sample with Mask → Decode → Save
Key Nodes:
- Load Image: Your source image
- Mask Editor: Create or load mask (white = replace)
- VAE Encode Inpaint: Handles masked latent encoding
- FluxSampler: With conditioning and mask
- VAE Decode: Output final image
Settings:
- Steps: 20-30 (fewer needed than base Flux)
- Guidance: 30-50 (Flux uses higher guidance)
- Denoise: 1.0 for full replacement, lower for blending
- Extend mask slightly beyond target area for better blending
- Describe what should appear, not what you're removing
- Match the style of the surrounding image in your prompt
- Use lower denoise (0.7-0.9) when keeping some original structure
Basic Outpainting Workflow
Outpainting extends images beyond their current boundaries:
Process:
- Load original image
- Expand canvas in desired direction
- Create mask covering the new empty area
- Run Flux Fill with directional prompt
- Result fills the expansion naturally
Canvas Expansion Methods:
Free ComfyUI Workflows
Find free, open-source ComfyUI workflows for techniques in this article. Open source is strong.
- Manual: Expand in image editor, save with transparency/white
- ComfyUI: Use Pad Image node to add space
- Custom: ImageMagick or PIL scripting
Prompting for Flux Fill
Fill prompts describe what should appear in the masked area:
Object Removal:
clean background, empty floor, matching wooden texture,
natural lighting from window, consistent shadows
Object Replacement:
modern leather armchair, dark brown, matching room lighting,
casting natural shadow on floor
Outpainting Extension:
continuing forest path, autumn leaves, trees extending
into distance, consistent afternoon lighting
Advanced Techniques
Iterative Refinement
For complex edits:
- First pass: Rough fill at high denoise
- Create new mask for problem areas
- Second pass: Lower denoise for refinement
- Repeat until satisfied
Context Maximization
Flux Fill uses surrounding context. For better results:
- Provide more context around the mask
- Don't mask too close to image edges
- Include reference elements in visible areas
Multi-Region Editing
Edit multiple areas in one pass:
- Create a single mask with multiple regions
- Prompt describes all replacements
- Works if regions need similar content
For different content per region, process separately.
Want to skip the complexity? Apatero gives you professional AI results instantly with no technical setup required.
Outpainting in Steps
For large extensions (2x or more):
- Extend 25-50% per pass
- Use previous output as next input
- Overlap slightly for consistency
- More passes = better coherence
Flux Fill vs Flux Kontext
Both edit images but differently:
Flux Fill:
- Uses creative masks
- You control exactly what changes
- Better for precise modifications
- Requires manual mask creation
Flux Kontext:
- Uses text instructions
- AI decides what to modify
- Better for described changes
- No masking needed
Use Fill when you need precise control over what changes. Use Kontext when you can describe the change verbally.
Common Use Cases
Product Photography
Remove unwanted elements, extend backgrounds:
clean white product background, soft gradient,
professional studio lighting, no shadows
Portrait Editing
Fix backgrounds, extend compositions:
Earn Up To $1,250+/Month Creating Content
Join our exclusive creator affiliate program. Get paid per viral video based on performance. Create content in your style with full creative freedom.
neutral bokeh background, soft out of focus elements,
warm lighting, professional portrait style
Real Estate
Remove clutter, extend spaces:
clean empty room, matching flooring, consistent wall color,
natural window light, staged home appearance
Creative Extension
Expand artwork beyond original frame:
continuing art style, matching brush strokes,
color palette extension, smooth continuation
Troubleshooting
Issue: Visible seams at mask boundary Solution: Use larger mask blur, extend mask beyond target
Issue: Style doesn't match Solution: Add style descriptors to prompt, reduce steps slightly
Issue: Wrong content generated Solution: Be more specific in prompt, add negative guidance
Issue: Extension looks repetitive Solution: Add variety prompts, process in smaller chunks
Issue: Colors don't match Solution: Include color descriptions, try color conditioning
Performance Optimization
Flux Fill has similar requirements to base Flux:
- VRAM: 12GB+ recommended
- Speed: ~10-15 seconds per generation
- Resolution: Works up to 2K, optimal at 1K
For faster iteration:
- Use lower steps (15-20) for drafts
- Process at lower resolution first
- Use fp8 quantization on smaller GPUs
Frequently Asked Questions
Can Flux Fill remove watermarks?
It can, but may require multiple passes. The model excels when context helps—watermarks on complex backgrounds need more refinement.
Does it work with video?
Frame-by-frame is possible but lacks temporal consistency. Dedicated video inpainting is better for motion content.
Can I use Flux LoRAs with Fill?
Base Flux LoRAs generally work but may affect fill quality. Test carefully.
What mask format is required?
Standard black/white masks where white = replace. PNG with alpha channel also works.
How does it compare to SD inpainting models?
Flux Fill typically produces higher quality fills with better context understanding. Trade-off is higher VRAM requirements.
Conclusion
Flux Fill represents the current best for AI-powered image editing—combining the quality of Flux with purpose-built inpainting/outpainting capabilities.
For professional editing work, it produces results that genuinely blend with originals. The workflow is straightforward once set up, and the context awareness means fewer iterations for acceptable results.
Master the prompting approach (describe what should appear, not what's being removed) and you'll achieve edits that appear native to the original image.
Ready to Create Your AI Influencer?
Join 115 students mastering ComfyUI and AI influencer marketing in our complete 51-lesson course.
Related Articles

10 Best AI Influencer Generator Tools Compared (2025)
Comprehensive comparison of the top AI influencer generator tools in 2025. Features, pricing, quality, and best use cases for each platform reviewed.

5 Proven AI Influencer Niches That Actually Make Money in 2025
Discover the most profitable niches for AI influencers in 2025. Real data on monetization potential, audience engagement, and growth strategies for virtual content creators.

AI Action Figure Generator: How to Create Your Own Viral Toy Box Portrait in 2026
Complete guide to the AI action figure generator trend. Learn how to turn yourself into a collectible figure in blister pack packaging using ChatGPT, Flux, and more.